>
20 in (51 cm)
>
20 in (51 cm)
WALL
WALL
100 in.
2
(645 cm
2
)
Vent (For
Confined Spaces)
1
2-1
2-2
A
A
4
Installation
Warning: After removing the unit from the shipping container, check for damage or missing parts. (Refer to the parts list below.)
If you notice a problem, visit www.tripplite.com/support for service. Do not attempt to operate a damaged unit.
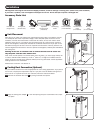
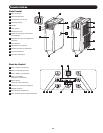
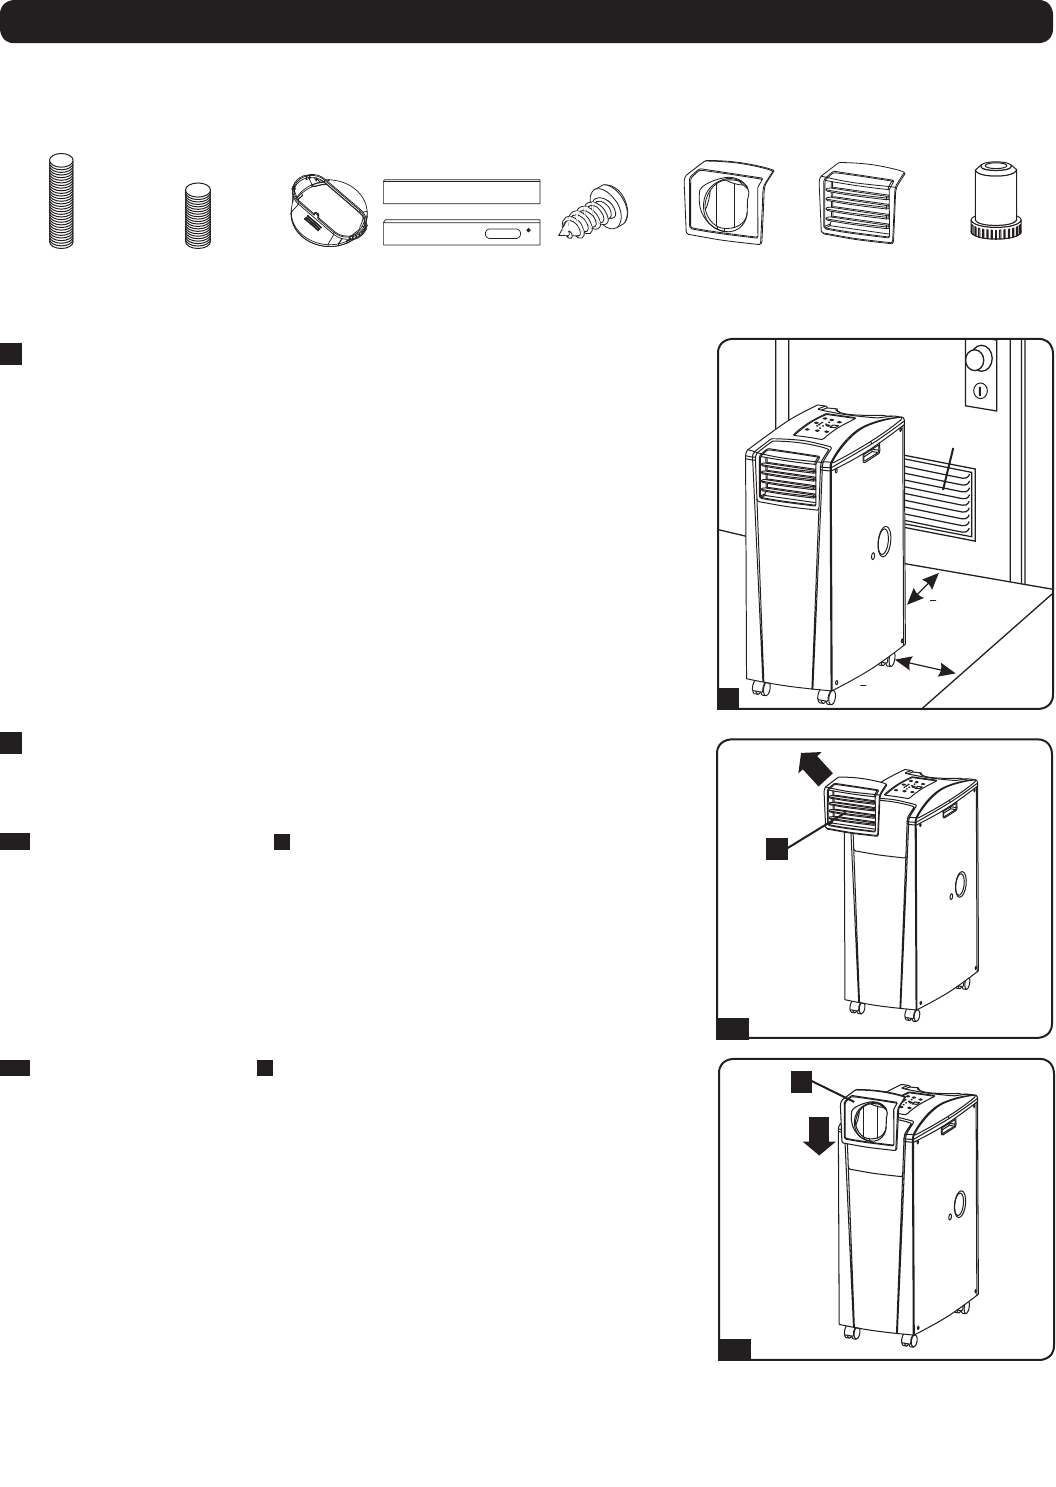
Accessory Parts List:
1
Unit Placement
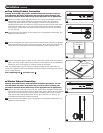
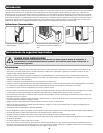
Place the unit on a flat, level surface near a grounded AC outlet rated in accordance with the
unit nameplate (90-110% of specified voltage). Leave adequate space around the unit for
ventilation,withrearandventedsidesnotlessthan20inches(51cm)fromwallsorother
obstacles. Place the unit in a location with convenient access to a drop ceiling or window to
provide the straightest, shortest path available for the flexible exhaust duct. If you plan to use
the flexible cooling duct to focus cool air on a specific rack enclosure or device, place the unit
near the targeted rack enclosure or device to provide the straightest, shortest path available for
the cooling duct.
Warning: Do not use an extension cord to connect the unit to an AC outlet. Use
only the power cord that came with the unit.
Note: If the unit will operate in a confined space (such as closet), you must supply makeup air
in order to maintain airflow efficiency. A 100 in.
2
(645 cm
2
) or larger vent installed near the
bottom of the door should supply adequate makeup air for a typical closet. Consult applicable
building codes for more information.
Exhausthosenotshown—seeSection3.
2
Cooling Duct Connection (Optional)
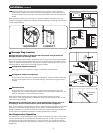
The pre-installed louvered vent insert is appropriate for room cooling applications. If you plan to
cool a room, skip step 2 and proceed to step 3. If you plan to use the flexible cooling duct to
focus cool air on a specific device or rack enclosure, follow the instructions below.
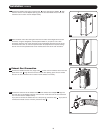
2-1
Remove the louvered vent insert
A
by pulling it outward and upward.
Exhaust Duct
(Longer Tube)
Cooling Duct
(Shorter Tube)
Exhaust Duct
Adapter
Adjustable
Exhaust Panel
(2 Sections)
Self-Tapping
Screw
2 Duct Adapters
(1 Pre-Installed)
Louvered Vent
Insert
(Pre-Installed)
Drainage
Plug
(2 Pre-Installed)
2-2
Align the cooling duct adapter
A
in the vent opening and push it downward until it snaps
into place.


