6.
6a.
7.
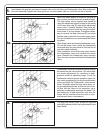
Flushometer valves are preset for fixture volume
as marked on the valve cartons. The valve does
not require adjustment for variations in water
pressure within its operating range. To set the
flushometer valve for proper operation, open the
stop valve completely by turning the adjustment
screw and flush the Flushometer valve several
times. Gradually adjust the stop valve down, us-
ing the adjustment screw, so that the rate of wa-
ter flow into the fixture is not excessive, yet is
sufficient to adequately evacuate the waste. The
final setting for urinals should be such that the
fixture will not overflow when the valve is actu-
ated several times in succession.
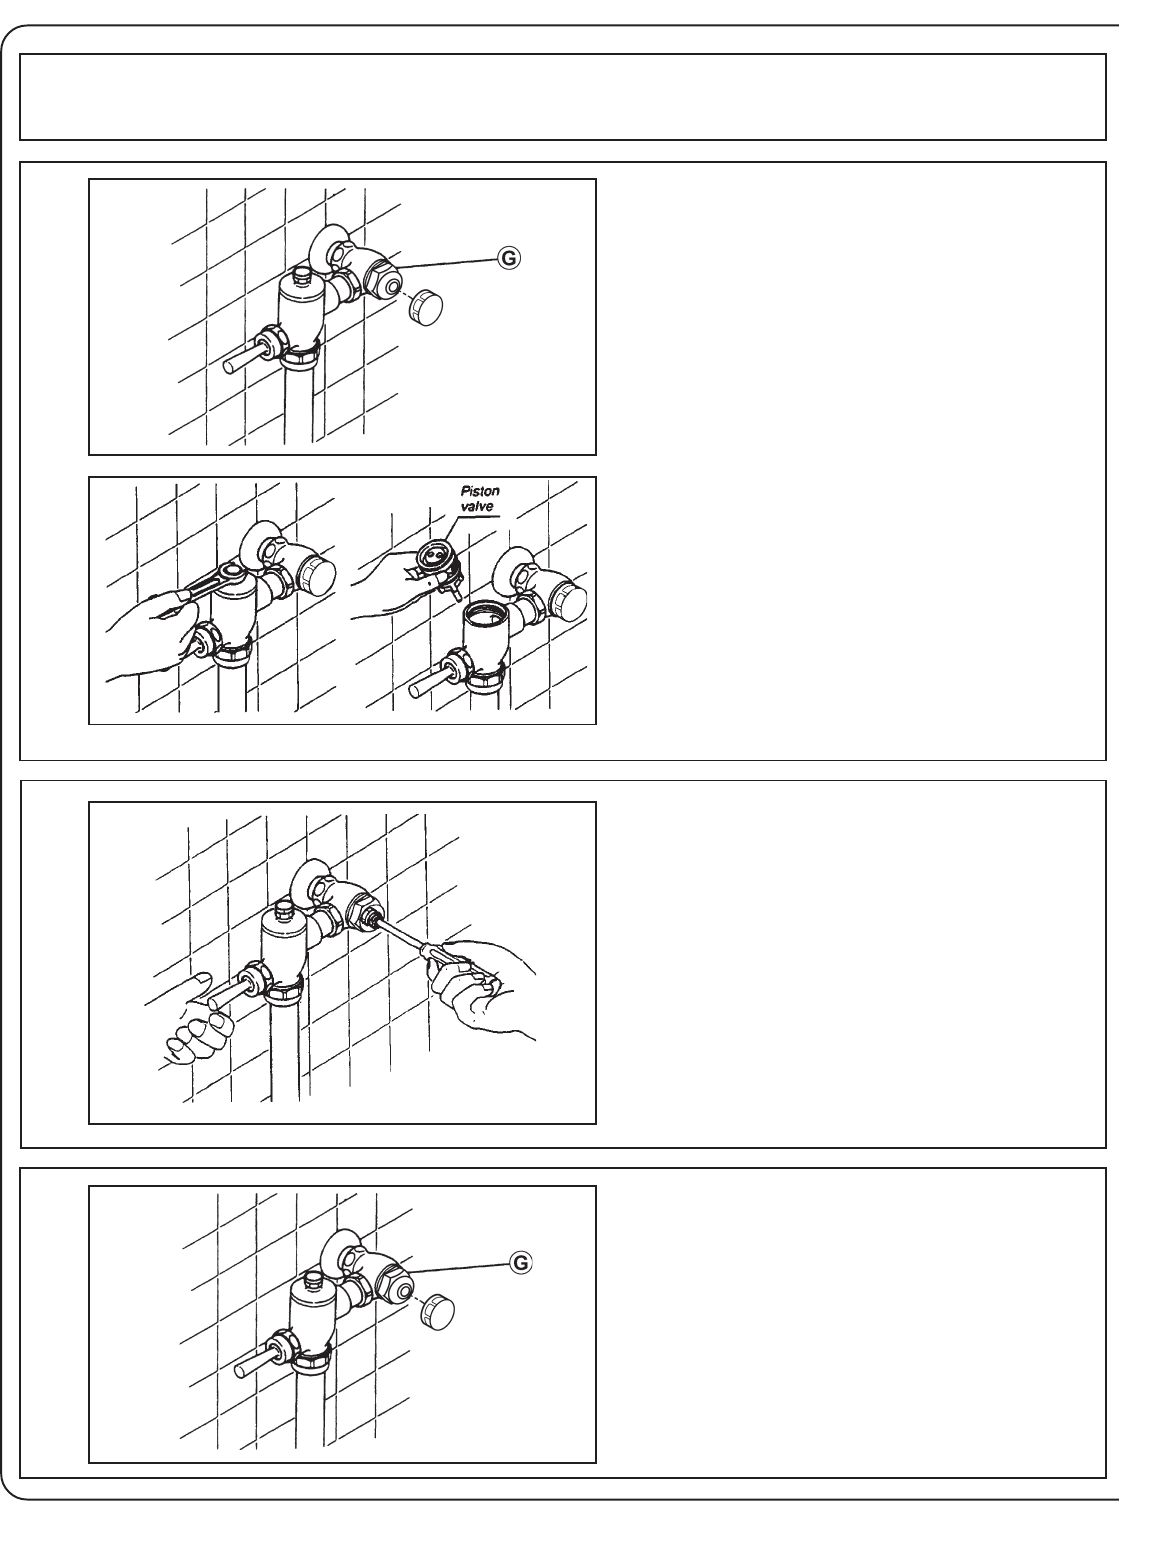
Before the water supply is turned on, be sure all
stop valves to the flush valves are closed off tightly.
The stop valves can be opened and closed by
using the adjustment screw located at the center
of the stop valve cap G, behind the adjustment
screw cover if already installed. Stop valve ad-
justments can only be made by using the adjust-
ment screw. If for any reason, it becomes neces-
sary to remove the stop valve cap G, be certain
that the water is shut off at the main supply valve.
For new installations, we recommend the follow-
ing steps:
Shut off stop valve and remove flushometer cover.
Lift out the piston valve. Install the flushometer
cover and open the stop valve to flush the line of
any debris and sediment.
After completion, shut off the stop valve, remove
the flushometer cover and reinstall the piston
valve. Reinstall the flushometer cover securely.
Open the stop valve and activate the flushometer
valve.
8.
The stop cap screw cover should be replaced
and tightly secured after final adjustments have
been made.
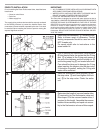
Hand tighten the spud nut and vacuum breaker tube nut to the fixture and flushometer valve. Align and plumb
the valve assembly. Tighten the fixture spud nut, vacuum breaker tube nut, and lock nut with a wrench.
5.


