Quick Reference Guide - Page 26
Function Code List (cont.)
Function Code Number
Function Hydro Unit
Remote
Controller
Range Default
Remote Controller
Indication
24 hour or 12 hour remote control display.
0=24hr; 1=12hr
- 05 0 ~ 1 0
0 = Function invalid
1 = Function valid
- 09 0 ~ 1 0
Start time (hour) - 0A 0 ~ 23 22
Outdoor Night Time
Low Noise
Operation
End time (hour) - 0B 0 ~ 23 06
Alarm Tone Tone Switching 0: OFF, 1: ON 11 0 ~ 1 1
Pump P2 remote
controller Display
0 = Not Shown;
1 = Shown
42 - 0 ~ 1 0
Outdoor Forced
Defrost Mode
0 = Forced Defrost OFF;
1 = Forced Defrost ON
46 - 0 ~ 1 0
Optional ON/OFF
Command
0 = a contact “ON” = Forced stop
1 = b contact “OFF” = Forced stop
2 = ON/OFF = Start / Stop
3= HA Specification
52 - 0 ~ 3 0
Outdoor Night Time
Mode Button
0 = Symbol displayed when mode is valid
(controlled by Function Code Only);
1 = Symbol displayed when mode is activated
(controlled by Function Code and Button)
56 - 0 ~ 1 0
Control Logic for
Room Thermostat
0 = Cooling thermo on – contact open;
1 = Cooling thermo on – contact close
57 - 0 ~ 1 0
Settings by Purpose
Settings when hot water supply function is not used
• When the hot water supply function is not used, set DIP SW12-1 on the Hydro Unit board to ON.
Setting for cooling
• For Space Conditioning Units that do not perform cooling (radiators and Under floor heating, etc.), procure a
motorized 2-way valve (for cooling) locally and attach it to the water pipe that is not used for cooling. Connect the
valve cables (as described in Electrical section).
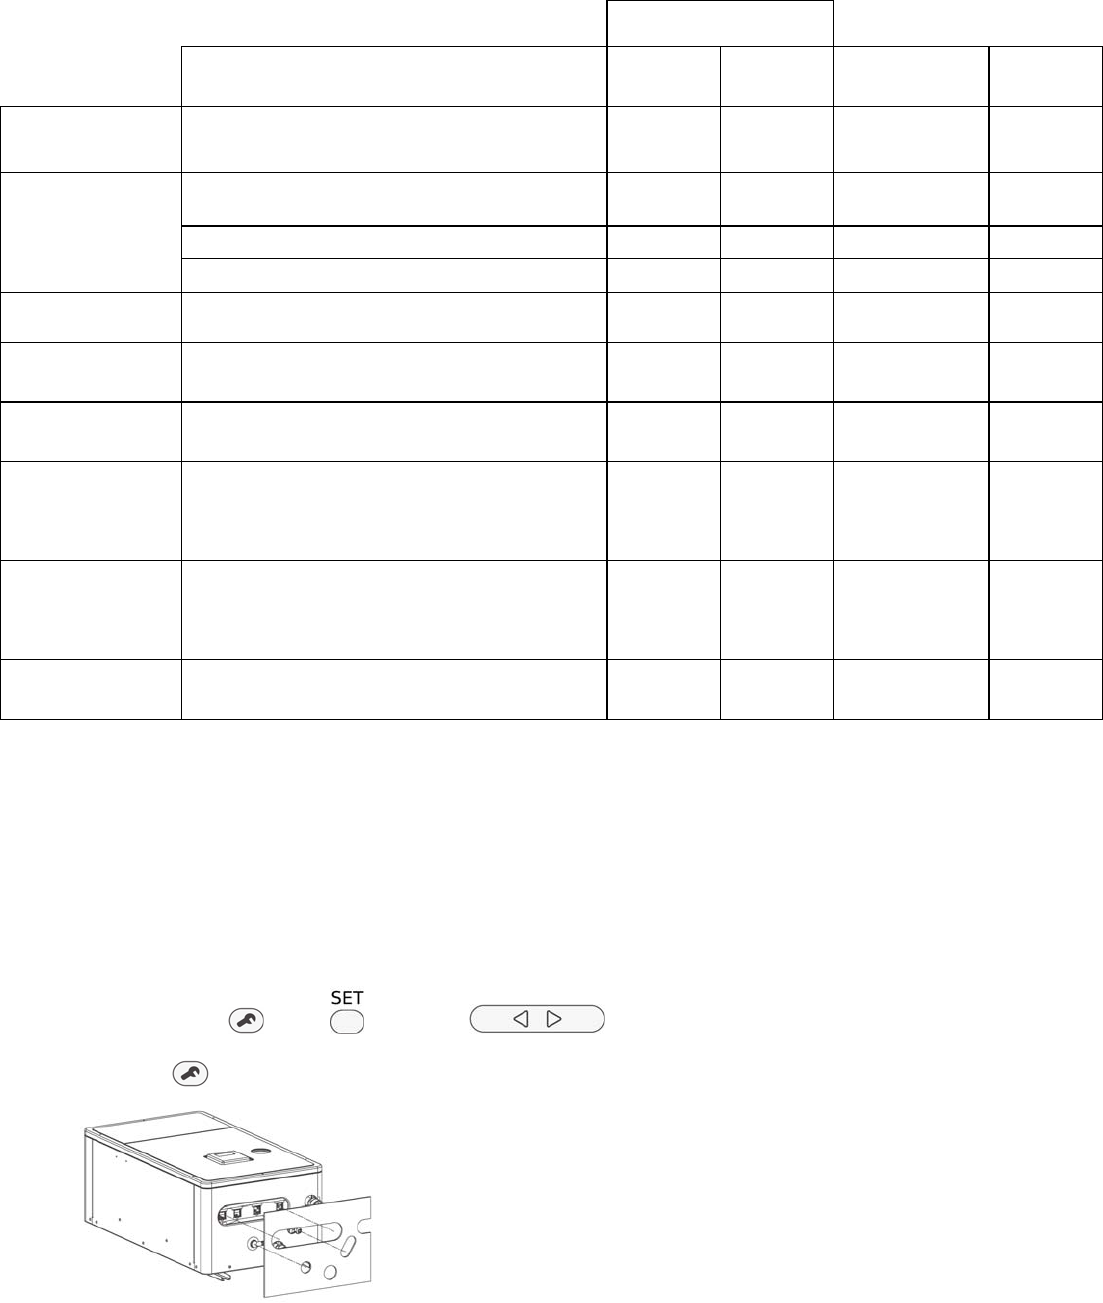
• Press long the TEST + SET + SELECT switches on the remote controller to change the
Hydro Unit function code, and change address 02 to 0, and then press the SET button to enable the function.
Press the TEST button to exit the setting mode.
• Stick the optional insulator for cooling to the bottom of the Hydro Unit.
Settings for hot water supply
• Prepare the optional hot water cylinder.
• Procure a motorized 3-way (diverter) valve locally and perform piping. Connect the valve cables (as described in
Electrical section).
• Set DIP SW12-1 on the Hydro Unit board to OFF.
• Connect the power supply unit for the hot water cylinder heater to terminals TB03 L and N of the Hydro Unit.
• Connect cables between the Hydro Unit and the hot water cylinder as follows:
Hydro Unit terminals TB03 (1), (2), and earth — Hot water cylinder (1), (2), and earth
TB06 A, B, and earth — Hot water cylinder A, B, and earth


