


12
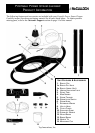
Top Innovations, Inc.
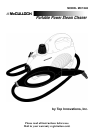
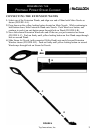
USING THE
PORTABLE POWER STEAM CLEANER
OPERATING THE PORTABLE POWER STEAM CLEANER
NOTE: Be sure that Boiler has already been filled and that all desired accessories are
connected before following these steps.
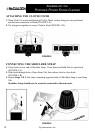
1. Plug electrical cord into a convenient electrical outlet.
CAUTION: This unit uses a grounded (3-prong) electrical plug. Use only in
properly installed 3-prong electrical outlets. Do not attempt to alter plug or
circumvent this safety feature in any way.
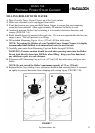
2. Heating Indicator Light will immediately illuminate, indicating that unit is powered on
and Boiler is heating.
3. After approximately 6 minutes, Heating Indicator Light will deactivate. This indicates
that Boiler is heated and unit is ready to begin steaming.
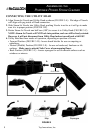
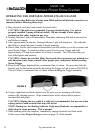
4. Direct Main Nozzle (and connected accessories) towards surface you wish to steam, and
press Steam Trigger. To sanitize surfaces, point Nozzle, press Trigger and hold
approximately 1/2 inch from surface for at least 5 seconds. This will insure that you
have killed germs and bacteria.
CAUTION: Always be sure that Main Nozzle and other accessories are pointed in a
safe direction (away from yourself, other people, pets, and plants) before pressing
Steam Trigger.
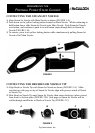
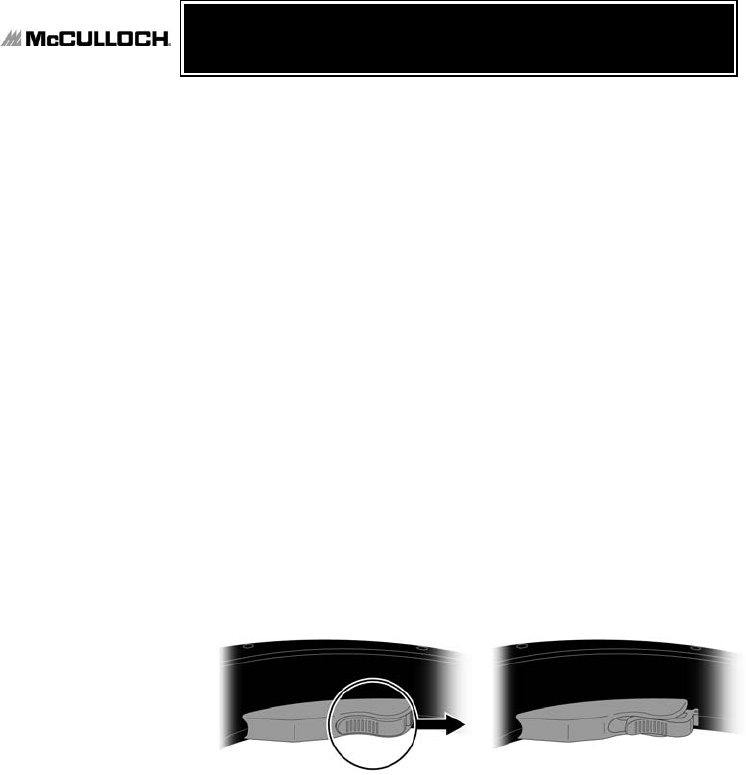
5. Keep Steam Trigger depressed for a continuous flow of steam. You may also slide the
Steam Lock Switch backward while depressing the Trigger to lock it down (FIGURE 8).
This will allow a continuous flow of steam without holding the Trigger manually.
6. Using a slight back-and-forth motion over the area you are steaming will further
enhance the cleaning process. Wipe steamed areas with a clean cloth to remove
loosened dirt and grime.
CAUTION: Wiping the area while it is still wet is recommended, but use care when
wiping surfaces such as metal that may still be hot.
NOTE: During use, the Heating Indicator Light may illuminate, accompanied by a
slight drop in steam pressure. This is normal.
7. Once steaming tasks are complete, immediately unplug electrical cord from outlet.
Follow steps under Proper Storage section on page 13 of this manual.
FIGURE 8