


Congratulations on your purchase of the TECHKO model
S082X/S082KA.The MAGNET GUARD provides detection of
unwanted intruders in your home by detecting entry. This
unit can be mounted on any door or window. Arming and
disarming of the unit is done by entering a security
code on the keypad.
1.Read all installation and operation instructions
carefully before using.
2.Alarm siren is very loud, never put the unit close to
your ear.
3.Avoid rough handling.
4.Do not install alarm where it will be exposed directly to
sunlight or high humidity.
5.The unit can provide valuable protection for your home
and property if utilized properly. However, this unit can
not guarantee compete protection against burglary
or robbery. Therefore, TECHKO cannot be held liable for
loss or damage which could occur.
6.Keep this manual in a convenient location for future
reference.
INSTALLATION
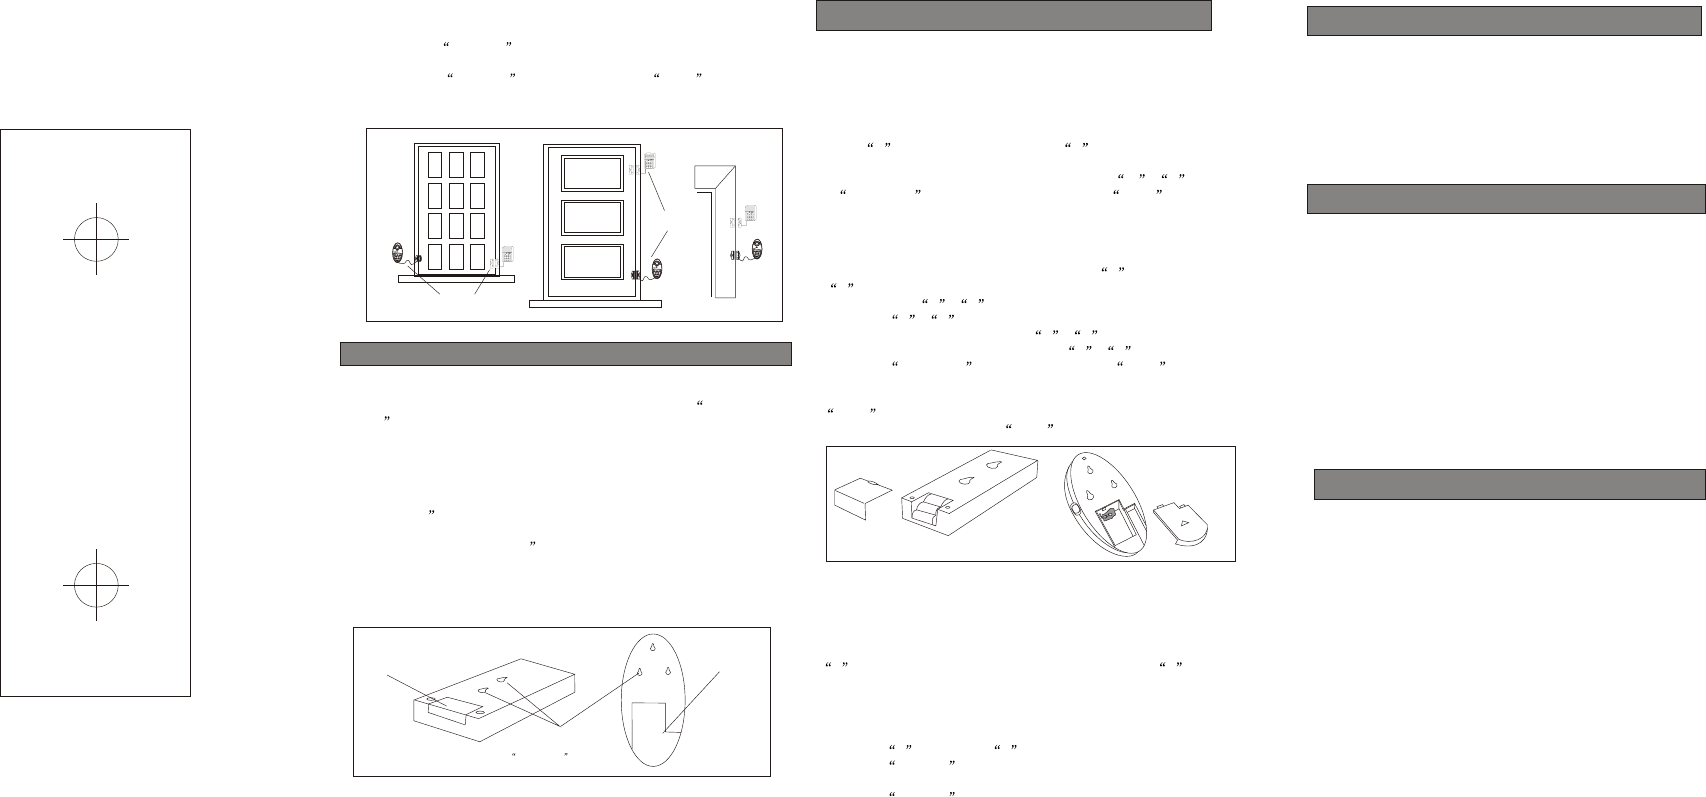
BATTERY INSTALLATION
1.Remove screws from battery compartment located on the
bottom of the unit .(Fig.1)
2.Install 3 AAA batteries / 9V battery. (Not included).
NOTE: When the batteries are installed for the first time or
are replaced the security code will automatically default
back to 0 (S082KA factory code is 5 ) and the LED indicator
will illuminate. This unit will also be in the ARM mode. After
installing the battery to disarm the unit press 0 / 5 and
the #ON/OFF button. A short Confirming beep will sound
and the LED light will go out to verify the unit has been
disarmed.
ENTERING CODE TO ARM AND DISARM
NOTE: The default for the security code is 0 (S082KA default
is 5 ). When the battery is replaced the unit will reset to the
factory set code 0 / 5 .
1.Press the 0 / 5 button or the code that is currently in
memory.(New battery default is 0 / 5 ). If there is an
existing code use that in place of the 0 / 5 .
2.Press the #ON/OFF button, a confirming beep should be
heard.
3.If the wrong security code is entered there will be two tone
beep , this is different from the single beep confirmation.
4.When the unit is armed the ARM LED will illuminate.
PROGRAMMING
A SECURITY CODE
NOTE: The programmable security code can be a 1 to 12 digit code.
(S082KA is 1 to 7 digits). Shorter codes such as 1 to 4 digits are easy to
remember, long codes can provide greater safety. DO NOT INCLUDE
A 0 IN YOUR CODE (S082X). DO NOT INCLUDE A 5 IN YOUR
CODE (S082KA).
TO PROGRAM A SECURITY CODE AFTER
BATTERY INSTALLATION
1.Press the 0 (S082KA is 5 ) button.
2.Press the */CODE button.
3.Enter the new code (1 to 12 digits), (S082KA is 1 to 7).
4.Press the */CODE button, the unit will beep once to confirm
your new code has been entered.
CHANGING A SECURITY CODE TO A NEW CODE
1.Enter the old security code number.
2.Press the* /CODE button.
3.Enter the new code(1 to 12 digits), (S082KA is 1 to 7).
4.Press the */CODE button, the unit will beepo nce to
confirm your new code has been entered.
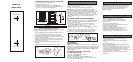
SELECT A MOUNTING LOCATION
NOTE: Before mounting the unit be sure to read theS AFETY
TIPSs ection at the beginning of the manual.
1.Apply double sided tape (included) to back of sensor switch
pair. Mount sensor without wire to the door or window.
Mount the sensors with wire to the door or window frame.
(Fig.2) Be sure the magnetic sensors are mounted no further
than a 1/4f rom each other.
2.Using the mounting plate as template, mark the screw hole
locations and drill two 1/4h oles. Tap the provided screw
anchor into place. (Fig.3)
3.Secure the mounting plate to the wall with the screws
provided.
4.Snap the alarm unit into place on the mounting plate.
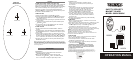
TEMPLATE
SCREW HOLE
SCREW HOLE
MODE S082X
MOUNTING
FEATURES
* Requires no wiring or special installation.
* Built-in 110db (S082KA is 115db) alarm siren.
* Up to 12 (S082KA 7 digits) digits programmable
security codes.
* Alarm / chime switchable mode.
* 5-10 seconds entry alarm delay with alert beep tone.
* Magnetic sensor detects entry.
* Direct access PANIC button.
* 4.5V (3 1.5V AAA size) alkaline battery operation
(S082KA uses 9V battery) (Not included).
* Optional AC adaptor power operation for S082KA.
* 2 warning stickers for possible points of entry.
INTRODUCTION
SAFETY TIPS
SENSORS
ON WINDOW
SENSORS
ON DOOR
11
22
33
44
55
66
77
88
99
**
00
##
S082XS082X
11
22
33
44
55
66
77
88
99
**
00
##
S082XS082X
11
22
33
44
55
66
77
88
99
**
00
##
S082XS082X
Fig.2
S082KA
1
2
3
4
5
*
#
PANIC
S082KA
1
2
3
4
5
*
#
PANIC
S082KA
1
2
3
4
5
*
#
PANIC
AFFIX SELF
ADHESIVE
TAPE HERE
KEY HOLE
FOR WALL
MOUNTING
Fig.3
AFFIX SELF
ADHESIVE
TAPE HERE
3x1.5V AAA 1x9V 6F22