1. Install the heater in accordance with the
instructions above.
2. Insert the plug into a 230-240V power
outlet and turn the power on.
3. Ensure that the air inlet vent on the
underside of the heater and the air outlet
are clear of obstructions.
4. Move the on/off switch to the on position (I).
5. Adjust the thermostat dial to your desired
heat level, from 1 to 12.
6. Once the selected temperature is reached,
the electromechanical thermostat will
constantly monitor the room temperature
and adjust the heat output to maintain it.
7. To switch the heater off, move the on/off
switch to the off position (O).
8
Using your heater
Restricting the temperature range
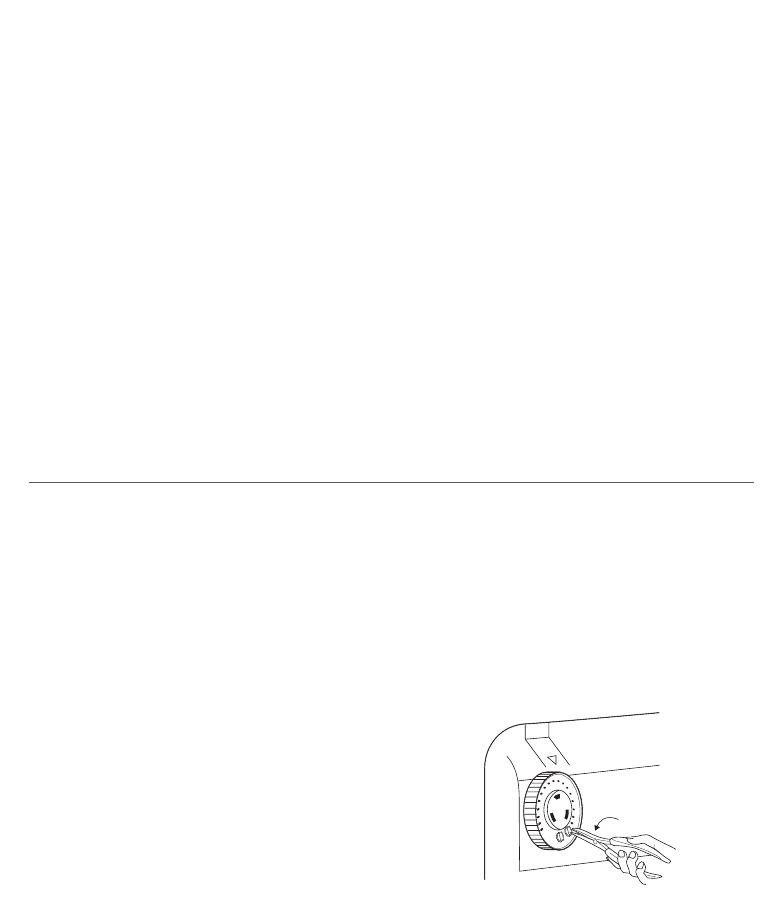
With the aid of two pins at the back of the
unit, you can limit the range of the
thermostat dial. Use one pin to lock the
thermostat at a fixed temperature, or two
pins to fix a set temperature range. One pin
determines the upper value, and the other
determines the lower value.
1. To remove the pins from their original
position, move each one back and forth
using a pair of needle nose pliers to loosen
them.
2. Insert the pins in the desired position to
limit or fix the rotation of the thermostat
dial as desired.
Figure 7


