Chapter 5: Maintenance 29 of 41
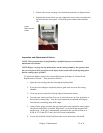
8. Install knew or sharpened knives on each knife seat, making sure that the rotor is
still blocked to prevent it from rotating while installing the knives.
9. Before re-installing the knife bolts, wipe them clean with a light, oil-damped
cloth. Do not leave an oil film on the bolt since lubrication can adversely affect
the stress on the bolt when torqued to the specified values.
NOTE: It is recommended that the knife bolts be replaced with each new set of
knives. This will reduce the risk of bolt failure due to overstretching. Always use
the specified replacement bolts.
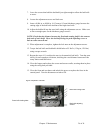
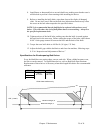
10. Tighten each set of the knife bolts, making sure that the knife is seated against
the back heel in the rotor seat. Before setting the torque of the bolts, check that a
0.001" feeler gauge cannot fit between the heel and the back of the knife.
11. Torque the rotor knife bolts to 100 lbs/ft. (14 kg/m, 135 Nm).
12. Adjust the knife gap with the bed knives and close the machine, following steps
8-12 in “Inspection and Adjustment of Knives.”
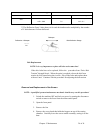
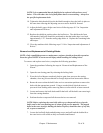
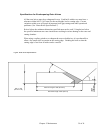
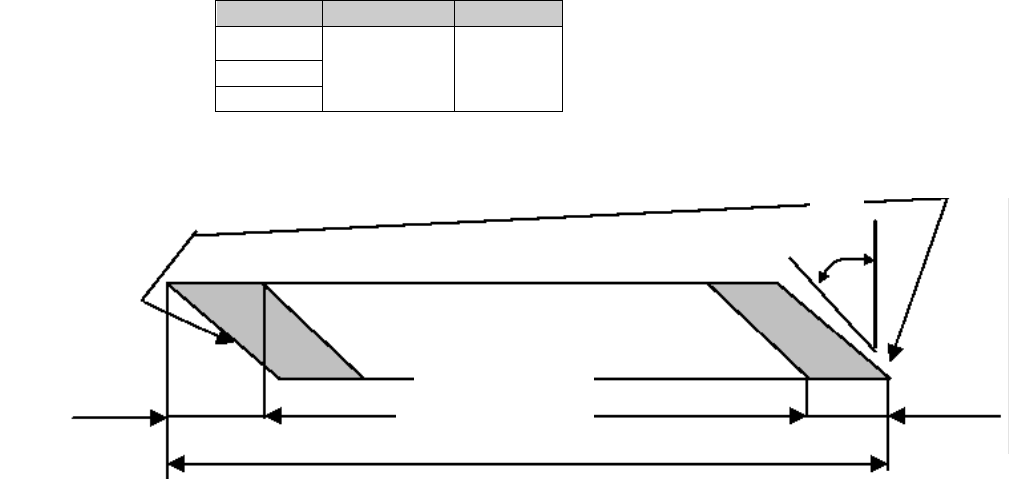
Specifications for Re-sharpening Bed Knives
Every bed knife has two cutting edges, one on each side. When a blade becomes worn,
the knives can be rotated. To regrind these knives, refer to Bed Knife Specifications.
Replacement of these knives is necessary when their length fails below the recommended
tolerance.
Model
X
Y
BP810
2.43 in.
61.8 mm
2.75 in.
69.9 mm
BP814
BP818
Grind these surfaces only
20°
Minimum length, X
New knife length, Y
.158", (4 mm)


