


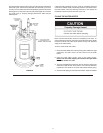


15
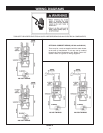
4. Remove the two wires attached to the thermostat.
5. Remove the thermostat from behind the thermostat bracket.
6. Disconnect wires from thermostat and slide out of the bracket.
7. Place the new lower thermostat in the bracket making sure it fits
firmly against the tank.
8. Attach the wires to the new thermostat.
NOTE: Some of the terminals may require straight-in wiring
through an eye-opening. If wires are now looped, recut
and strip wire 3/8” to a straight length and insert.
9. Put plastic terminal cover back in place.
10. Fold back the insulation to cover the thermostat.
11. Replace outer door then turn the electric power on.
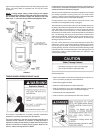
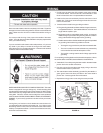
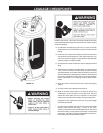
ELEMENT CLEANING / REPLACEMENT
To remove the element from the tank in order to clean or replace it:
1. Before beginning turn “OFF” the electric power supply to the water
heater.
2. Turn off the water supply to the water heater at the water shut-off
valve or water meter.
FIGURE 14.
3. Attach a hose to the water heater drain valve and put the other end
in a floor drain or outdoors. Open the water heater drain valve.
Open a nearby hot water faucet which will relieve pressure in the
water heater and speed draining.
FIGURE 15.
The water passing out of the drain valve may be extremely hot. To
avoid being scald, make sure all connections are tight and that the
water flow is directed away from any person.
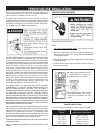
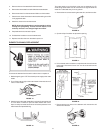
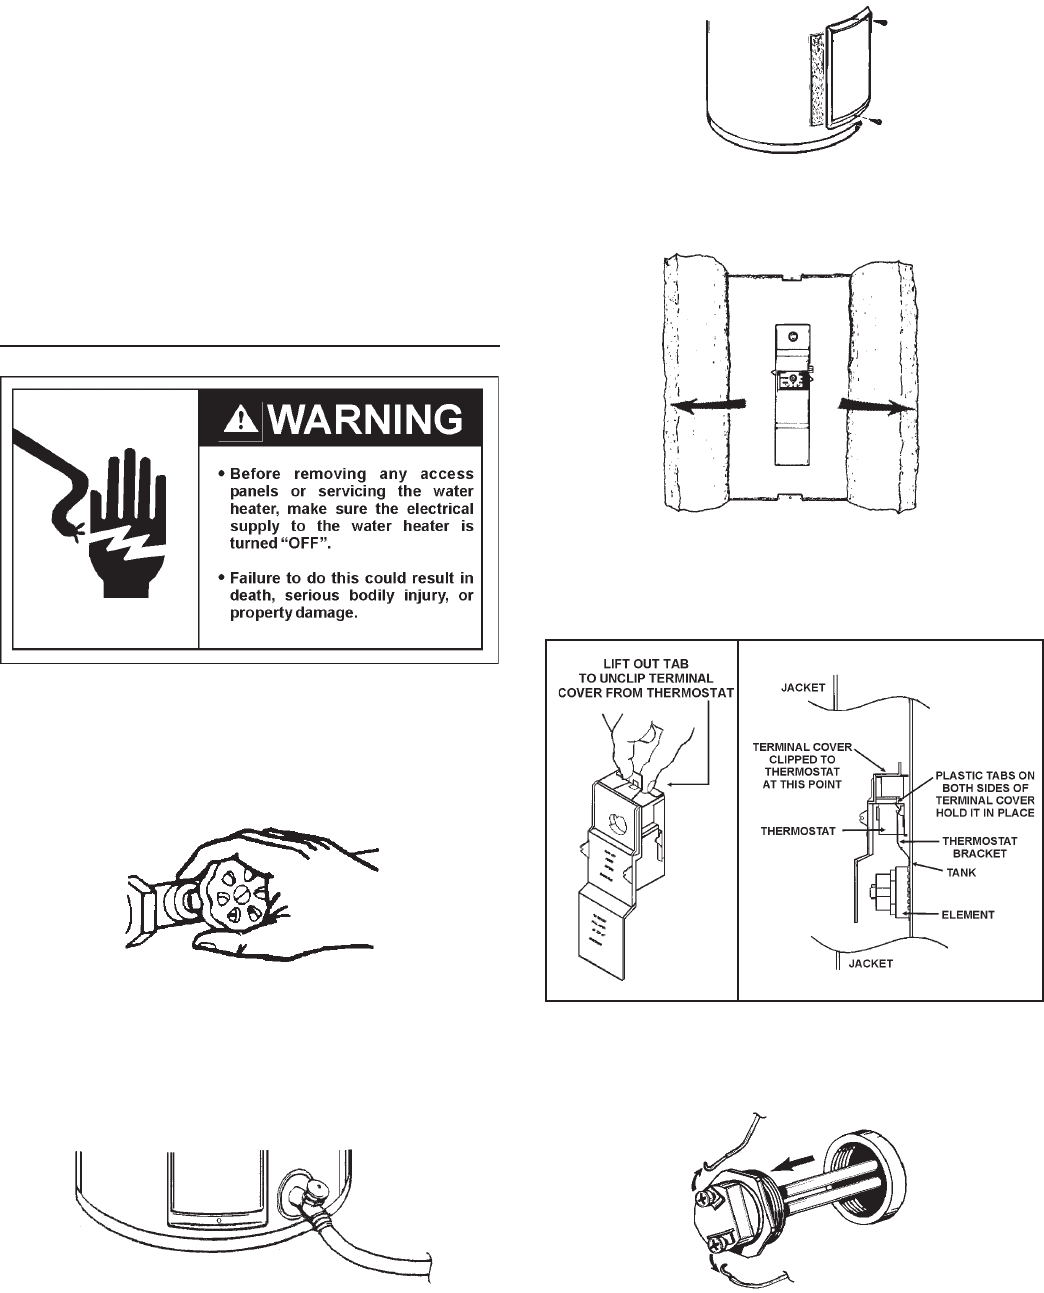
4. Remove the two screws securing the outer door, and remove door.
FIGURE 16.
5. Open the flap of insulation to expose the opening.
FIGURE 17.
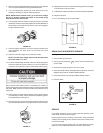
6. Lift out the tab as shown below to unclip the terminal cover from the
thermostat. The terminal cover can now be removed from the
thermostat.
FIGURE 18.
7. Disconnect the two wires on the element and unscrew the old
element from the tank.
FIGURE 19.