


(GB) 3
GB
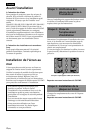
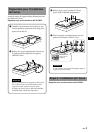
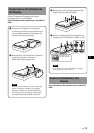
3 Remove six screws on the rear side of the
Display Unit (for KE-V42A10E only).
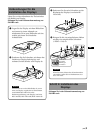
4 Attach the supplied four hooks with the
supplied four screws (+PSW5 × L16).
Note
When using an electric screwdriver, set the
torque setting to approximately 2 N·m.
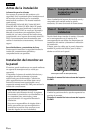
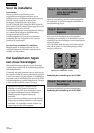
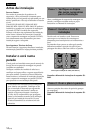
Step 4: Install the Display Unit
Refer to the Instructions for the SU-PW2.
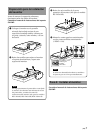
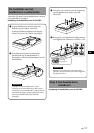
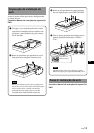
Prepare for the installation of
the Display Unit
Before removing the Table-Top Stand, disconnect
all the cables from the Display Unit.
Refer to the Instructions for the SU-PW2.
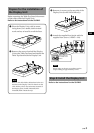
1 Place the Display Unit, with its screen
facing down, on a stable, cloth-covered
work surface, at least 20 cm off the floor.
2 Remove the screws that hold the Display
Unit to the Table-Top Stand and detach the
Table-Top Stand from the Display Unit.
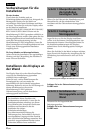
Note
Remove the cable holder beforehand when it is
attached to the Display Unit. For details on the
cable holder, refer to the instruction manual of
the Display Unit (for KE-V42A10E/KLV-
V40A10E/KDL-V40A11E only).
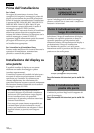
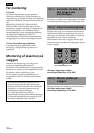
Screw into the
recessed screw
holes.