INSTALLATION & ASSEMBLY INSTRUCTIONS
Window Preparation
Please read all instructions prior to installing your air conditioner. Two people are recommended to install this product. If
a new electrical outlet is required, have the outlet installed by a qualified electrician before installing the unit.
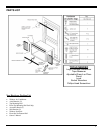
Before installing the unit, check the dimensions of your window to make sure the air conditioner will fit. This unit is made
to fit inside a standard double-hung window. Make sure the window is in good shape and able to firmly hold the needed
screws. If not, make repairs prior to installing the unit.
Storm Window Requirements
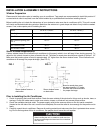
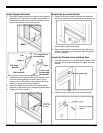
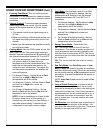
A storm window frame will not allow the air conditioner to tilt properly which in turn will keep it from draining properly. To
adjust for this, attach a board or piece of wood to the sill. The board or wood piece should have a depth of at least 1 1/2”.
Make sure the board or piece of wood is approximately 1/2” higher than the storm window frame. This will allow the air
conditioner to tilt enough for proper drainage. (See FIG. 2).
Prior to Installing the Air Conditioner
1. Check for anything that could block airflow. Check the area outside of the window for things such as shrubs, trees, or
awnings. Check the inside area to make sure curtains, drapes, or blinds will not prevent proper airflow.
2. Check the available electrical outlet. The power supply must be the same as shown on the unit serial nameplate
(located on the left side of the unit, near the front faceplate). Be sure the outlet is close enough for the power cord to
reach.
3. Carefully unpack the air conditioner. Remove all packing material and make sure the floor is protected when remov-
ing. Due to the large size of this air conditioner, two people should move the unit together.
6
Model SG-WAC-18ESE_C
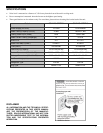
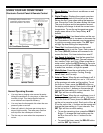
Unit Height 17 5/8”
Unit Width 23 1/2”
Min. Window Opening (See
FIG 1)
18 1/2”
Min. Window Width 26 1/2”
Max Window Width 40 1/2”
SG-WAC-15ESE-C
17 5/8”
23 1/2”
18 1/2”
26 1/2”
40 1/2”
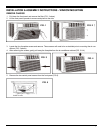
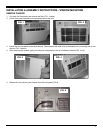
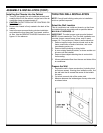
FIG. 1
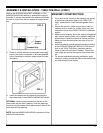
When handling the unit, be careful to avoid cuts from
the sharp metal edges and aluminum fins on the front
and rear coils.
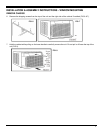
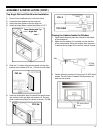
FIG. 2
Board or wood piece must
be approximately 1/2” higher
than the storm window frame
for proper drainage
Storm window frame
or obstruction
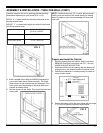
SASH
Storm window frame or
obstruction
SASH


