


74
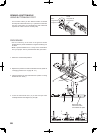
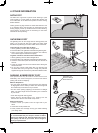
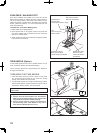
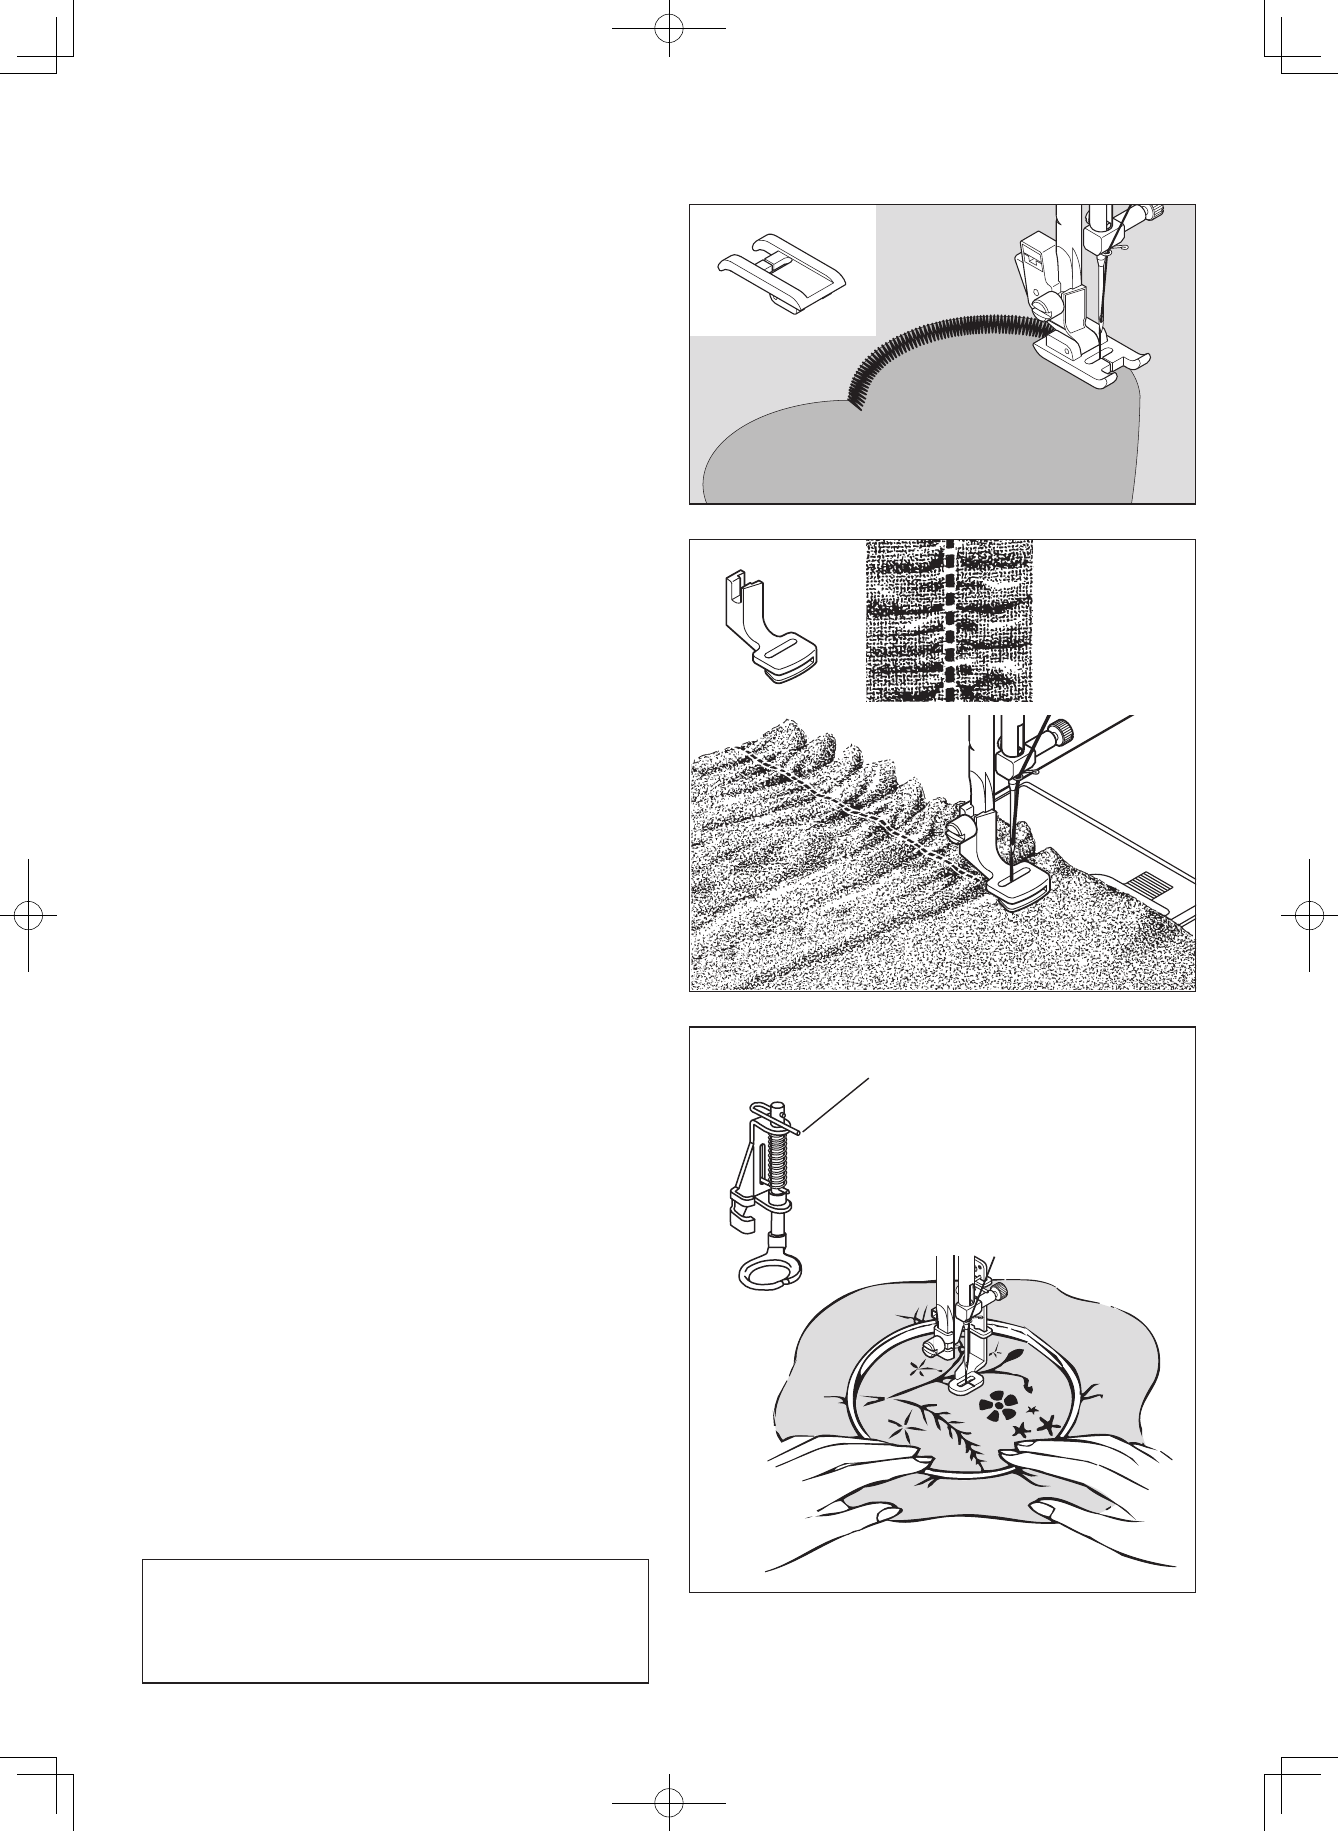
SATIN FOOT
The Satin foot is grooved to permit dense stitching to pass
under it easily. It is most useful for sewing satin stitches and
as an alternative to the General Purpose Foot when sewing
Stretch Stitches.
Closely spaced zig-zag stitches are called satin stitches. This
is an attractive stitch used primarily for appliqueing and bar
tacking. Slightly loosen top thread tension for satin stitching.
Use a backing of tissue paper or interfacing for the sheer
materials to avoid puckering.
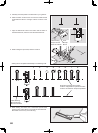
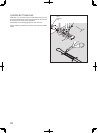
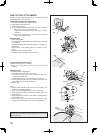
GATHERING FOOT
The gathering foot can form single rows of shirring quickly and
easily. You can also use this foot to gather one fabric while
simultaneously attaching it to another fabric which remains at.
To do shirring of a single layer of fabric:
1. Attach gathering foot and select straight stitch.
2. Place the fabric to be gathered underneath the gathering foot.
3. Select a long stitch length,which produced more fullness,
and increase upper thread tension slightly.
To gather one fabric and stitch onto another fabric:
1. Attach gathering foot and select straight stitch.
2. Place the fabric to be gathered underneath the gathering foot.
3. Insert the other fabric (that will remain at) into the slot of
the foot.
4. Lower the needle and sew a few stitches while holding the
thread ends taut.
5. As you sew, hold the upper fabric with your left hand and
the lower fabric with your right hand. Though they will feed
together through the machine, they will feed at different rates.
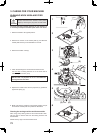
4. OTHER INFORMATION
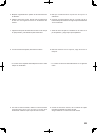
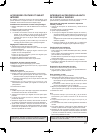
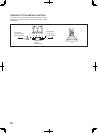
DARNING & EMBROIDERY FOOT
This special foot may be used to create free motion
embroidery, free motion monograms, as well as free motion
quilting, also known as stippling.
Machine Preparation
• For free motion embroidery and monograms: Set machine
for Zigzag Stitch in the width you desire. The stitch length will
be controlled by the movement of your hands.
• For free motion quilting (stippling): Set machine to Straight
Stitch. The stitch length will be controlled by the movement
of your hands.
• Cover feed dogs with darning plate.
• Attach Darning & Embroidery Foot, making sure the
extension arm sits over the needle clamp screw.
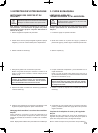
Sewing Instructions
1. Stencil or draw your pattern onto the right side of your
fabric.
2. Insert fabric under presser foot.
3. Lower presser foot and begin moving your fabric following
your design lines.
NOTE: For better control when free motion sewing, it
is recommended that you hoop the section of fabric
that you are working with. Hand movement will control
the quality and look of your stitch. Do not forget to
lower your presser foot.
Extension arm
Bras de rallonge
Brazo extensor