


16
17
How To
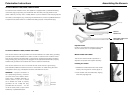
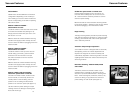
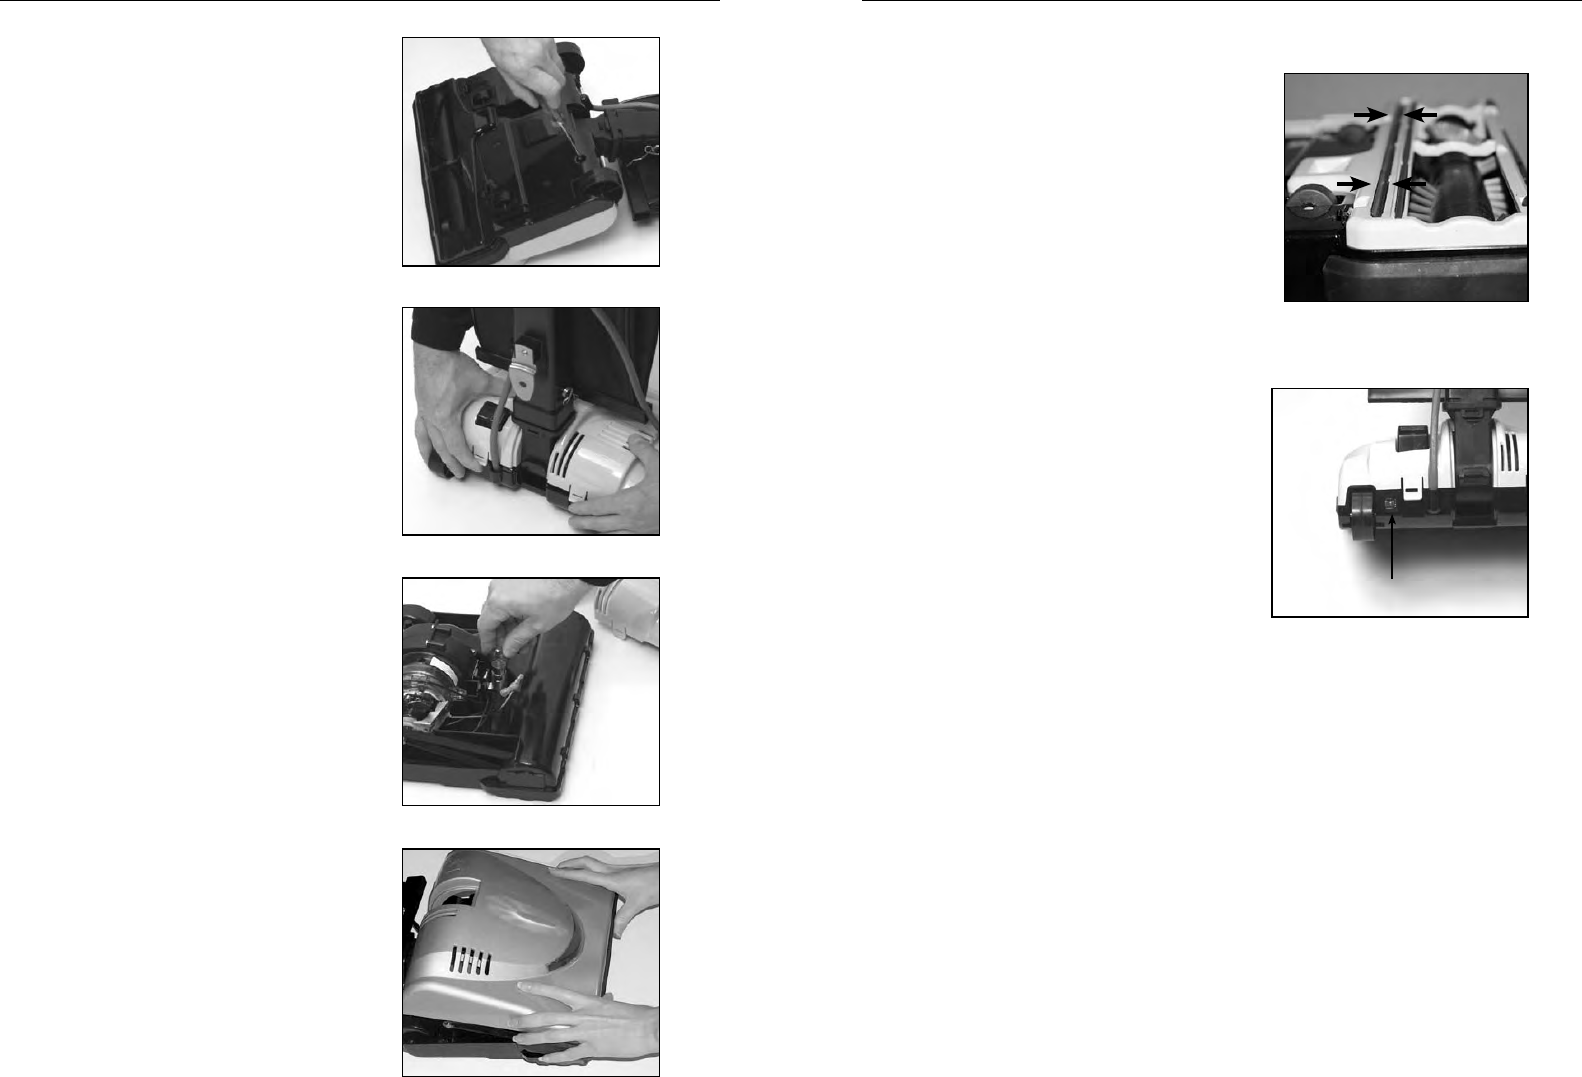
Replace the Squeegee -
Models F3600, F3700 and F3700C
If your squeegee splits or begins to look
worn, simply remove the worn squeegee
from its track and slide a new one into
the track (figure 26). If you have trouble
installing the new squeegee, please see
your Authorized Retailer.
Reset the circuit breaker
Your vacuum features a circuit breaker
to protect the machine against damage
due to a surge in the electrical current.
Electrical surging can be a result of, though
not limited to, a jammed brushroll (i.e.
vacuuming up a sock or throw rug) or a
jammed motor fan.
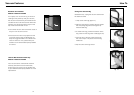
Should your Freedom vacuum cleaner
experience a jammed brushroll with the
circuit breaker tripping, first turn the
vacuum off and unplug the unit. Inspect
the brushroll by removing the bottom plate
(see “How to Remove Bottom Plate”) and
remove any debris which may be causing
the jam. Reinstall the bottom plate (see
“How to Install Bottom Plate”), reset the
circuit breaker by pressing the Circuit
Breaker Reset Button (figure 27), plug in
power cord, and turn unit on. If the unit
fails to turn on, return it to an Authorized
Simplicity Retailer for service.
Fig. 27
Circuit breaker
reset button
Fig. 26
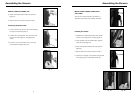
How To
Replace the Headlight Bulb
WARNING: To reduce the risk of electric
shock and injury from moving parts, unplug
vacuum before cleaning or servicing.
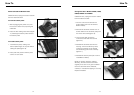
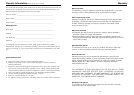
1. First remove the nozzle housing. Turn
the unit over to expose the underside.
Locate the two main nozzle screws
(figure 22) and remove both. Turn the
unit right side up. Locate the two nozzle
tabs on the back of the unit (figure 23)
and unlatch the nozzle housing. (Note: It
is easier to remove the nozzle when the
vacuum is lying flat on its back.) Lift the
nozzle housing off the unit to expose the
light bulb.
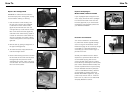
2. Remove bulb by pulling it straight out of
the light socket (figure 24).
3. To install new bulb, simply reinsert the
bulb into the light socket.
4. Place nozzle housing back onto unit with
the front side of the nozzle set into place
first (figure 25) then press the nozzle
downward until nozzle “clicks” into place
on both sides. Turn unit over and reinsert
two main nozzle screws.
Fig. 22
Fig. 23
Fig. 24
Fig. 25