2. The pump will not remove all water. On a flat surface
Model Nos. 2300, 2305, and 2310 will pump down
to within 1/8" of the pumping surface. Model No.
2355 will pump down to within 5/8" of the pumping
surface.
NOTICE: For long cycle times, the pump must be
submerged to prevent the motor from overheating. A
fully submerged pump is preferred for proper cooling
when a pump runs for a long time.
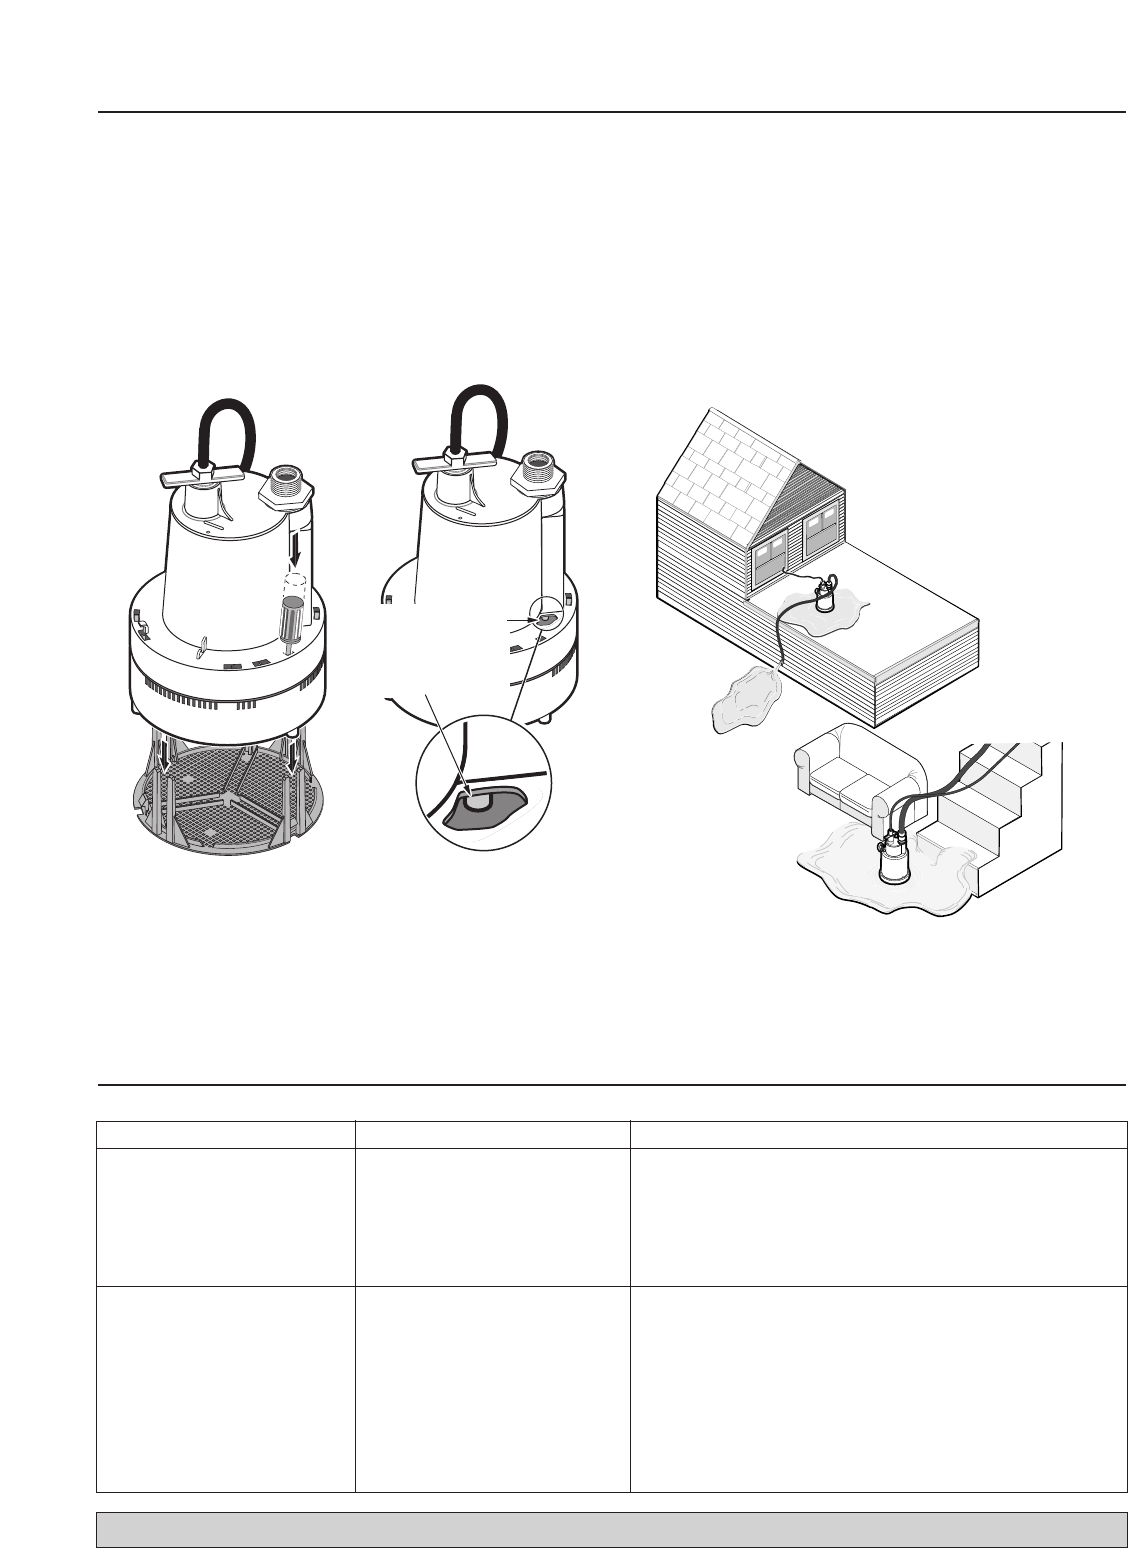
AIRLOCKS
When a pump airlocks, it runs but does not move any
water. An airlock will cause the pump to overheat and fail.
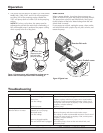
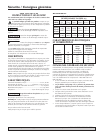
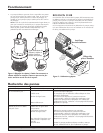
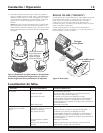
The pumps have a built in anti-airlock hole. See Figure 1
for the location of the hole. Water leakage from the anti-
airlock hole is normal.
If you suspect an airlock, unplug the pump, clean out the
anti-airlock hole with a paper clip or a piece of wire, and
restart the pump.
For parts or assistance, call Simer Customer Service at 1-800-468-7867 / 1-800-546-7867
Operation 4
Troubleshooting
SYMPTOM PROBABLE CAUSE(S) CORRECTIVE ACTION
Pump won’t start or run. Pump is not plugged in. Check and see if pump is plugged in to a proper outlet.
Blown fuse. If blown, replace with fuse of proper size or reset breaker.
Low line voltage. If voltage is under recommended minimum. Check size of
wiring from main switch on property. If OK, contact power
company or hydro authority.
Defective motor. Replace pump.
Pump operates but Restricted discharge Remove pump and clean pump and piping.
delivers little or no water. (obstacle or ice in piping).
Restricted intake. Remove the pump and clean out the intake screen.
Low line voltage. The voltage is under recommended minimum. Check size of
wiring from main switch on property. If OK, contact power
company or hydro authority.
Worn or plugged impeller. Replace pump.
The anti-airlock hole is plugged. Turn off the pump, clean out the anti-airlock hole, and
restart the pump.
Anti-Airlock Valve
(Remove screen
and look under
pump for access)
Roofs
3696 0500 NEW
.3
Basements
.3
Dewater flat roofs
Empty flooded rooms
Figure 1: Unsnap screen with screwdriver and tap out to
clean it. Be sure all snaps catch when reinstalling it.
Figure 2:Typical uses


