7
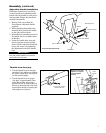
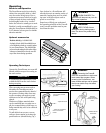
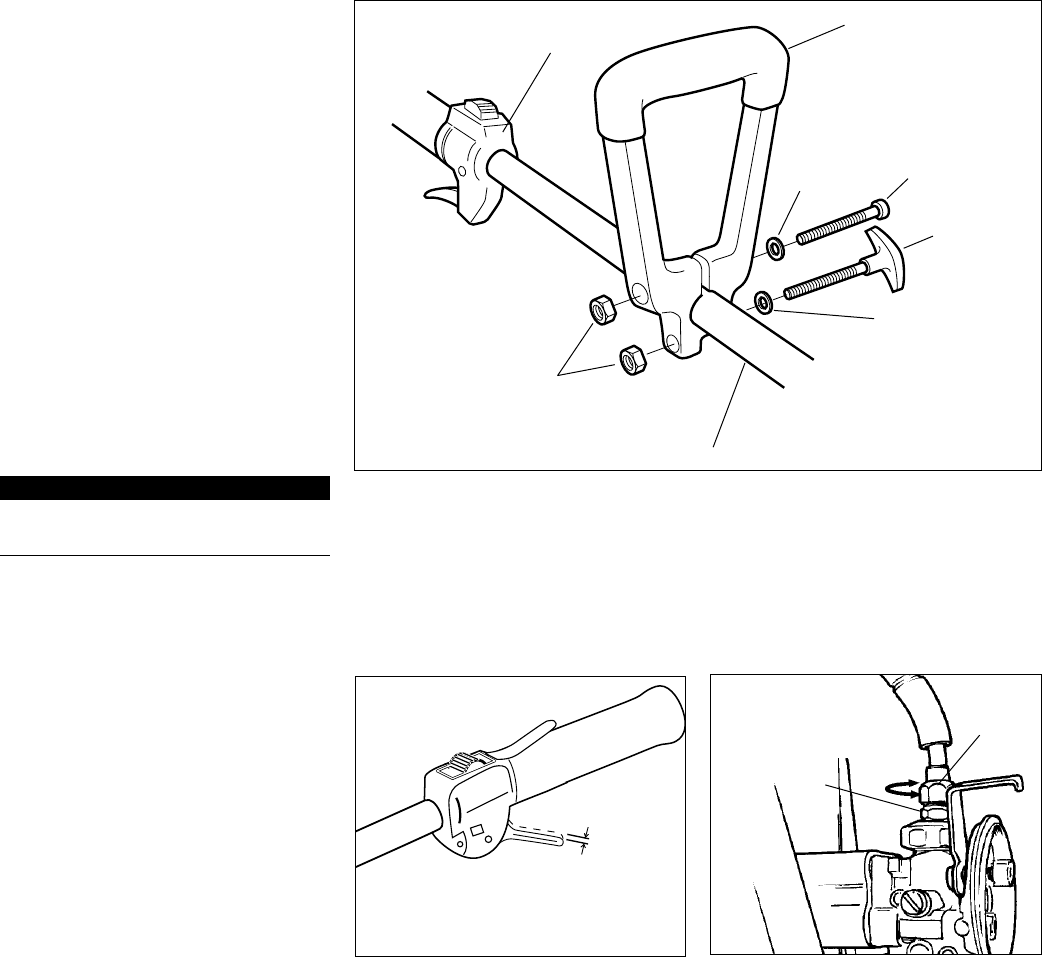
Adjustable Handle Installation
Follow these instructions if you wish to
use the PowerBroom’s adjustable handle
instead of the loop handle on youlr power-
head assembly. Remove the powerhead
assembly’s loop handle.
Remove both screws from the 1.
PowerBroom’s adjustable handle
assembly.
While spreading the handle at the 2.
mounting hole, position the handle
on the outer tube as shown.
Reinstall the two mounting screws in 3.
the handle, but do not tighten them
at this time.
Locate the handle at the best posi-4.
tion for operator comfort (usually
about 10 inches ahead of the throttle
lever), and secure it by tightening
the adjustment knob at the handle
base.
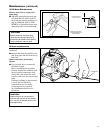
Handle
Hex Nut
Washer
Outer Tube
Adjustment Knob
Mounting Screw
Throttle Assembly
Washer
IMPORTANT!
One side of the handle is recessed to
receive the two hex nuts.
Assembly (continued)
Install the adjustable handle
3/16-1/4 inch (4-6 mm)
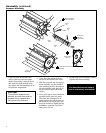
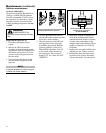
Throttle Free Play
Test the throttle lever for smooth 1.
operation. If any stiffness or binding
are noted, repeat Steps 1 through 4
(on the previous page).
Test the throttle lever for proper 2.
“free play” of approximately 7mm
in the idle position. If necessary,
adjustments can be made at the car-
buretor by loosening the cable lock-
nut and then raising or lowering the
cable adjuster as required.
Cable
Adjuster
Locknut
Throttle lever free play
Adjust throttle lever free play
Raise or lower cable
adjuster as required
and then tighten
locknut


