CHARGING THE CORDLESS SWEEPER
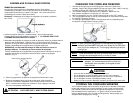
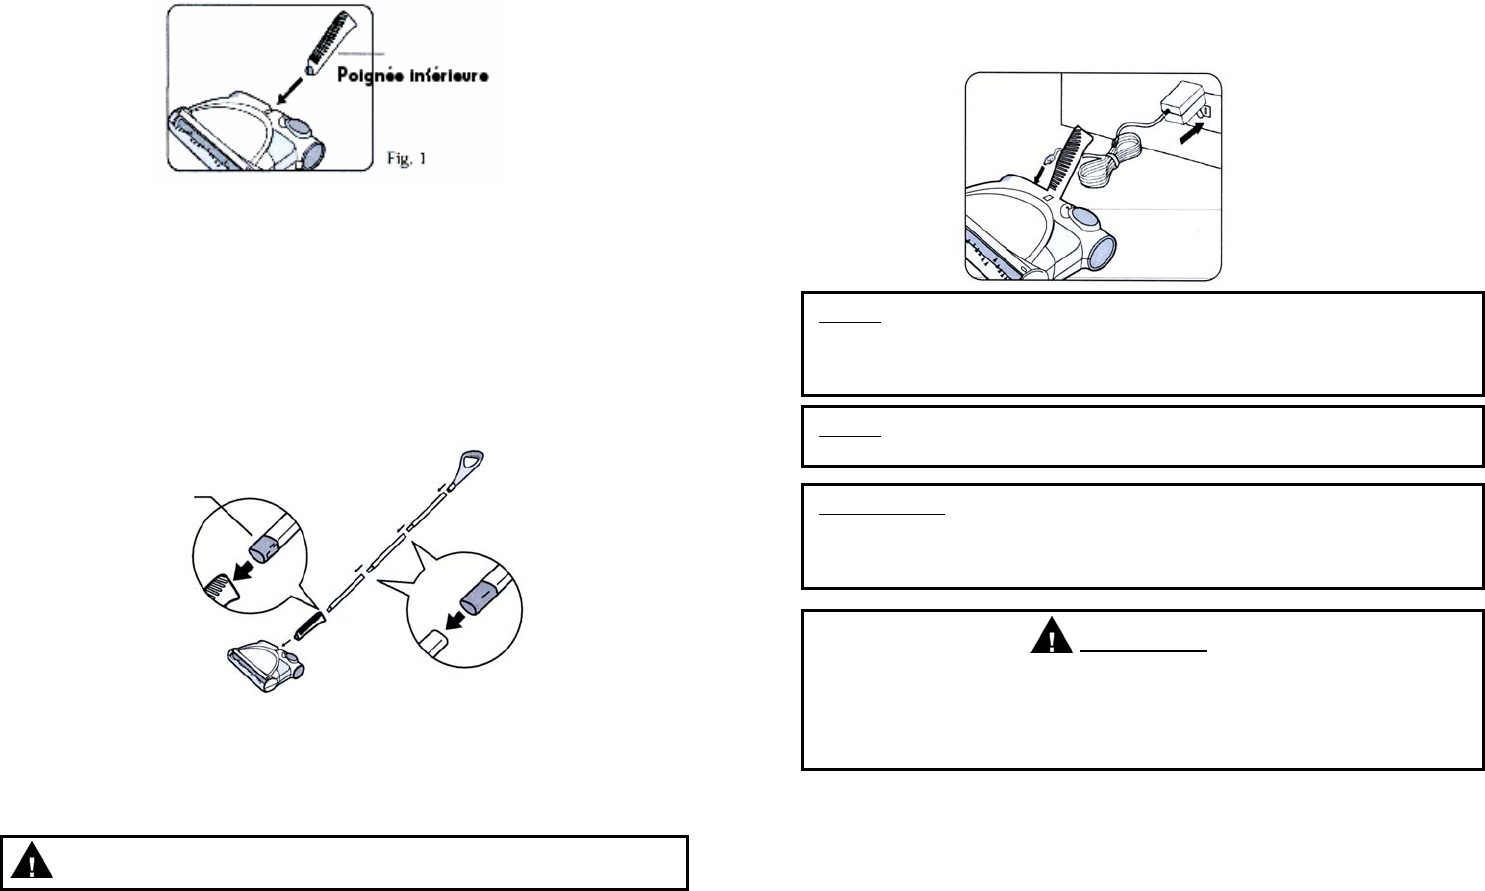
1. Connect the charger plug to the charging jack or hole on the back of the
sweeper. Plug the the charging adapter into the wal
l outlet. (120V., 60Hz.) Use only
TechWorld Charger AD-0720-UL-8 or AD-0815-UL8. (Fig. 8)
2. This cordless sweeper is powered by Ni-Cd batteries. Before first use,
they must be charged for a minimum of 16 - 20 hours.
3. When recharging the unit, the "On/Off" switch must be in the "OFF" position.
4. The charging light indicator on the top of the sweeper will illuminate to indicate that
the sweeper is properly charging.
5. To recharge, repeat step #1 above. Charging times will vary depending upon
the amount of usage between charging cycles.
6
NOTE: Peak performance may only be realized after the unit has been
charged and discharged two (2) or three (3) times.
IMPORTANT: To maintain peak performance of your cordless
sweeper, it is recommended that the unit be fully
discharged, then completely re-charged at least
once a month.
Fig. 8
CAUTION
• Use only with the battery pack supplied with the unit.
• Do not attempt to remove the battery pack from the unit to charge it.
• Never attempt to throw the battery pack or unit into a fire or incinerate it.
• Do not attempt to remove or damage the battery casing.
• Battery must be recycled or disposed of properly at the end of it's service life.
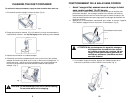
STORING THE CORDLESS SWEEPER
Your cordless sweeper may be stored by using the slot on the back of the upper
handle and hanging it from a screw secured to a wall or other vertical surface.
Use a #6 flat or pan head screw with the appropriate hardware for the surface
that the sweeper will be mounted on, (i.e. gyproc). Allow the screw head to
extend a approximately 3/16" from the mounting surface. Always empty your
sweeper before hanging up for storage.
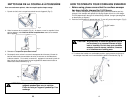
ASSEMBLAGE DU BALAI SANS CORDON
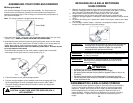
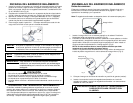
1. Insérez la poignée inférieure – extrémité étroite – dans la tête motorisée.
Pousser jusqu'à ce qu‘elle soit bien en place (fig. 1). LA POIGNÉE PEUT ÊTRE
TOURNÉE POUR EN FACILITER L’USAGE.
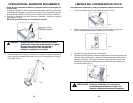
2. Assemblez les poignées de rallonge en métal en pressant l’encart en plastique dans le
tube en métal correspondant. Appuyez jusqu’à ce que presque tout l’encart en
plastique ne soit plus visible ou que vous ne puissiez l’enfoncer plus profondément.
Pressez l’assemblage de la poignée dans la poignée supérieure.
REMARQUE : un des tubes de rallonge en métal est doté d’un encart en
plastique différent. Ce tube doit se trouver au bas de la poignée.
Insérez l’assemblage de la poignée dans la poignée inférieure de façon à ce que la
languette des encarts en plastique s’enclenche dans la fente de la poignée
inférieure. (Fig. 2)
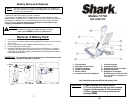
Avant de commencer:
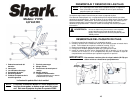
Le balai sans cordon requiert un assemblage minimal. Pour faciliter
l'assemblage et l'utilisation, sortir le balai du carton et se familiariser avec les
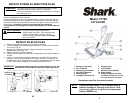
composantes énumérées sur le dessin à la page 2. Ceci vous aidera à faire
l’assemblage et à utiliser le balai sans cordon.
Remarque : L’adaptateur de recharge est rangé dans la coupelle à poussière
pour l’envoi.
Insérer dans la poignée inférieure
3. Placez la poignée dans sa position de rangement orientée vers le haut.
4. Branchez l’adaptateur dans la prise de recharge de la tête motorisée.
Branchez le cordon de l’adaptateur dans une prise murale normale (120V,
60Hz.). Le témoin de recharge vert s’allumera. Sinon, appuyez une seule
fois sur le commutateur marche/arrêt.
21
Fig. 2
ATTENTION: N’UTILISER QUE L’ADAPTATEUR SHARK
NOTE: If, when you place the sweeper to recharge and the charging
indicator light does NOT illuminate, then press the On/Off button
once to turn the sweeper off. The charging indicator light should
now light up.


