Filter Gasket
This side into unit first
Caution: Do not use water or any
other household cleaner to clean the
permanent HEPA-Type filters.
Note: Vacuuming will clean the
permanent HEPA-Type filter, however
there will be some discoloration that will
remain on the filter, this is normal and
does not impede performance.
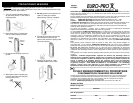
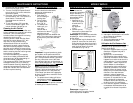
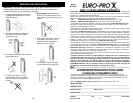
3. To clean the permanent HEPA-Type
filters, use a vacuum with a brush
attachment only. Vacuum the dirty
side of the filter only and in between
the pleats of the permanent HEPA-
Type filters carefully. (Fig. 9)
7
MAINTENANCE INSTRUCTIONS
Fig. 9
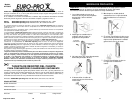
Warning: Never place filters in the unit
backwards, remaining dust will be blown
out into the air.
Note: The unit will not operate unless
the air intake grill is installed correctly.
5. Turn the unit “On” and then use a
paperclip or pin and insert one end
into the “Filter Reset” and press on
the pin until the “Clean Filter
Indicator” light goes out. The unit is
now reset for a new cycle.
Fig. 8
B) Cleaning the Permanent HEPA-Type
Filter
1. Remove the air intake grill from unit.
(Fig. 6)
2. To remove the permanent HEPA-
Type filter, grasp the sides of the filter
and pull outwards. (Fig. 8)
4. Place filters into unit ensuring that
the gasket side goes into the unit first
then replace air intake grill. (Fig. 9)
Fig. 9
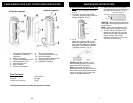
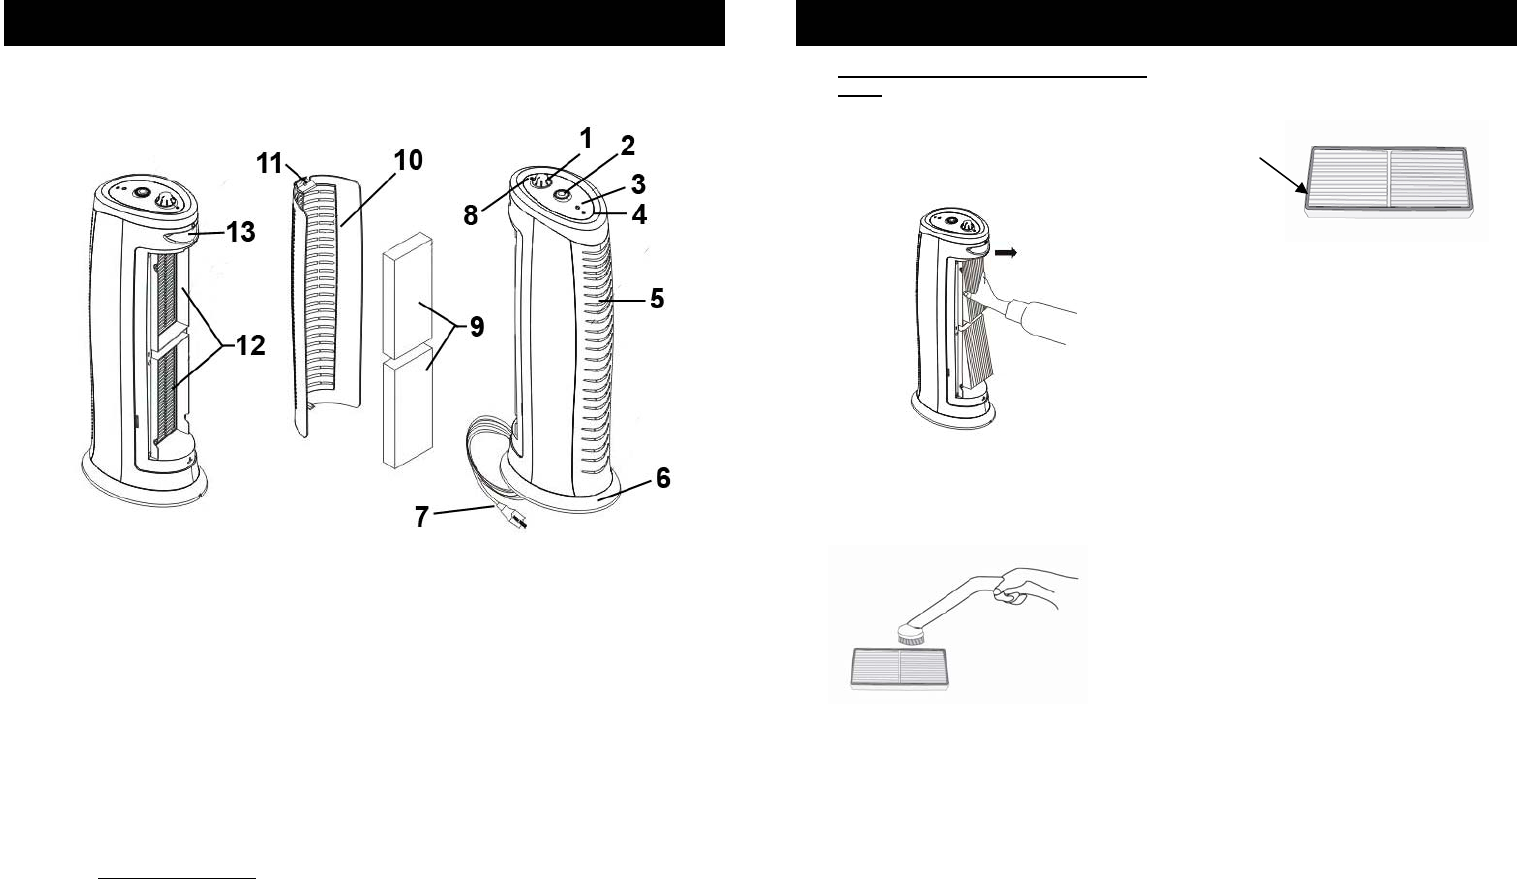
FAMILIARISEZ-VOUS AVEC VOTRE PURIFICATEUR D’AIR
Fiche Technique
Tension: 120 V, 60 Hz
Intensité: 60 watts
Surface de couverture : 140 pi
2
22
1. Interrupteur d’alimentation et
Contrôle de la Vitesse du
Ventilateur
2. Bouton d’ionisation
3. Témoin de Nettoyage du Filtre
4. Réinitialisation du Filtre
5. Grille de Sortie d’air
6. Base Pivotante
7. Cordon d’alimentation
Les illustrations peuvent différer de l’appareil lui-même.
8. Témoin d’alimentation
9. Filtres Permanents HEPA (2)
10. Grille d’entrée d’air
11. Verrou de la Grille d’entrée d’air
12. Compartiments de Filtre
13. Poignée de Transport
Arrière de l’appareil
Avant de l’appareil


