IINSTALLATION
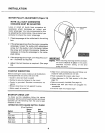
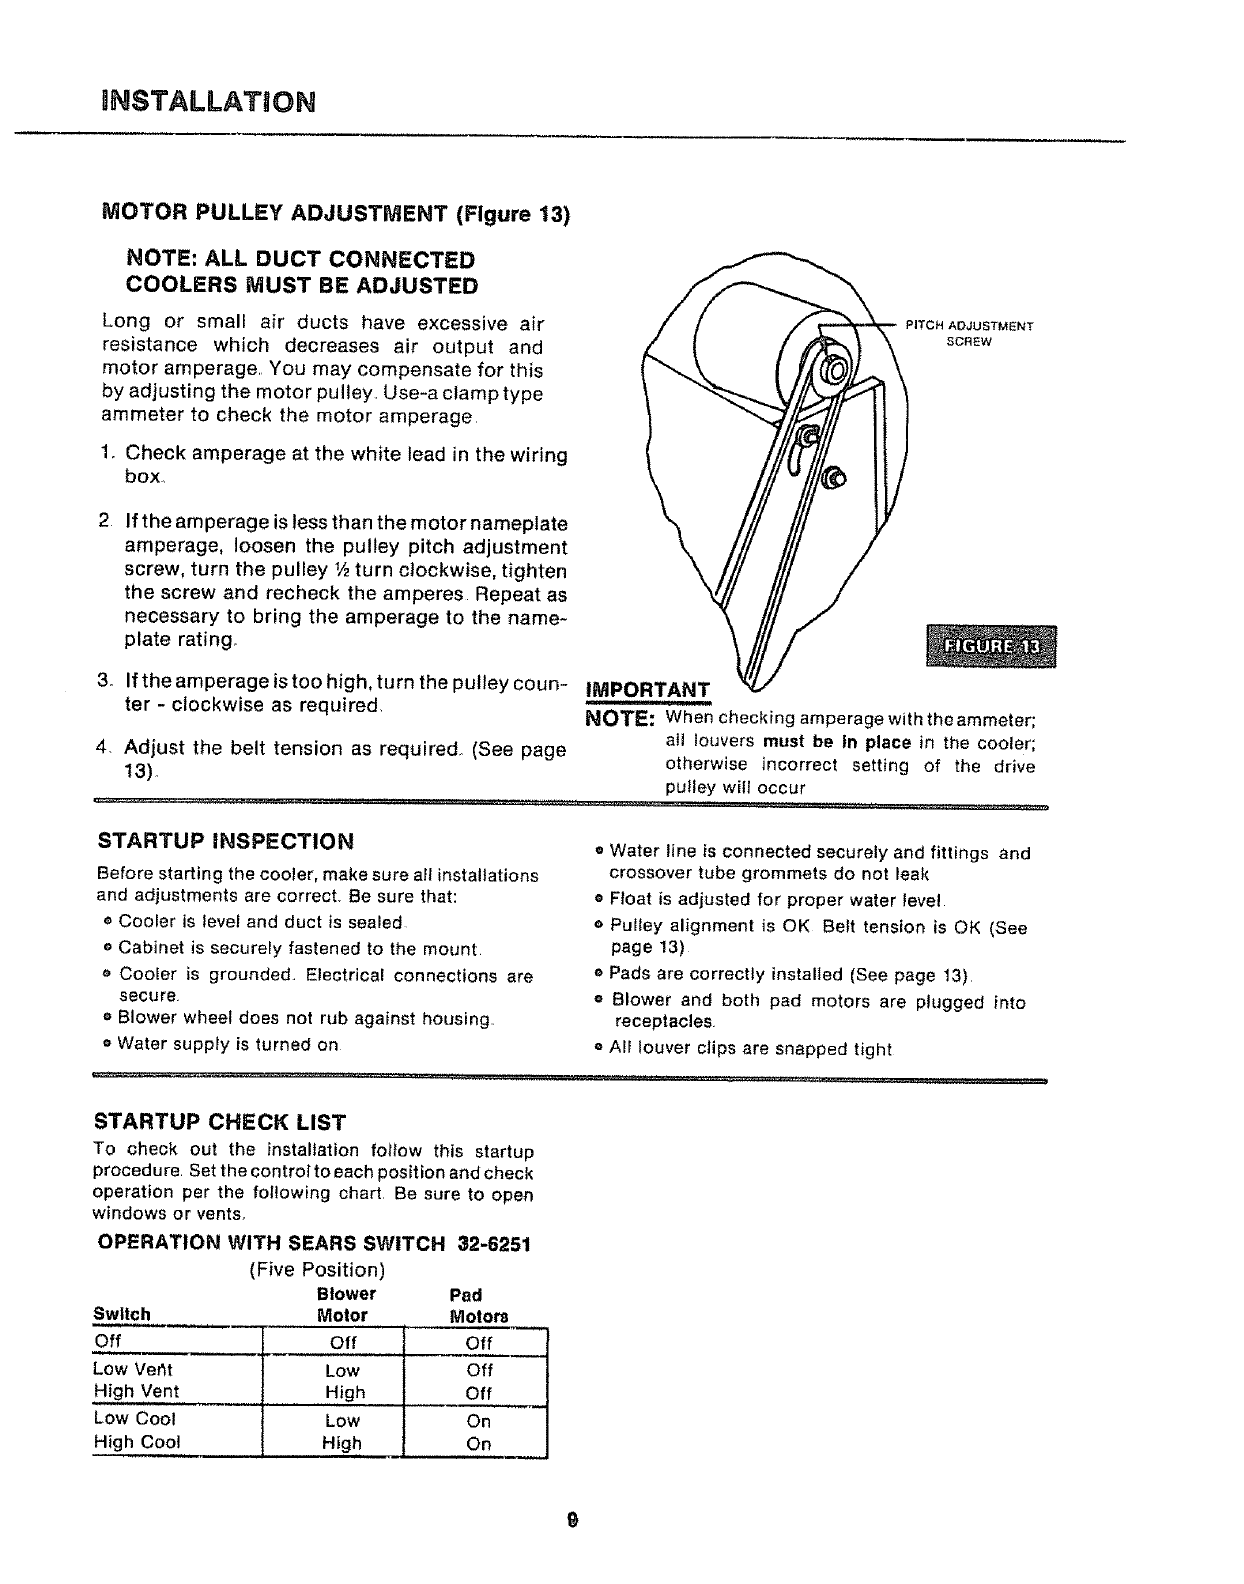
MOTOR PULLEY ADJUSTMENT (Figure 13)
NOTE: ALL DUCT CONNECTED
COOLERS MUST BE ADJUSTED
Long or small air ducts have excessive air
resistance which decreases air output and
motor amperage, You may compensate for this
by adjusting the motor pulley. Use-a clamptype
ammeter to check the motor amperage
1o Check amperage at the white lead in the wiring
box,,
PITCH ADJUSTMENT
SCREW
2 If the amperage is less than the motor nameplate
amperage, loosen the pulley pitch adjustment
screw, turn the pulley _ turn clockwise, tighten
the screw and recheck the amperes Repeat as
necessary to bring the amperage to the name-
plate rating°
3. If the amperage is too high, turn the pulley coun- IMPORTANT
ter - clockwise as required. NOTE: When checking amperage with theammeter;
all louvers must be tn place in the cooler;
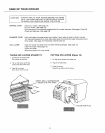
4 Adjust the belt tension as required (See page
13). otherwise incorrect setting of the drive
pulley will occur
STARTUP INSPECTION
Before starting the cooler, make sure al! installations
and adjustments are correct. Be sure that:
Cooler is level and duct is sealed
e Cabinet is securely fastened to the mount
o Cooler is grounded Electrical connections are
secure
o Blower wheel does not rub against housing.
o Water supply is turned on
............................... . ,,,,,_,_,,
• Water line is connected securely and fittings and
crossover tube grommets do not leak
e Float is adjusted for proper water level
o Pulley alignment is OK Belt tension is OK (See
page 13)
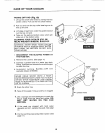
o Pads are correctly installed (See page 13)
= Blower and both pad motors are plugged into
receptacles
o All louver clips are snapped tight
STARTUP CHECK LIST
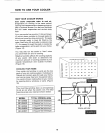
To check out the installation follow this startup
procedure Set the control to each position and check
operation per the following chart, Be sure to open
windows or vents_,
OPERATION WITH SEARS SWITCH 32-6251
Switch
Off
Low Veftt
High Vent
Low Cool
High Cool
(Five Position)
Blower
Motor
Off
Low
High
Low
High
Pad
Motor_
Off
Off
Off
On
On


