t
)
i4
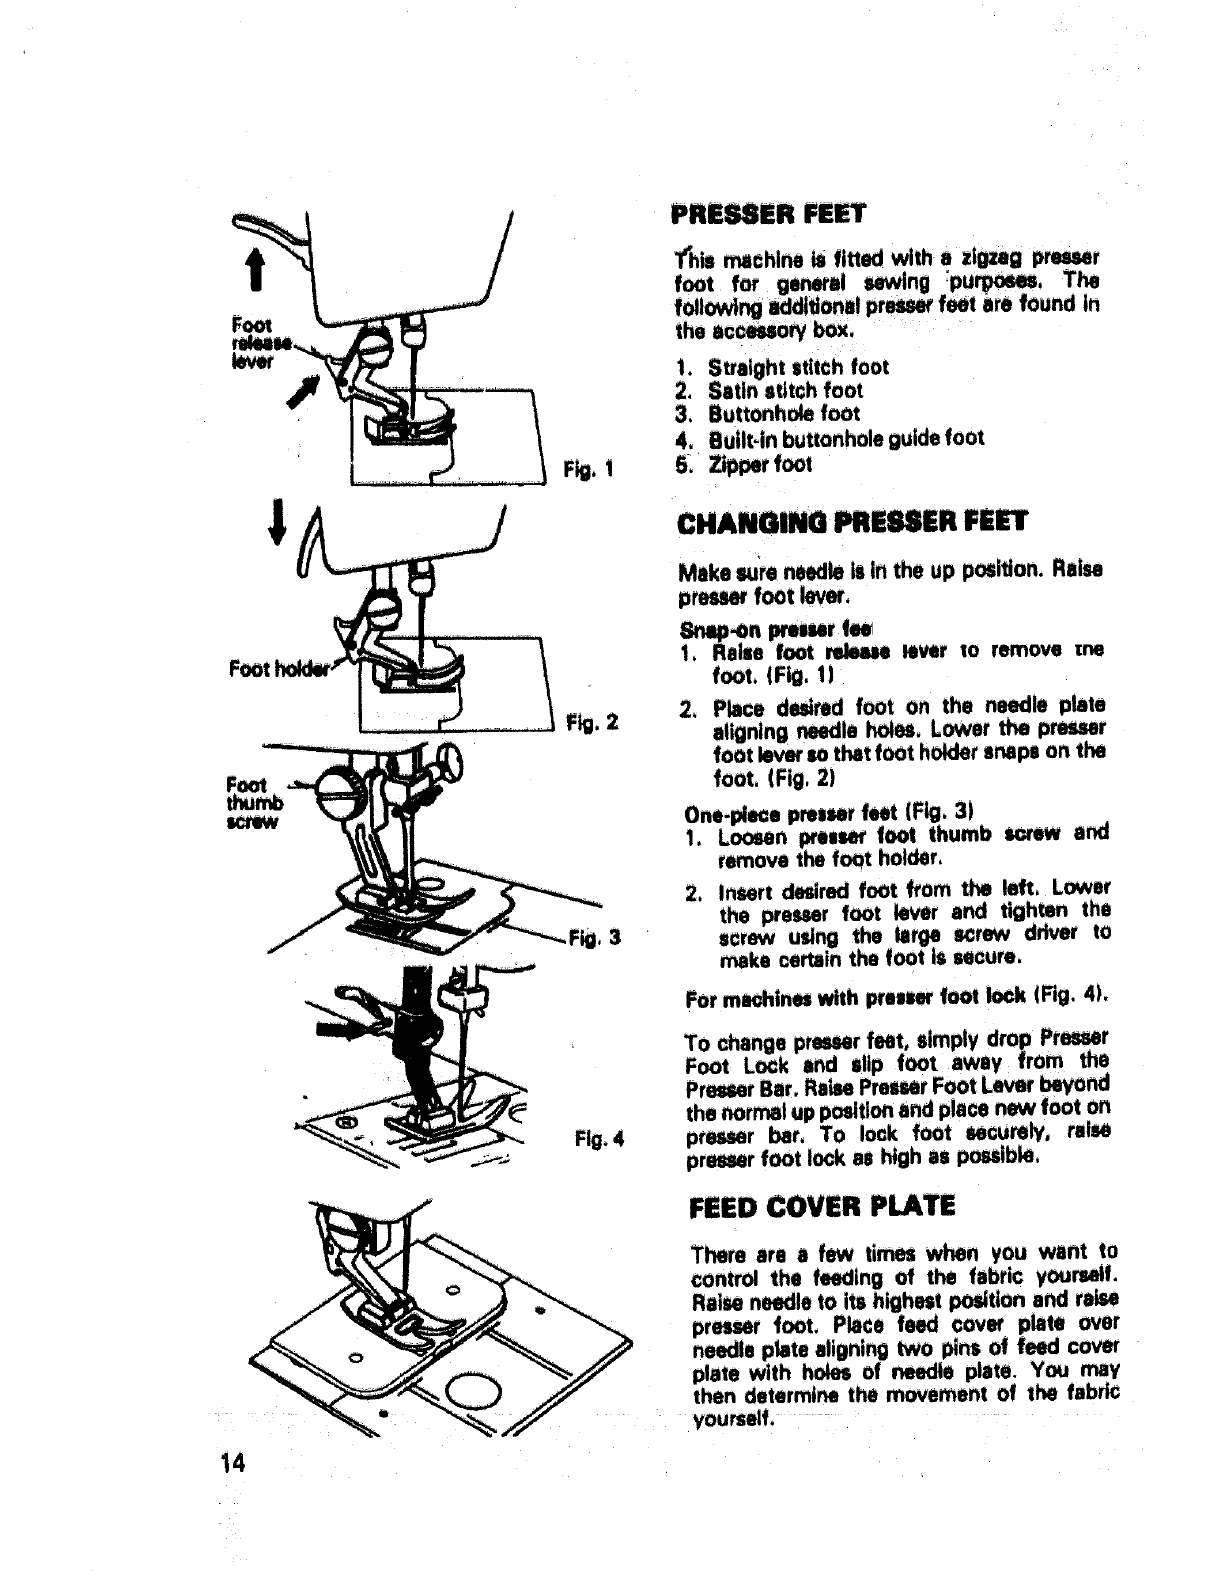
F_. i
Fig. 2
FIo. 4
PREUER FE_
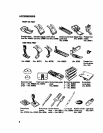
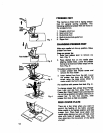
/'hismachineis fitted wlzha zigzagP_r
1. Straight stitch foot
2, Satin stitch foot
3, Buttonhole foot
4. Built.in buttonhole guide foot
6. Zipper foot
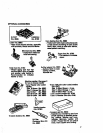
CHANGING _EUER FEn
Make sure needle is tn the up position, Raise
presser foot lever.
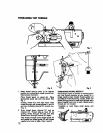
_.on miser f_
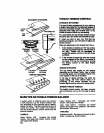
. Raise foot _ leVer 1o remove zne
foot, {Fig, 1)
2, Place desired foot on the needle plate
aligning _te holes, Lower the p_r
foot le_ so that foot holder snaps on the
foot, (Fig. 2)
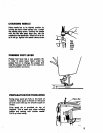
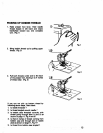
One.pkN:e presser feet (Fig, 3)
1, L_n IXesser foot thumb scxew and
remove the foQt holder,
2, Insert _red foot from the left, Lower
the presser foot lever and tighten the
screw using the large screw ddver to
make certain the foot is secure.
For m_lnas with prestJey foot lock (Fig, 4).
To change presser feet, simply drop Pr_r
Foot L_k and slip foot away from the
Presser Bar. Raise Pr_r Foot L_r _ond
the normal up position and place _ foot on
presser bar, To lock foot securely, raise
presser foot lock es high as possible,
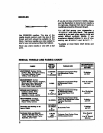
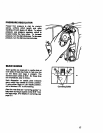
FEED COVER PLATE
There are a few ti_ when you want to
control the feeding of the fabric yourself.
Raise needle to its highest position and raise
presser foot, Place feed cover plate over
needle plate aligning two pins of feed cover
plate with ho_ of _e plate. Yo_ may
then determine the movement of the fabrk_


