


COMMISSIONING
68
21.
lv
22. Refi
orien
rear of the
Sec
Rec
valv
23. Switch on the
Pressure Testing the Solar Circuit
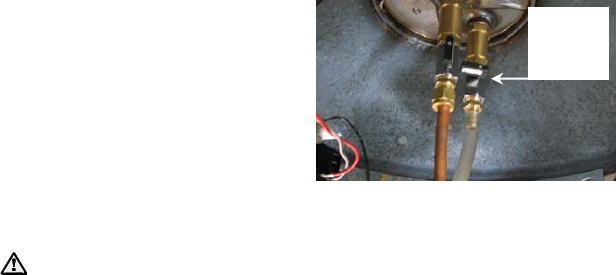
Close the heat exchanger drain
heat
va e.
t the solar circuit relief valve,
tating the valve outlet to the
solar storage tank.
with the spring clip.
onnect the drain pipe to the
e.
ure
exchanger
drain valve
closed
electrical supply at the isolating switch to the solar storage
tank.
W tank
behi
be li
The
The pump w solar
circu
Note
as th
low
circuit to stabilise and fill with closed circuit fluid.
25.
24. Check the solar pipe work and collector unions for leaks whilst the pump is
operating and the solar circuit is at its working pressure. It is important to
check all of the solar circuit pipe work, including in the roof space and on
the roof.
25. If the procedure to check the solar pipe work for leaks is not complete
before the pump has automatically turned off, then:
switch off the electrical supply at the isolating switch to the solar
storage tank.
wait one (1) minute for the operating system to reset to its
commissioning sequence, otherwise the pump may not operate when
the power supply is switched on.
recommence this procedure from step 23.
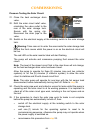
arning: Take care not to enter the area inside the solar storage
nd the front covers whilst the power is on as the electrical circuit will
ve.
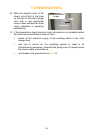
red LED on the solar monitor label will start flashing.
ill activate and commence pumping fluid around the
it.
: The level of the closed circuit fluid in the clear hose will not change,
e heat exchanger drain valve has been closed.
Al the pump to operate for three (3) minutes (one and two collector
systems) or for five (5) minutes (3 collector system) to allow the solar
Note: The solar pump will operate for one hour with the hot sensor lead
disconnected, before automatically turning itself off. Refer to
step