


PREPARATION:
Verify you have all parts before beginning the installation. Check foam insert closely for missing parts. Remove motor
from packing. To avoid damage to finish, assemble motor on soft padded surface or use the original foam inset in motor
box. Do not lay motor housing on its side as this could result in shifting of motor in decorative enclosure.
Caution: To avoid possible electrical shock, be sure
electricity is turned off at the main power box before wiring.
All wiring must be in accordance with National and Local
Electrical Codes and the ceiling fan must be grounded as a
precaution against possible electric shock.
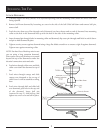
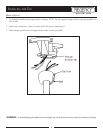
1. Locate ceiling joist where fan is to be mounted, being sure
location agrees with the requirements in the minimum
clearance section of this guide. Wood joist must be sound
and of adequate size to support 35 lbs. (See Page 1, Items
3 and 4).
2. If not already present, mount a UL listed outlet box marked
“suitable for fan support” following the instructions
provided with the outlet box. The outlet box must be
able to support a minimum of 35 pounds.
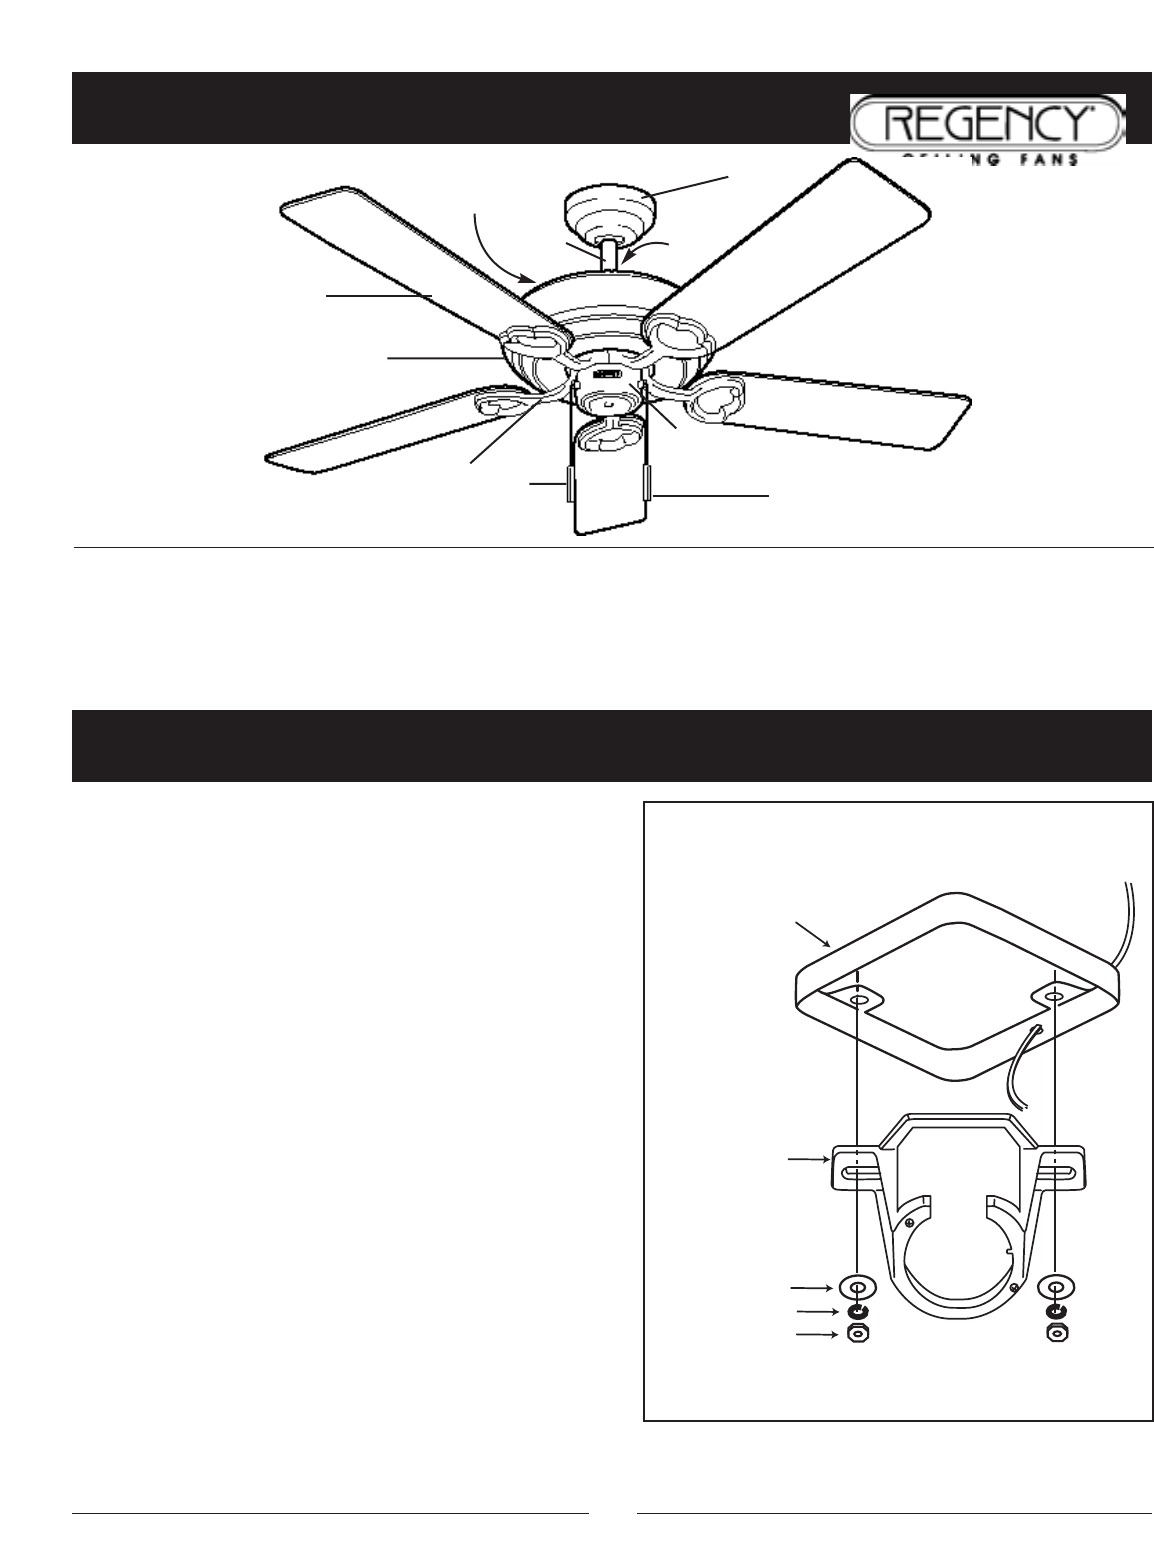
3. Attach hanger bracket to outlet box using screws provided
with the outlet box.
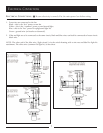
PREPARATION
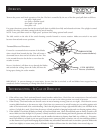
4
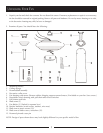
Ceiling Fan
Outlet Box
Hanger
Bracket
Flat Washer
Spring Washer
Washer Nut
Parts
identification
on
assembled
fan
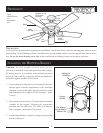
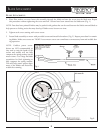
INSTALLING THE MOUNTING BRACKET
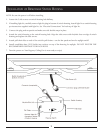
Blade
Blade
Arm
Pull
Chain
Detachable
Switch
Housing
Collar
Cover
Downrod
Canopy
Motor
Housing
Pull
Chain
Uplights (on top
of fan motor
housing)