


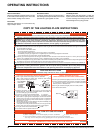

30 U37-1 Regency
®
ULTIMATE Rear Vent Direct Vent Freestanding Gas Stove
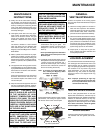
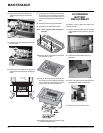
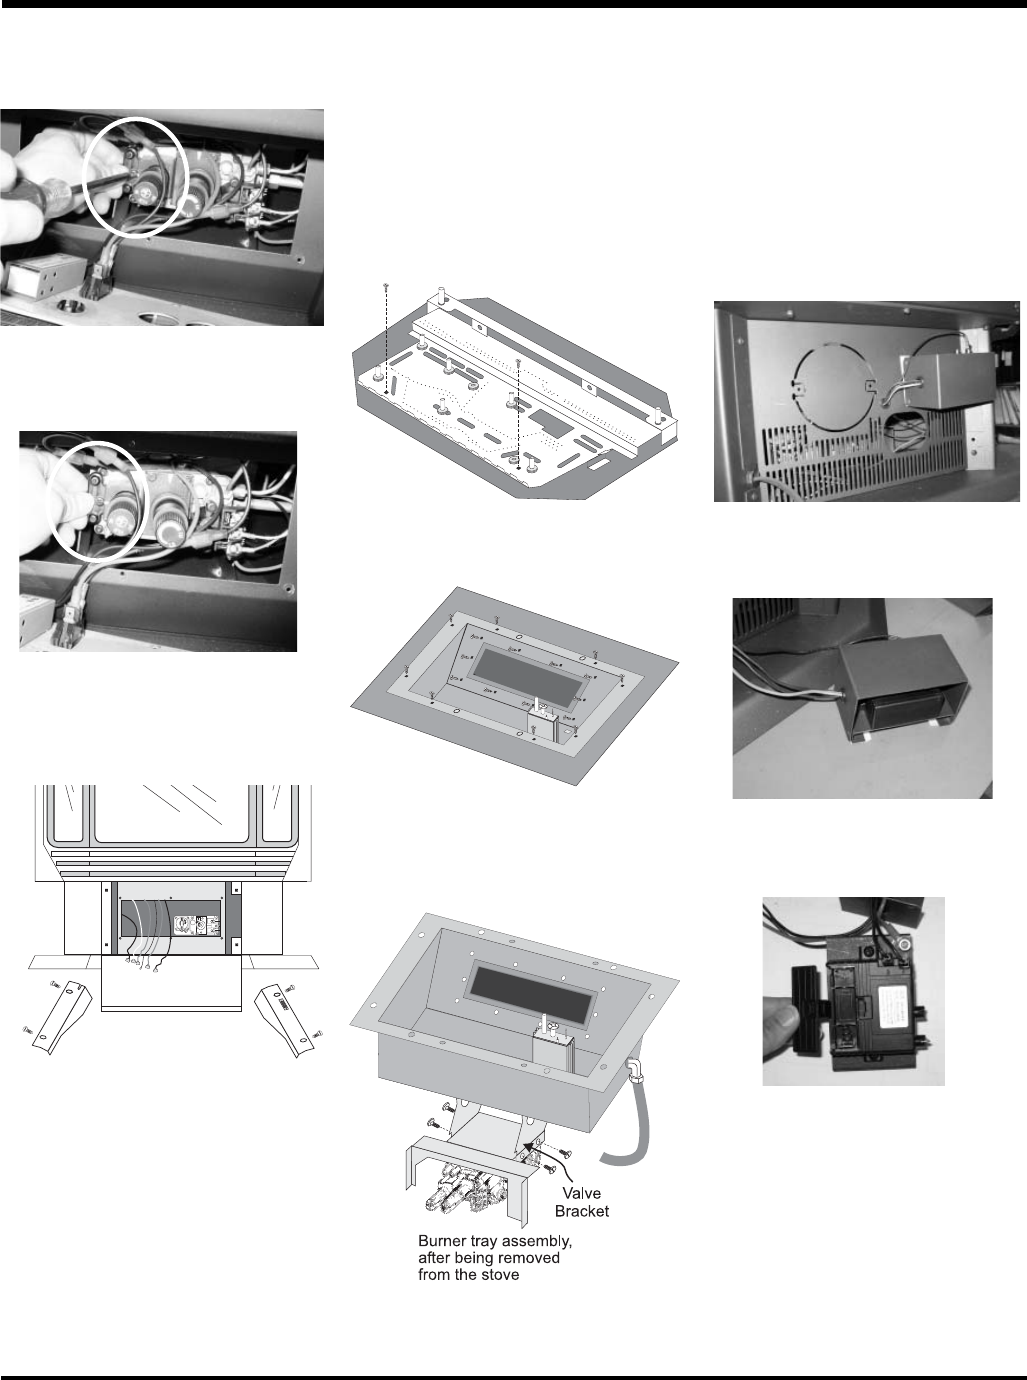
6) Remove the two outside frame pieces by
removing two screws per side. See diagram
below.
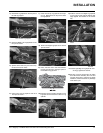
7) At this point you should disconnect the gas
at the valve. You can access it through the
front now that the control panel is off, or you
can access it through the rear pedestal cover
plate.
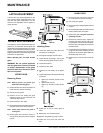
8) Carefully remove the logs and embers.
9) Remove burner. See diagram below.
Note: Use a magnetic type screwdriver if
possible.
10) Remove all 18 screws holding the burner
tray assembly in place.
11) Carefully lift the burner tray assembly out.
Be careful not to tear gaskets when lifting
out the valve tray; these gaskets seal the
valve from the exterior of the fi rebox.
12) To replace the burner tray assembly, simply
reverse these instructions.
MAINTENANCE
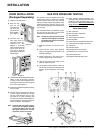
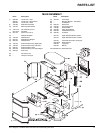
5) Disconnect the DC spark generator wires
from the valve.
4) Remove the screw that holds the DC
spark generator wires in place on the
valve.
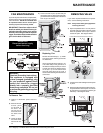
DC SPARKER
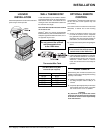
BATTERY
REPLACEMENT
The battery in the DC Spark box needs to be
replaced annually.
1) Remove the DC Spark box from the back
of the pedestal cover by removing the heat
shield.
2) Remove the Heat Shield from the DC
Spark Box.
3) Place 1 AA battery into the DC Spark Box
by opening the battery compartment.
4) Reverse steps to put back in place.