Quadra-Fire • QV36DC-A • 2161-900 Rev. C • 6/09
31
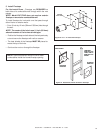
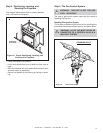
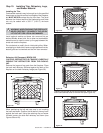
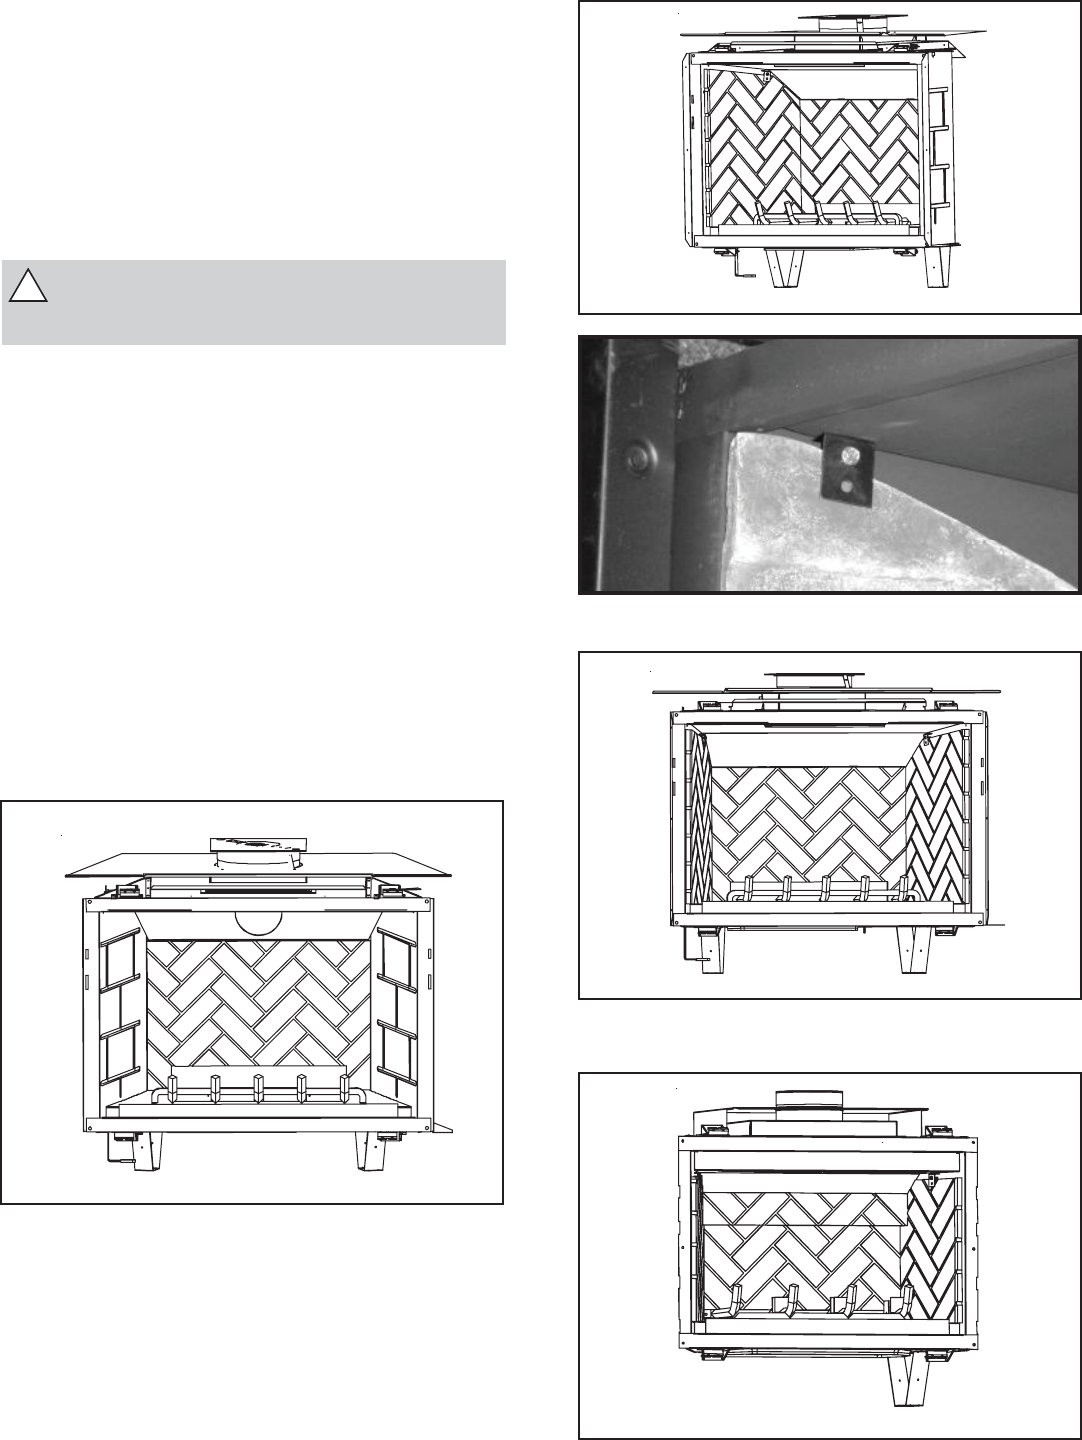
Figure 38.
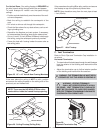
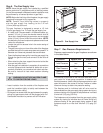
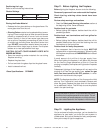
Figure 39.
Figure 40.
Figure 39.
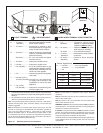
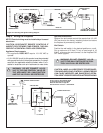
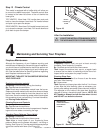
Figure 42.
Position the right wall all the way to back wall. Secure in po-
sition same as was done for the left wall (see Figure 42).
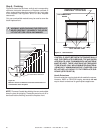
Installing the Trim
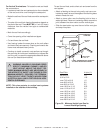
Combustible materials may be brought up to the specifi ed
clearances on the side and top front edges of the fi replace,
but MUST NEVER overlap onto the front face. The joints
between the fi nished wall and the fi replace top and sides
can only be sealed with a 300° F. (149° C) minimum
sealant.
Step 10. Installing Trim, Refractory, Logs,
and Ember Material
Refractory Kit Placement (BRICK-292)
CAUTION: REFRACTORY IS FRAGILE! CAREFULLY
REMOVE THE REFRACTORY FROM THE PACKAG-
ING.
Remove the logs and log grate from the fi replace. Place
the back wall refractory centered against the back of the
fi replace on the back refractory ledge (see Figure 38).
When positioning the left wall use care in not knocking
the back wall down. Position the left wall all the way back
against the back wall. Using the retaining clip and screw
included, secure the side wall refractory as shown (see
Figures 39 and 40).
WARNING: WHEN FINISHING THE FIREPLACE,
NEVER OBSTRUCT OR MODIFY THE AIR IN-
LET/OUTLET GRILLES IN ANY MANNER.
!
Install optional marble and brass trim surround kits as
desired. Marble, brass, brick, tile, or other non-combustible
materials can be used to cover up the gap between the
sheet rock and the fi replace.
Do not obstruct or modify the air inlet/outlet grilles. When
overlapping on both sides, leave enough space so that the
bottom grille can be lowered and the trim door removed.


