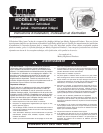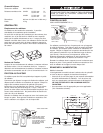
Specifications
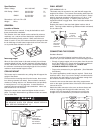
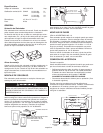
Heater Voltage 240 / 208 VAC Amps
KW Rating: @240V 5.0 kW High 21
3.3 kW Low 14
@208V 3.7 kW High 18
2.5 kW Low 12
D
imensions: 16”H x 21”W x 8”D
Weight: 22 lbs
GENERAL
Location of Heater
This heater has user controls. It may be desirable to reach
these controls after installation.
T
he direction of air flow should not be restricted by columns,
machinery, etc., and the air flow should wipe exposed walls
rather than blowing directly at them. When more than one
heater is used in a area, the heaters should be arranged so that
the air discharge of each heater supports the air flow of the oth-
ers to provide best circulation of warm air.
Mounting Height
When air flow of the heater is directed vertically, the minimum
mounting height is 6 feet, and the maximum mounting height is
15 feet. When the air flow of the heater is directed horizontally,
the minimum recommended mounting height is 6 feet, and the
maximum recommended height is 8 feet.
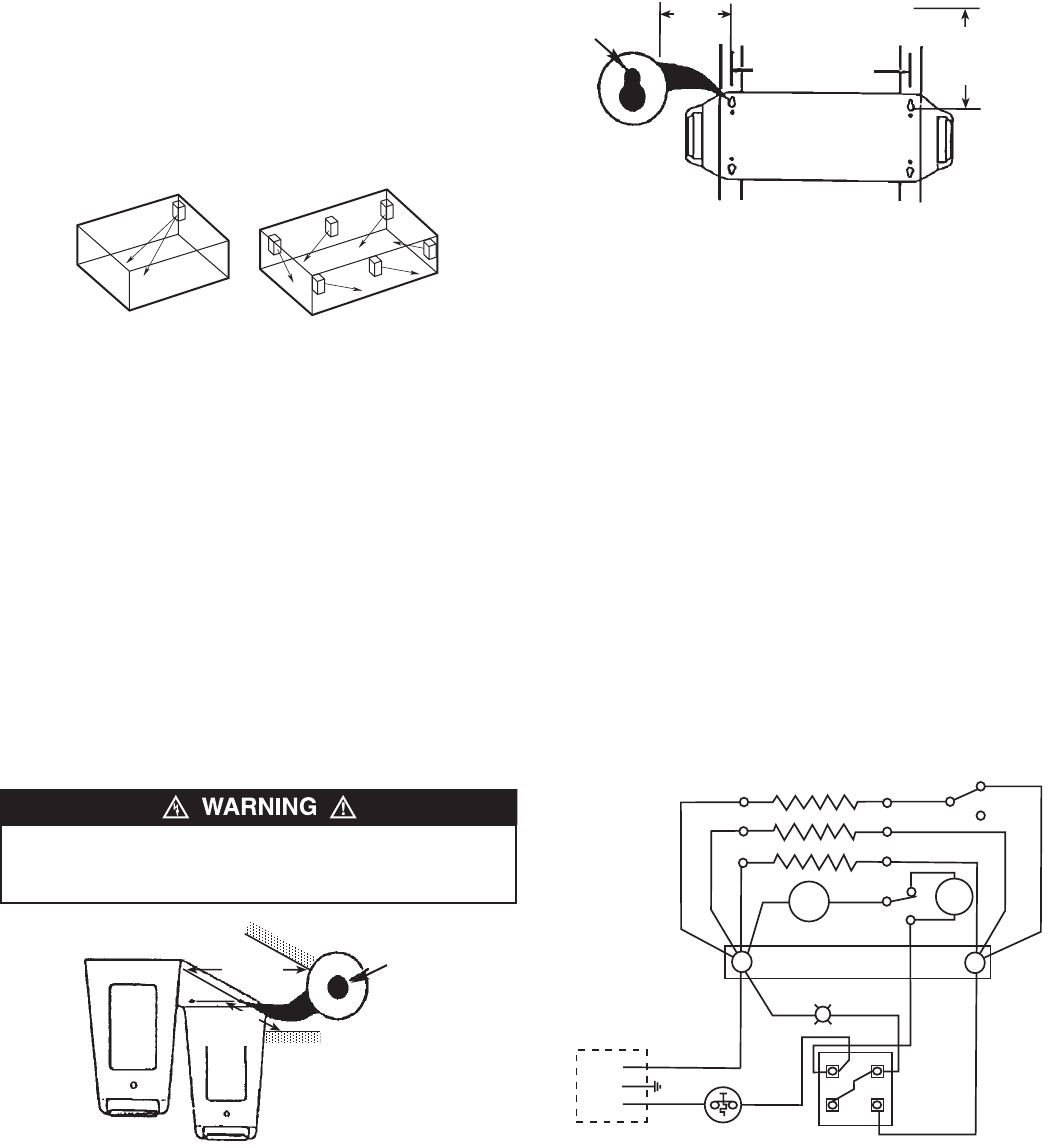
CEILING MOUNT
This heater may be mounted to any ceiling that will support the
weight of the heater.
First remove the mounting stand from the heater, then remove
four rubber grommets from stand. Secure stand to structural
members of ceiling with four 1/4” diameter bolts (not provided).
In wood joist use 1-1/2” long lag bolts. In steel beams use
machine bolts secured with nuts and lockwashers. Never use
bolts smaller than 1/4” diameter.
Replace the heater in the stand and tighten knobs to lock in
place. Two large rubberwashers go between heater and stand,
one on either side.
WALL MOUNT
SEE WARNING NO. 15.
This heater may be mounted on any wall that will support the
weight of the heater. First remove the mounting stand from the
heater, then remove four rubber grommets from stand. Secure
stand to structural members of wall with four 1/4” dia. X 1-1/2”
long lag bolts (not provided). In masonry walls use metal
expansion shields or toggle bolts. Never use bolts smaller than
1/4” diameter.
Replace the heater in the stand and tighten knobs to lock in
place. Two large rubber washers go between heater and stand,
one on either side.
CONNECTING THE POWER
Hardware Needed
You also will need the following hardware which you can pur-
chase from your local hardware store or electrical supply house:
• Enough 10 gauge copper wire to run power from the service
box to the heating unit. Copper wire must have a minimum
temperature rating of 60 degrees C. DO NOT USE
ALUMINUM WIRE WITH THIS UNIT.
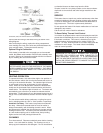
• Proper wire connectors for your application. (See illustration
that follows.)
For certain applications, conduit may be required. Check local
electrical codes. Also, if you run the wiring in conduit and wish
to be able to turn the heater, be sure to purchase enough flexi-
ble conduit to allow the heater to be turned.
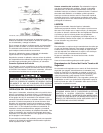
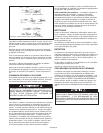
Loosen the two screws that secure the wiring compartment
cover to the upper right hand area of the back of the heater and
remove the cover.
Attach the cable connector to the cover as shown above and
slide the 10 gauge wire through the cable connector. Pull
enough of the wire through the connector so you will have
enough wire to work with when you make the connections.
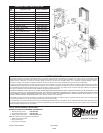
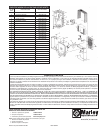
TO PREVENT HEATER FROM POSSIBLY FALLING, DO NOT
USE KEYHOLE SLOTS FOR CEILING MOUNT APPLICA-
TION. SEE ALSO WARNING NO. 15.
2
MIN
8" TO
CEILING
TO WALL
MIN 8"
MIN. 8"
TO WALL
MIN. 8"
TO WALL
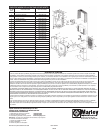
ELEMENTS FRONT
MIDDLE
REAR
HEAT SW.
HI
LOW
1
2
3
2
3
1
AUTO
FAN SW.
ON
TERMINAL BLOCK
6
4
INDICATOR LIGHT
MANUAL RESET
THERMAL LIMIT
BLACK
GREEN
BLACK
SUPPLY LEADS
WIRING COMPARTMENT
FAN
DELAY
MOTOR
L1
OFF
CYL
L2
THERMOSTAT
KEYHOLE
SLOT
M
OUNTING
H
OLES
A
RE 16” O.C.
USE
K
EYHOLES
F
OR WALL
MOUNTING
CIRCULAR
HOLE
USE CIRCULAR
HOLES FOR
CEILING MOUNT-
ING. DO NOT
USE KEYHOLES.


