


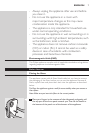
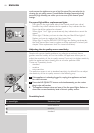

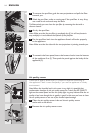
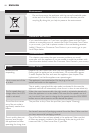

2 Toremovethepre-lter,grabthetwoprojectionsandpullthelter
towardsyou.
3 Washthepre-lterunderarunningtap.Ifthepre-lterisverydirty,
useasoftbrushtobrushawaythedust.
Tip: Alternatively, you can clean the pre-lter by removing the dust with a
vacuum cleaner.
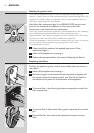
4 Air-drythepre-lter.
Note: Make sure that the pre-lter is completely dry. If it is still wet, bacteria
may multiply in it and shorten the lifetime of the pre-lter.
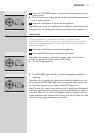
5 Putthepre-lterbackintotheappliance.Attachallhooksproperly
totheappliance.
Note: Make sure that the side with the two projections is pointing towards you.
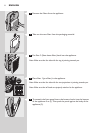
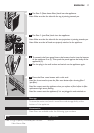
6 Toreattachthefrontpanel,insertthebottomhooksintothebottom
oftheappliancerst(1).Thenpushthepanelagainstthebodyofthe
appliance(2).
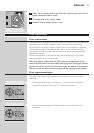
Air quality sensor
Clean the air quality sensor every 2 months for optimal functioning of
the appliance. Clean it more frequently if you use the appliance in a dusty
environment.
Note: When the humidity level in the room is very high, it is possible that
condensation develops on the air quality sensor. As a result, the AIR QUALITY
light on the control panel and the air quality light ring may indicate that the air
quality is bad even though the air quality is good. In this case you have to clean
the air quality sensor or use one of the manual speed settings.
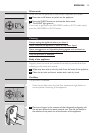
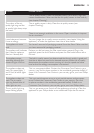
1 Cleantheairqualitysensorinletandtheairqualitysensor
outletwithasoftbrush.
2 Removetheairqualitysensorcover.
1
2
ENGLISH14