3
SETTING AND FASTENING
THE DOOR (CONTINUED)
CORRECTINCORRECT
2G
3F
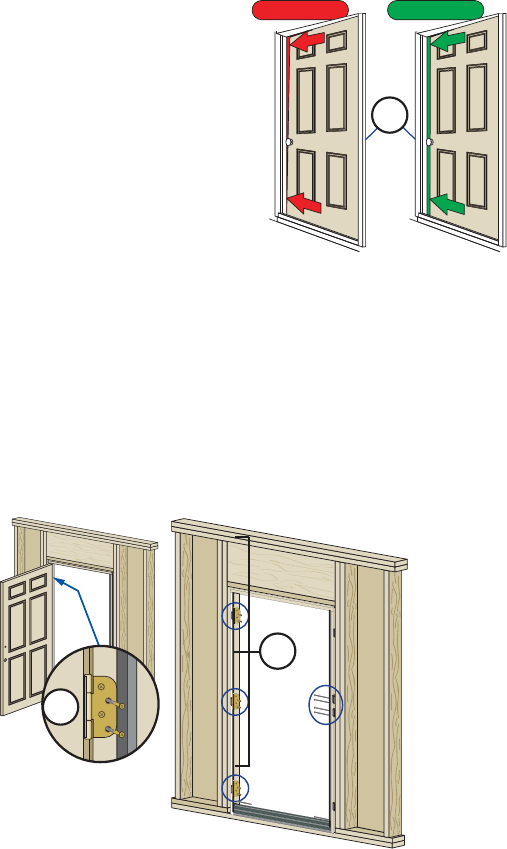
F. Carefully open the door and remove all
shipping spacers. Remove pre-hang plug
from the bore hole. Carefully open and close
the door.
Check for even contact between the door
panel and weatherstrip on both jambs and
across the head. (3H) If space exists between
weatherstrip and door panel at top, move the
bottom of the lock side out. If space appears
at the bottom, move the top lock side out.
Note: By design the hinge side reveal of
the door will be closer to the jamb than the lock side.
G. Pre-drill with 3/16" bit through the door frame at each open hinge screw
hole (not into wall framing) and drive screws (provided) through each hole
in the hinge leafs, through the shims and into the wall or sidelight. Pre-drill
with 3/16" bit through the frame (not into the wall framing) behind the
weatherstripping at each remaining hinge side location as well as at each lock
jamb shim location (and also through the holes in the lock and if applicable
in the dead bolt strike) Drive #8 x 2-1/2" screws through each lock jamb shim
and into the wall or sidelight. Screw heads must be driven flush with door
frame to avoid interference with door operation.
Interior
2G
2G
3G
Interior
3G
H. Check door operation. Open and close the door to check for proper operation.
Note: If there are any problems with the operation, recheck and adjust the
reveal by adjusting the shims.
I. Fasteners through brickmould method: Place and set additional 16d
galvanized finish nails or exterior grade finish screws through the brickmould to
achieve a final spacing of approximately 4" from ends and 24" O.C. Countersink
all fasteners and cover with exterior grade putty.


