3
SETTING AND FASTENING THE WINDOW
TWO OR MORE PEOPLE WILL BE
REQUIRED FOR THE FOLLOWING STEPS.
"
*OUFSJPS
#
#
&
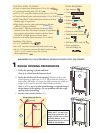
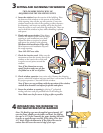
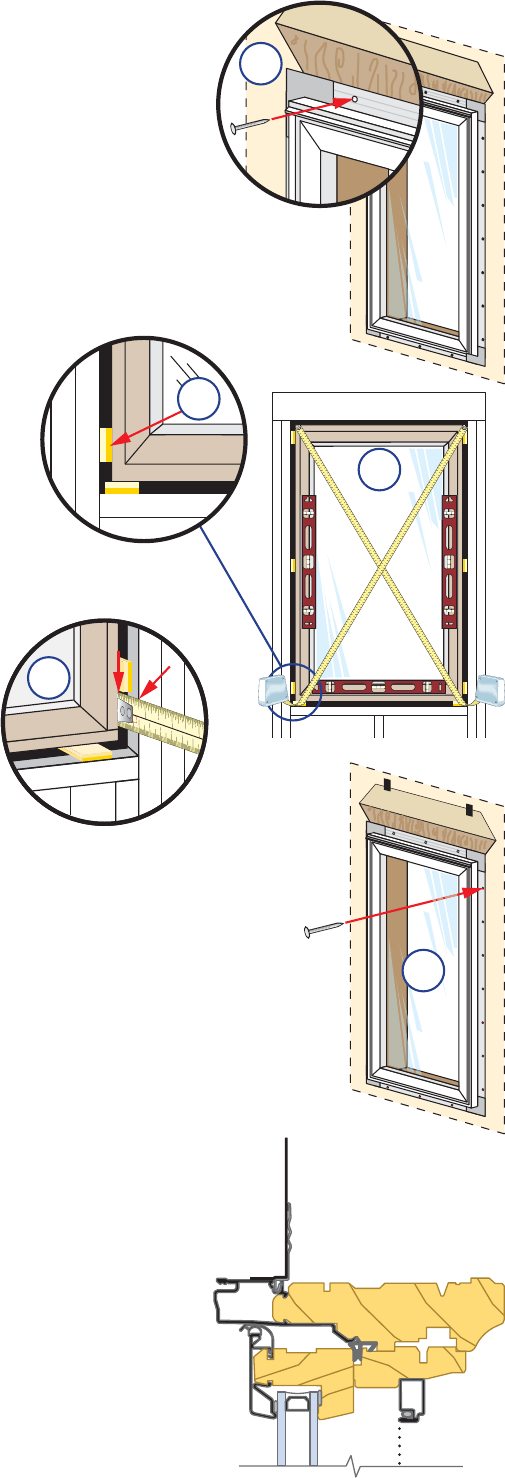
A. Insert the window from the exterior of the building. Place
the bottom of the window on the spacers at the bottom
of the opening, then tilt the top into position. Center the
window between the sides of the opening to allow clearance
for shimming, and insert one roofing nail in the first hole
from the corner on each end of the top nailing fin. These are
used to hold the window in place while shimming it plumb
and square.
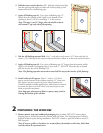
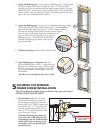
B. Plumb and square window. Place shims
between the window frame and the rough
opening at each installation screw hole.
Adjust the shims as required to plumb
and square the window in the opening.
Windows with Installation Clips only:
Shim between each installation clip and
the rough opening.
Note: DO NOT over shim.
*/$)&4
NN
$
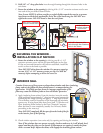
C. Check the interior reveal. Make sure the
measurement from the interior face of the
window to the interior face of the wall
is equal at several points around the
window.
Note: If the dimensions are not
equal, check to make sure the fins
are folded out to 90° at all points.
D. Check window operation (vent units only). Remove the shipping
spacers, unlock the window and open and close it a few times to check
for proper operation. Close and lock the window.
Note: If there are any problems with the operation of the window,
recheck shim locations and adjust for plumb and square.
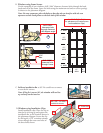
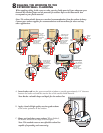
E. Fasten the window to opening by driving 2" galvanized
roofing nails into each pre-punched hole in the nailing fin.
Note: Make sure the fin corner is lying as flat as possible.
4
INTEGRATING THE WINDOW TO
THE WATER RESISTIVE BARRIER
Note: The flashing tape must be applied approximately 1/2"
onto the frame cladding at the jambs and head. Pre-folding
the tape at 1/2" before removing the paper backing will make
it easier to apply the tape correctly. If the siding is less than
1/2" thick, adjust the dimension of the fold so the exterior
sealant line will cover the exterior edge of the tape.


