


To shorten the drying time, go back over the carpet
pulling slowly backwards without depressing the
gray button (Figure 14). Repeat this procedure until
you do not see water being pulled from the carpet
through the nozzle.
CAUTION: Do not allow the lower recovery
tank to overfill. Damage to the unit can result.
Empty the recovery tank when full and whenever
clean water is added to the upper supply tank.
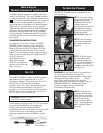
To empty the recovery tank, simply release the tank
latch by squeezing the red and gray latch together
(Figure 5). Lift the tank out and carry it to a sink or
drain. Turn the tank upside down and pour the dirty
water out. Refill the supply tank with clean lukewarm
water. Replace cleaner cartridge as needed.
CAUTION: Cleaner will not operate without
a cleaner cartridge locked into the docking bay
(Figure 19).
For heavily soiled carpets, it may be necessary to
clean the carpet from several directions to insure that
the nap of the carpet is thoroughly cleaned.
Keep young children and pets away from
the cleaned carpets until dry.
8
Operating Instructions
TO CLEAN CARS/STAIRS (Figures 15 through 17)
For above-the-floor cleaning, please follow these
simple steps:
1. Unplug the cleaner from the electrical outlet.
2. Remove the two-tier tank from the cleaner.
3. You will first need to unplug the separate power
cord that connects the STEEMER nozzle to the
cleaner (Figure 4).
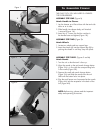
4. Remove the nozzle by
depressing the red
button located on the
side of the neck
(Figure 15-A). Pull the
nozzle (Figure 15-B)
straight back and off
the neck without
twisting.
15
B
A
6. Open gray tank cap. Fill with warm tap water,
close tank cap and replace tank onto cleaner.
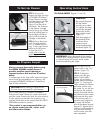
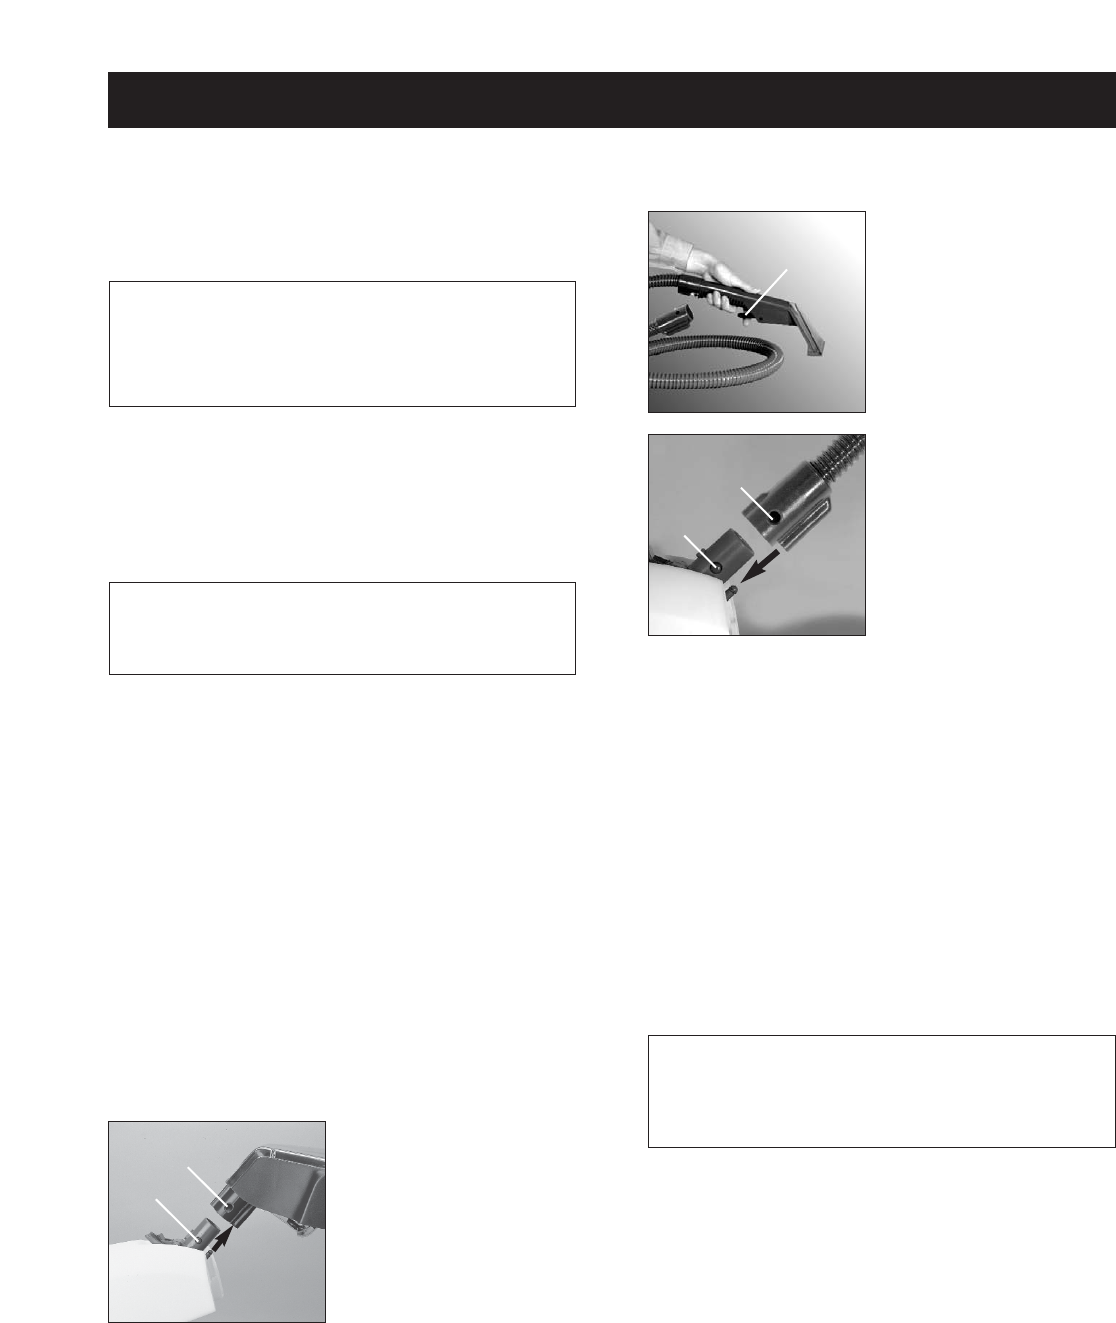
7. Locate the hand-held
nozzle and hose
assembly (Figure 16).
Remove and discard
the yellow tape.
8. Attach the hand-held
nozzle and hose
assembly to the cleaner
neck by carefully
aligning guide knob
located on the top of
the unit’s neck
(Figure 17-A) with
guide knob located on
the top center of the
hose quick-connect
fitting (Figure 17-B).
16
Dispensing Trigger
17
B
A
Depress the red button and push the hose collar
onto the unit until the button locks securely into the
hole in the hose quick-connect fitting.
9. To use the hand-held nozzle and wand assembly,
turn the cleaner on by moving the red power
switch on the side of the unit into the ”On“
position (Figure 13).
10. Press the gray button in the handle and push
forward to lock (Figure 14).
11. Press the red cleaner dispensing trigger on the
hand-held nozzle (Figure 16) to release cleaner.
TO PREPARE UPHOLSTERY
IMPORTANT: Prior to cleaning any upholstered
furniture read the following instructions very
carefully.
Most modern upholstery fabrics may be safely
cleaned by wet cleaning methods; yet there are
exceptions to this, as some delicate or unusual
fabrics require “dry cleaning.” If you are in doubt
about the type of fabric, we suggest that you check
with the manufacturer or dealer where the furniture
was purchased. Most fabrics are wear coded by the
manufacturer which details cleaning methods for a
particularfabric. If necessary, bring in a cushion or
arm cover to your dealer.
5. Lower cleaner onto floor stand.