


4
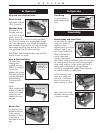
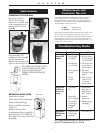
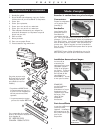
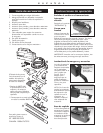
Attach Caddy and Insert Tools
Locate caddy clip indents
at top rear corners of
appliance. Place
appliance on firm, non-slip
surface or hold in your
lap. Grasp handle firmly.
Place end of caddy in
outside indent then
strongly push and pull
other end of caddy into opposite indent. Be sure rims
on caddy openings face up. Avoid trapping fingers
when caddy snaps on; painful pinch could result. If
caddy needs to be removed, a large flat-head
screwdriver inserted under caddy clip at indent can
be used to carefully pry caddy loose.
Pull cord through center
opening in caddy and
push until it is seated at
back of slot at rear of
center opening in caddy.
Insert crevice tool, brush
and fabric tool into caddy
in spaces provided.
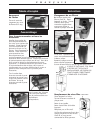
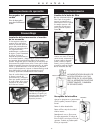
To Operate
Plug cord into electrical outlet.
Power Switch
Push power switch to
“ON” (I) position.
Shoulder Strap
Insert end of
shoulder strap into
slot in front of on/off
power switch. Pull
through three to four inches and insert into plastic
clip. One inch of strap must be completely through
clip. Insert other end of strap through slot located at
back of handle. Insert end into clip and pull through.
Adjust length by pulling strap through clip. Strap
must go through both front and back clips.
IMPORTANT: Before using shoulder strap, pull both
ends to be sure it is secure.
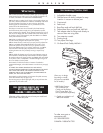
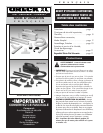
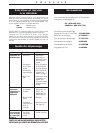
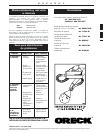
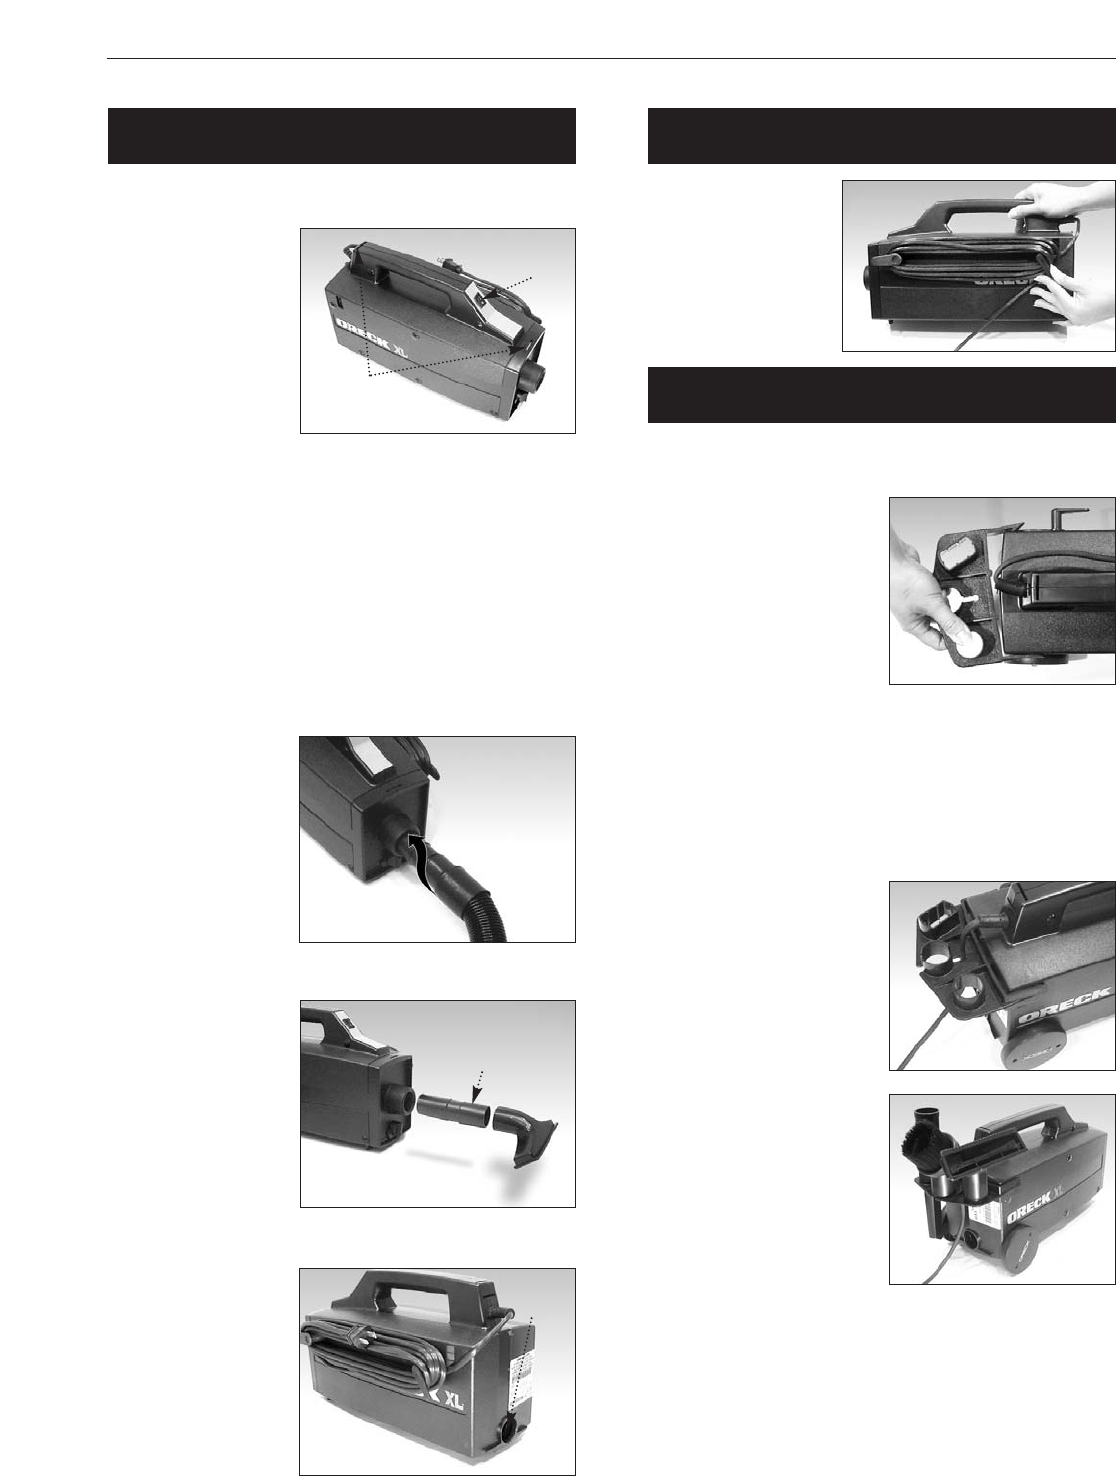
Hose & Tool Installation
The wands and
cleaning tools
supplied with your
ORECK XL compact
vacuum lock
together with friction.
Twist and push to be
sure they lock tightly
when installing.
Twist and pull to
remove.
NOTE:
When installing tools
directly to blower or
suction port without
using hose, tool
adapter tube must
be used.
Blower Port
The blower port is
located at the rear
of the machine.
Installation of tools
is the same as
described for suction
port.
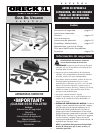
Assembly
ON/OFF
SWITCH
STRAP
SLOTS
Twist and push to
install tools.
Twist and pull to
remove tools.
ADAPTER TUBE
BLOWER
PORT
Cord Dump
Twist cord dump to
easily release stored
cord.
To Operate
ENGLISH