


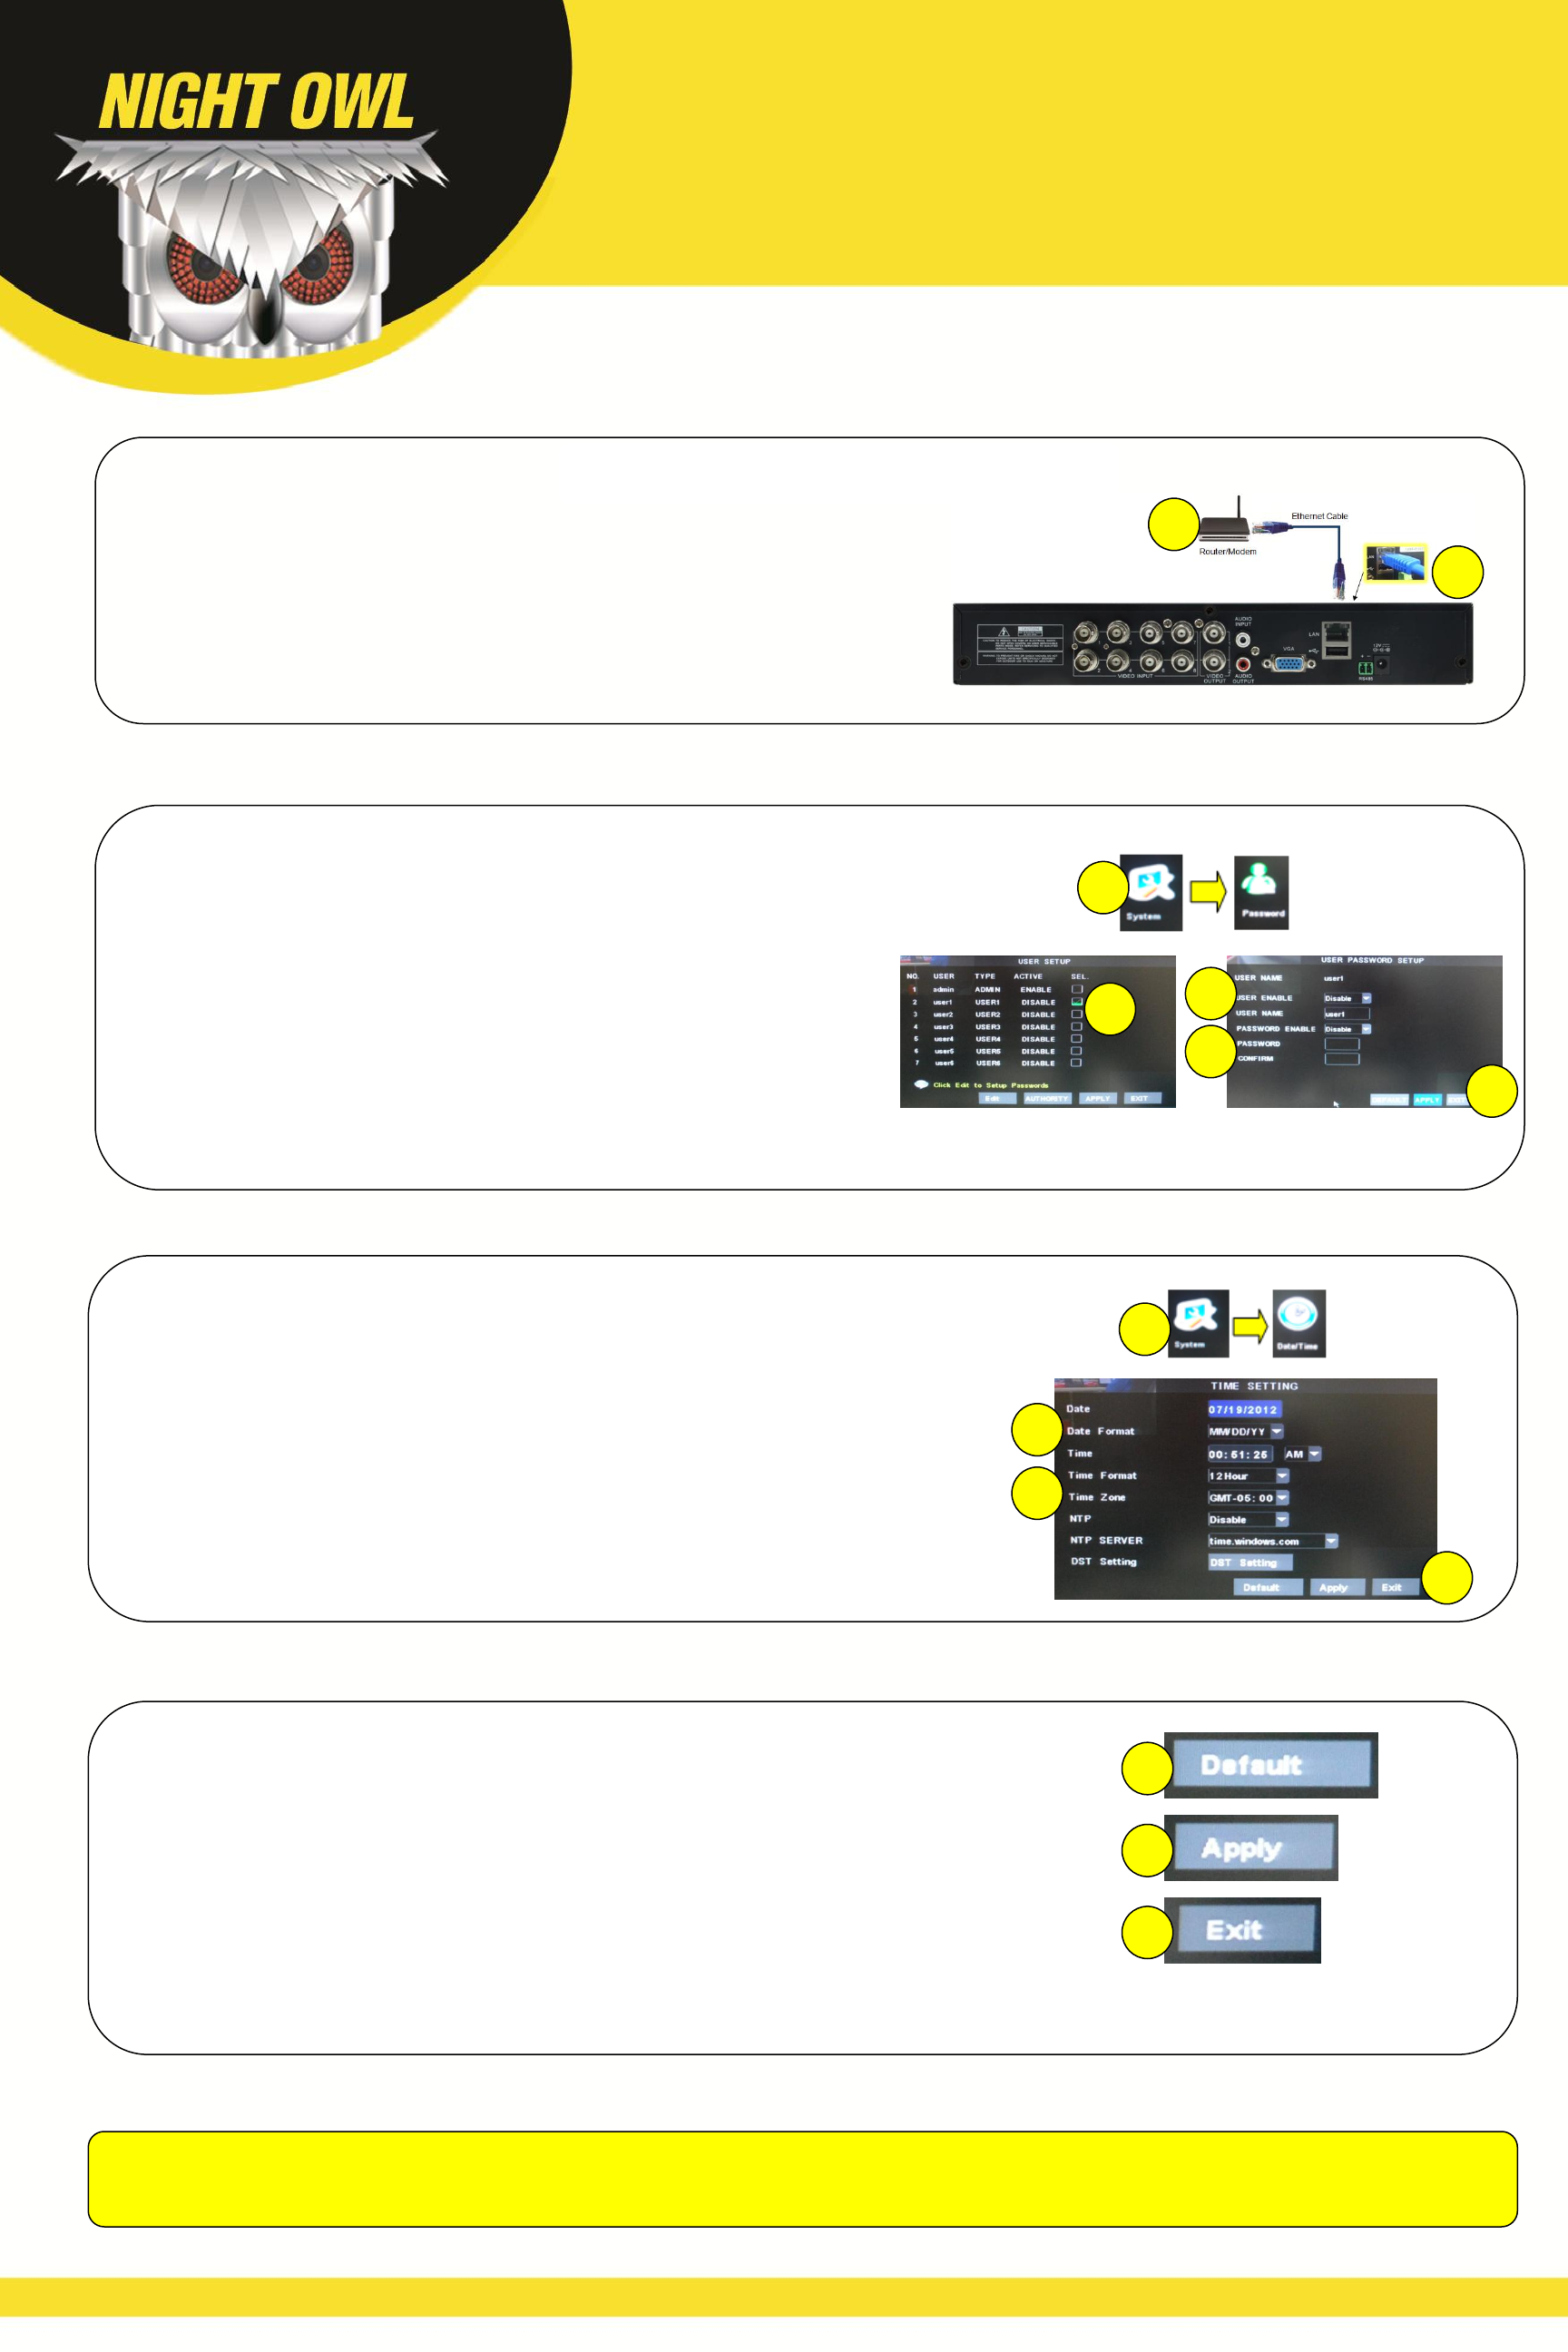
STEP 6: Changing your Passwords
STEP 5: Connecting the Router/Modem
A. Locate the Ethernet (RJ-45) Cable.
B. Connect one end of the Ethernet cable into the LAN port on the DVR.
C. Connect the other end of the Ethernet cable into an open port on the main
internet router/modem
To configure remote viewing, please refer to the Remote Viewing chapter of
the DVR’s manual for further details.
A. Right click the mouse, select Main Menu, select System and then select
Password
B. Place a check mark in the box indicated for the user you would like to
edit and then select the Edit button.
C. Change the User Enable to Enable and enter a User Name.
D. Change the Password Enable to Enable and enter a password into the
Password field and the same password into the Confirm field.
E. Once you have made all of the correct changes, select the Apply button
and then Exit.
STEP 7: Changing the Time and Date
STEP 8: Basic Functions on All Menus
A. Right click the mouse, select Main Menu, select System and then select
Date/Time.
B. Enter the current date in the Date field and choose the format that you
would like the date displayed as in the Date Format field.
C. Enter the current time in the Time field and select the Time Format to
display the time as in the Time Format field. You can also enter your Time
Zone in the Time Zone field.
D. Once you have made all of the correct changes, select the Apply button
and then Exit.
A. Every menu will have three buttons.
a. Default Button: This button will change all of the settings back to
the factory default settings.
b. Apply Button: This button will save all of the changed settings.
c. Exit Button: This will exit out of the current menu without saving
any changes.
Please visit our website at www.NightOwlSP.com for all manuals, software, and firmware updates. There are also
free How-To Videos with step by step instructions for configuring the settings on your DVR.
Please refer to your software CD for the User Manual to learn how to configure all of the features of your
Night Owl Security Kit.
B
C
A
B
C
D
A
B
C
D
E
A
B
C
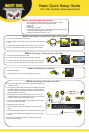
Basic Quick Setup Guide
LTE, STA, and BUL Series Security Kits
Please be sure to write down all user names and passwords in a secure place.