15
W415-0297 / D / 04.03.03
This procedure must be performed by a qualified
service person!
Inspect the pilot for any visible contamination or debris
(usually lint, pet hair, spider webs, carpet fibre, etc.) and
remove.
Disconnect the pilot from the pilot tubing line. Using a
7
/
16
”
wrench, remove the injector from the pilot housing. Blow
out the housing in the same direction as the gas flow.
Re-install the injector and the pilot tube, turn on the gas
and check for leaks.
If this does not improve the performance, replace the pilot
with
an exact replacement. The device is tamper resist-
ant with no field serviceable parts.
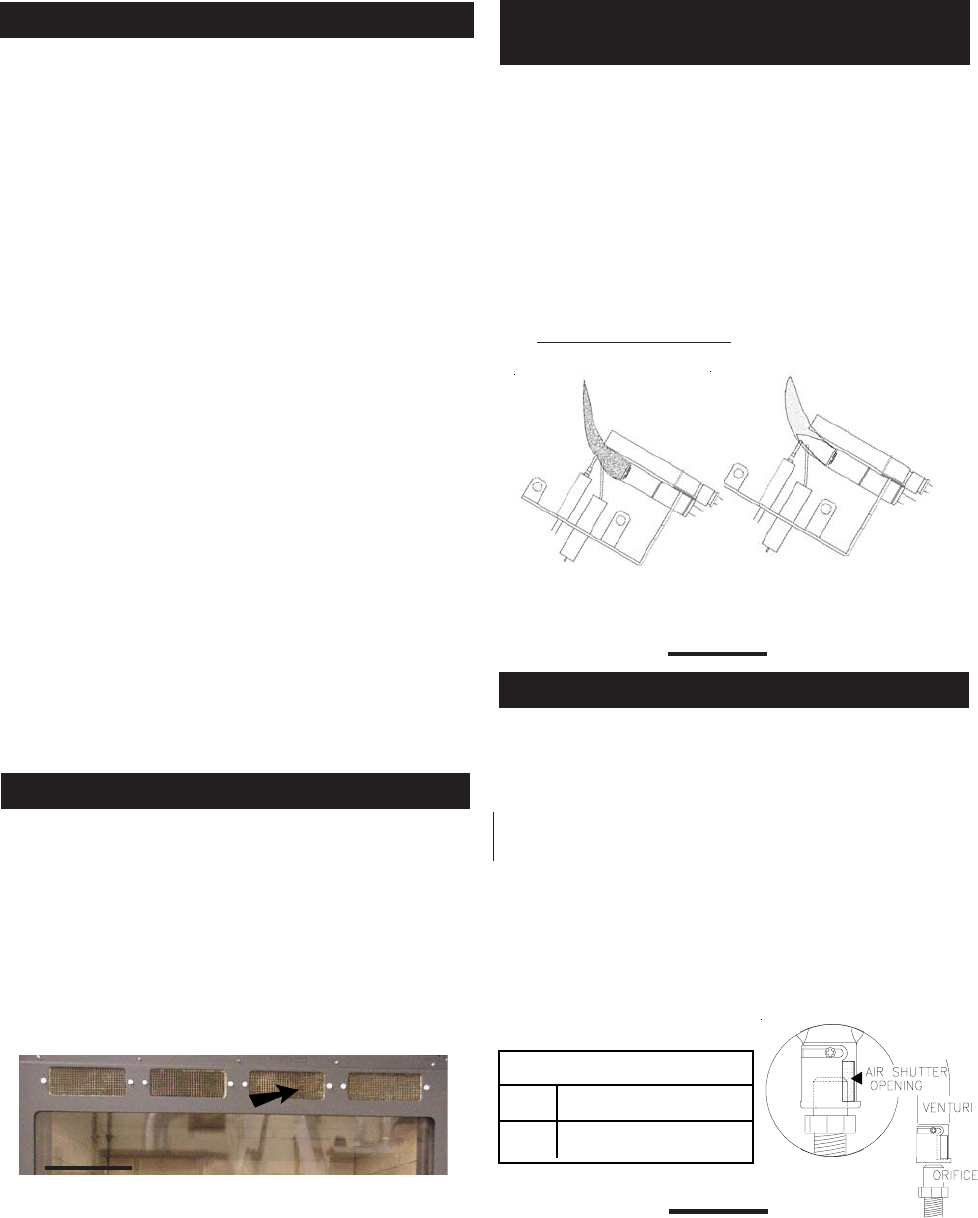
Air shutter adjustment must only be done by a
qualified gas installer!
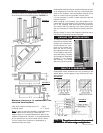
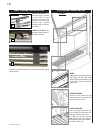
Closing the air shutter will cause a more yellow flame, but
can lead to carboning.
WARNING: Carbon can be distributed in surrounding
living area if the air shutter is improperly adjusted.
Opening the air shutter will cause a more blue flame, but
can cause flame lifting from the burner ports. The flame
may not appear yellow immediately; allow 15 to 30 min-
utes for the final flame colour to be established.
Opening the air shutter will also reduce exhaust odours
smelled within the room. See Trouble Shooting Guide.
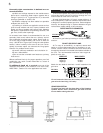
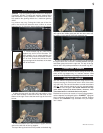
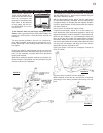
CORRECT PILOT
FLAME
INCORRECT PILOT
FLAME
AIR SHUTTER OPENINGS
TURN OFF THE GAS AND ELECTRICAL POWER
BEFORE SERVICING THE FIREPLACE.
CAUTION: Label all wires prior to disconnection when
servicing controls. Wiring errors can cause improper and
dangerous operation. Verify proper operation after servic-
ing. This heater should be inspected and serviced before
use and at least annually by a qualified service person.
The fireplace area must be kept clear and free of combus-
tible materials, gasoline or other flammable vapours and
liquids. The flow of combustion and ventilation air must
not be obstructed.
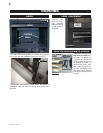
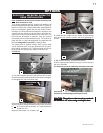
1. In order to properly clean the burner and oxygen deple-
tion sensor system, remove the logs to expose both as-
semblies.
2. Keep the control compartment, logs, burner, air shutter
opening and the area surrounding the logs clean by vacu-
uming or brushing, at least once a year.
3. Check to see that all burner ports are burning. Clean
out any of the ports which may not be burning or are not
burning properly.
4. Check to see that the pilot flame is large enough to
engulf the thermocouple and thermopile and promptly ig-
nites the main burner.
5. Replace the cleaned logs.
6. Check to see that the main burner ignites completely
on all openings when the gas knob for the burner is turned
on. A 5 to 10 second total light-up period is satisfactory. If
ignition takes longer, consult your Napoleon dealer / dis-
tributor.
7. If using an optional catalytic door, check that the
gasketing on the sides, and top of the door is not broken
or missing. Replace if necessary.
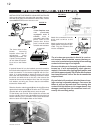
The catalytic tile is not field serviceable. It may only be
handled or replaced by a qualified service person familiar
with the specific characteristics of the appliance. Both room
values and output from the catalytic tiles must be checked.
Check the room value with the heater off. Check the fire-
place value after 10 minutes of heater operation to allow
the tiles to come up to temperature.
In both cases the value of CO should not exceed 9ppm.
Catalytic output must be checked annually at the
beginning of the heating season.
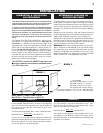
FIGURES 32
FIGURES 33
NG
3/
16
"
LP
1
/
4
"
MAINTENANCE
CATALYTIC TILE
FIGURE 31
CATALYTIC TILE MAINTENANCE
OXYGEN DEPLETION SENSOR PILOT
CLEANING
VENTURI ADJUSTMENT


