


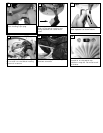
R
emo
v
e 4 screws around light plate.
Sa
v
e screws.
18
Loosen 2 screws and remo
v
e 1 screw
from motor plate and save screw.
16
Snap plastic covers in place to cover
screws.
13
Replace 1 screw removed and tighten
the 4 screws securely.
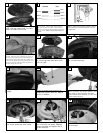
12
Carefully lift fan to loosened screws
on mounting plate and twist clock-
wise till tight..
11
Install 3 screws and washers per
blade and tighten securely. Repeat
for all 5 blades
14
Check the motor for shipping stabilizers and
remove if present. The screws, washers, and
motor pads are pre-installed to the blade
holders. A
ttach blade assembly to motor and
tighten screws securely.
15
Install light pan b
y twisting pan with
key hole slots into place. Replace
screw remo
v
ed and tighten the 3
screws securely
.
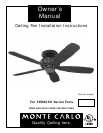
17
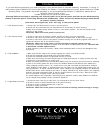
Make wire connections to power source using wire nuts
provided. Make sure that no filiments are outside of
the wirenut. After making the wire connections, the
wires should be spread apart with the grounded con-
ductor and the equipment-grounding conductor on one
s
ide of the outlet box and ungrounded conductor on
t
he other side of the outlet box.
10
C
onnect black and blue wire from fan to Black or (Hot)
wire from house. Connect White wire from Fan to
White (Neutral) wire from house. Connect Ground
l
eads from mounting bracket and downrod to Ground
lead from house.
Refer to Safety Tips section of
manual.
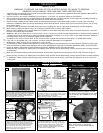
8
House
Fan
Blue
Black
White
Green
Black
White
Ground
Hang fan from hook on the mounting
plate. Use the closed hole. This will
allow for hands free wiring.
7
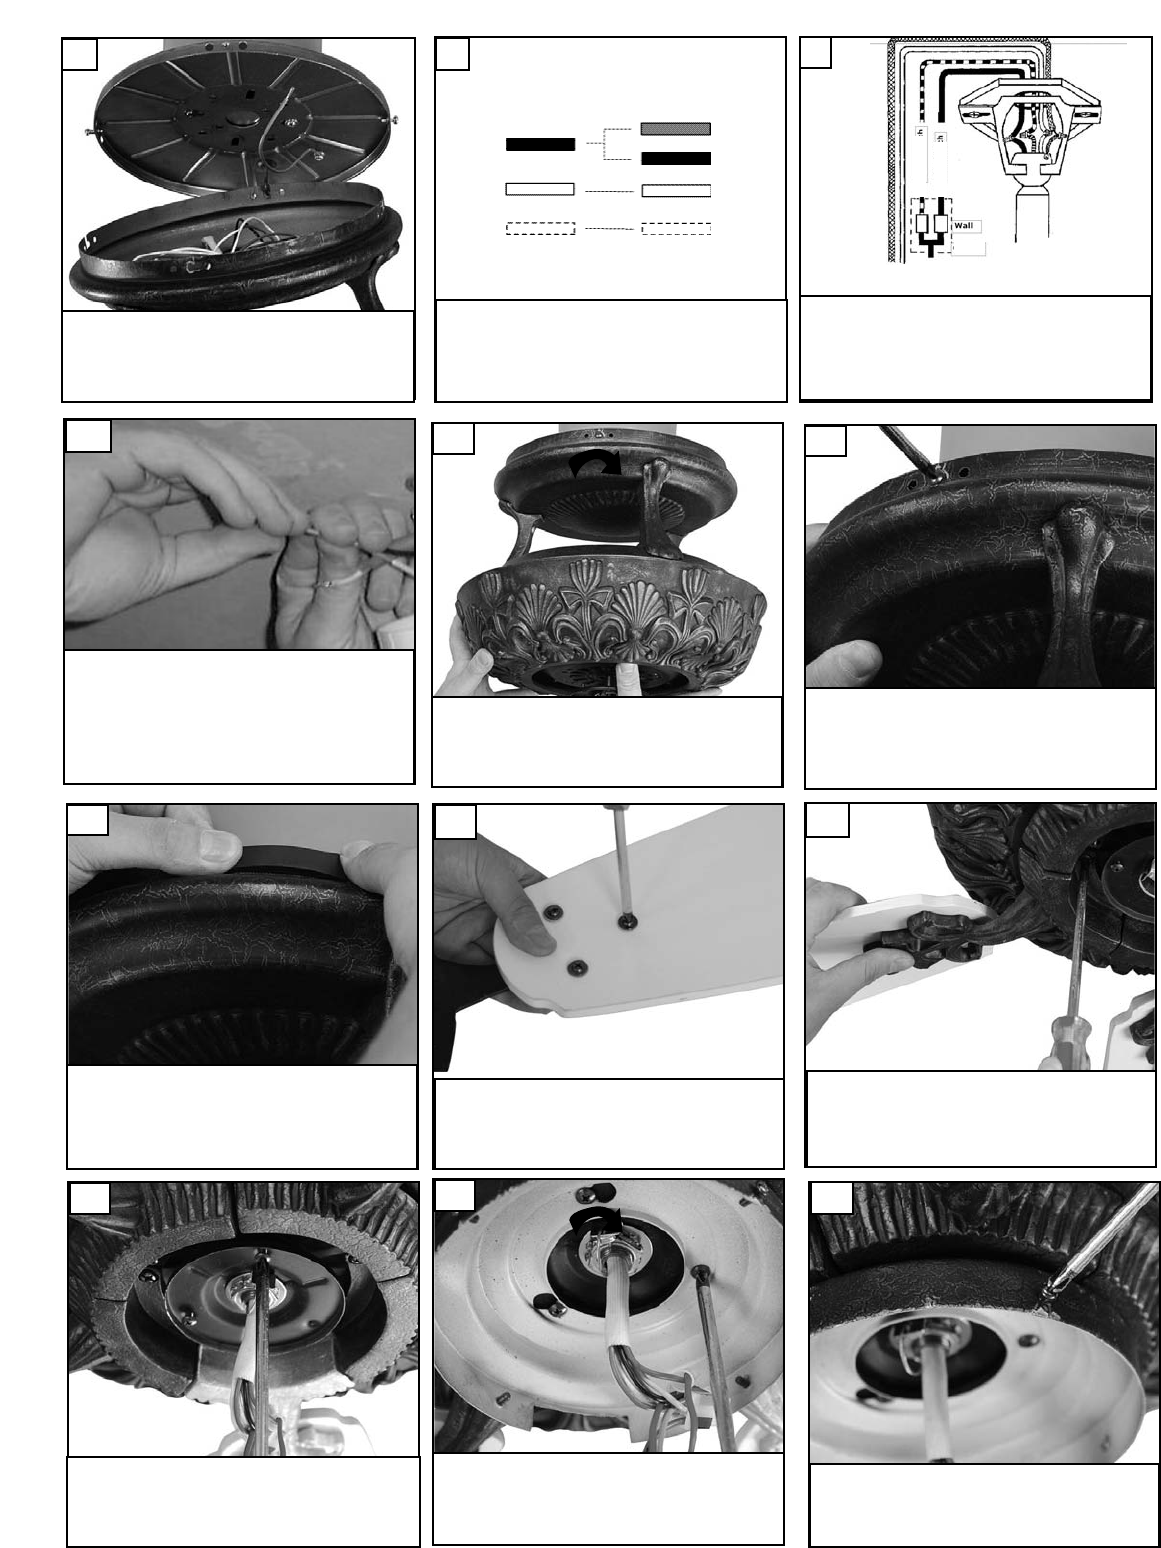
For control of fan and optional light from wall
l
ocation, follow diagram above. NOTE: A profes-
s
ional electrician is recommended for this type
of installation.
9
Light Switch
Fan Switch
Wall
Control