


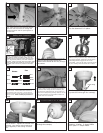
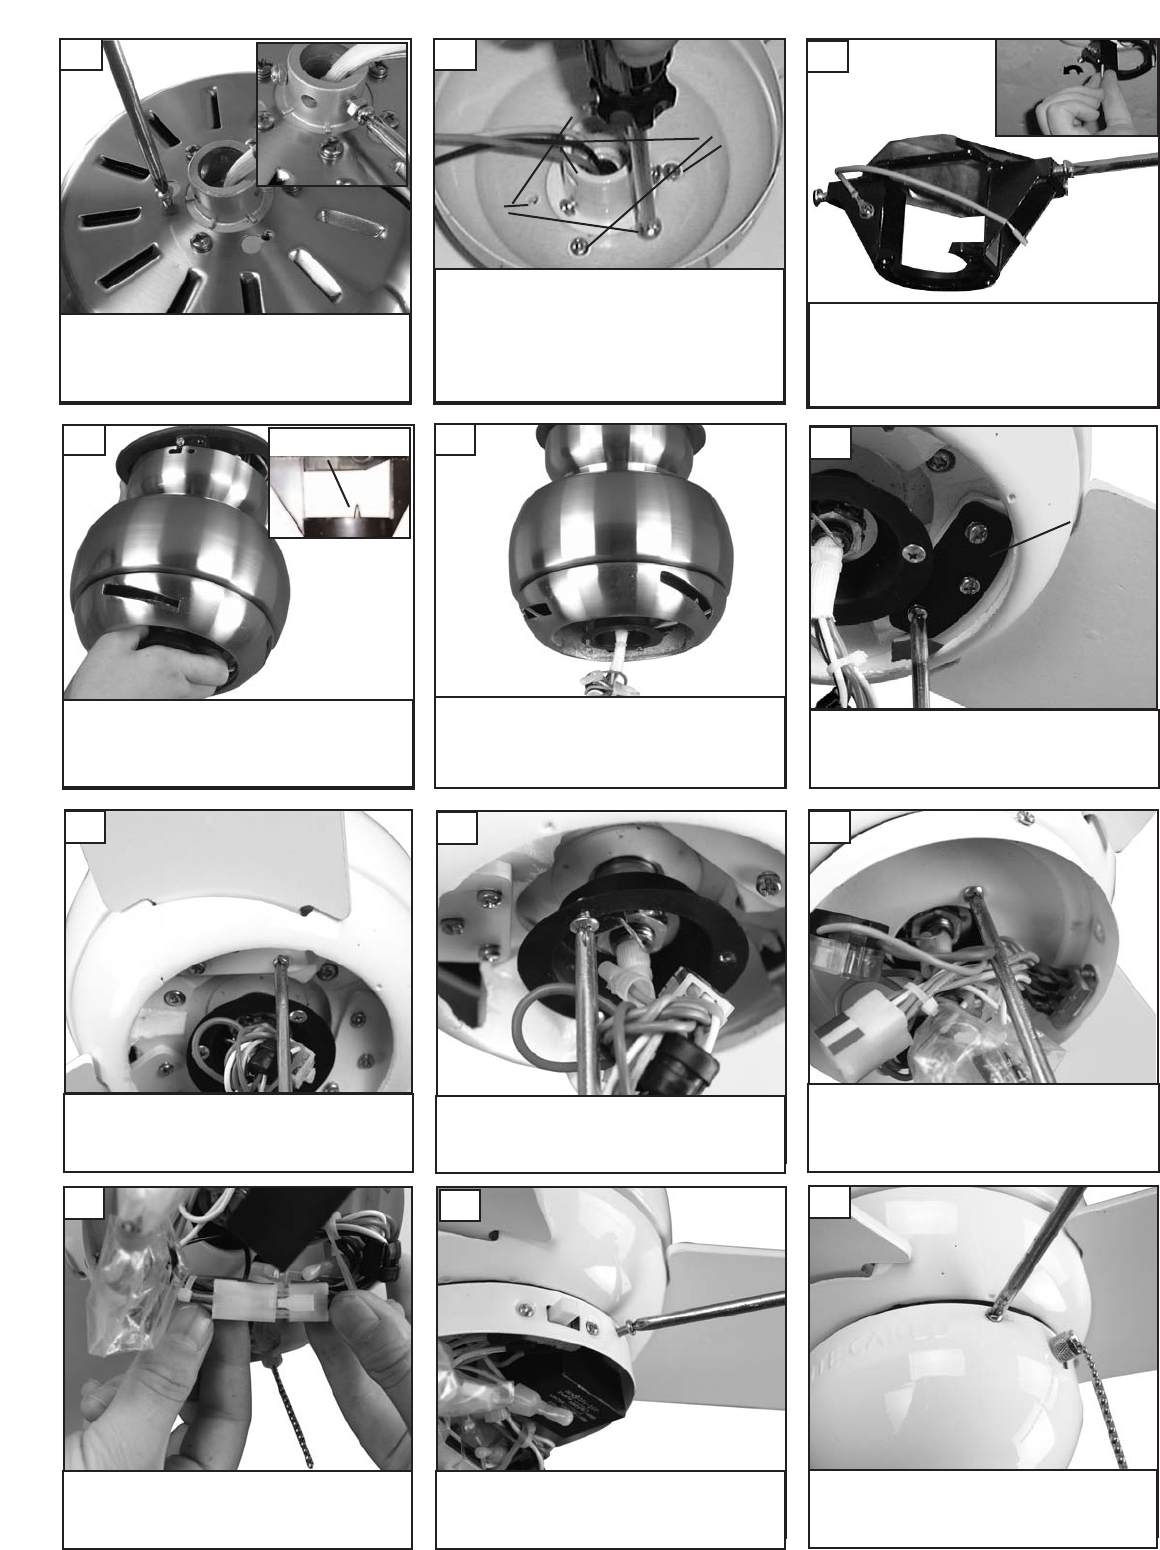
Install blades and blade plates to
motor using the 9 motor screws pro-
vided. Tighten screws securely.
25
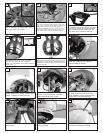
Install two screws corresponding with the
“L” shaped holes in the canopy only part
way so that canopy can twist into place.
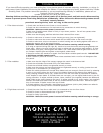
Remove the all thread studs from the
lower part of the mounting bracket.
Lift fan to mounting bracket, aligning the “L”
shape holes with the scresws on the mount-
ing bracket. Turn the fan clockwise to lock
in position. Install the other two screws and
tighten securely.
21
23
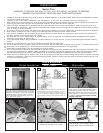
Hang fan from mounting bracket by
the hands free hook into a closed
hole on the edge of the Canopy.
Note: For Canadian mounting refer to
Step #10.
Place canopy on top of the fan motor allowing the
yoke, wires and safety cable to pass through the
large hole in the center of the canopy. Align the 3
larger holes around the center hole with the 3
screws still installed in the fan. Install 3 screws
removed into small holes in canopy to make it a
f
lush mount canopy and tighten screws securely.
20
22
Canopy
Center
Hole
Larger
holes
Smaller
holes
Hands free hook
Loosen 2 screws with k
ey slots and
remove 1 screw without slot from
motor plate and save screw.
26
Install switch housing plate by twist-
ing plate with key hole slots into
place. R
eplace screw remo
v
ed and
tighten the 3 screws securely.
27
Connect plug from fan to switch
house plug.
28
R
emo
v
e 3 screws and sa
v
e to install
switch housing.
Install the switch housing using the
3 screws previously remo
v
ed.
30
29
Align the blade and then the blade
plate with castings on motor to
attach blades to motor.
24
Blade plate
Remove 2 screws in yoke (see
insert). Remove 3 screws with key-
hole slots from top of fan.
19