Repair
18 312795E
Repair
General Information
• Reference numbers and letters in parentheses in
the text refer to the callouts in the figures and the
parts drawing.
• Always use Genuine Graco Parts and Accessories,
available from your Graco distributor. If you supply
your own accessories, be sure they are adequately
sized and pressure rated for your system.
Preparation
1. Flush the pump, if possible, page 16.
2. Stop the pump close to the middle of the stroke.
3. Follow Pressure Relief Procedure, page 14.
4. Disconnect the air and fluid hoses and the ground
wire.
5. Remove the shield.
NOTE: If the overflow chamber (optional accessory)
contains fluid, unscrew the bottle (103) and discard. If it
has not been used, the bottle can remain attached to the
cap.
Disconnect the Pump
NOTE: Follow these instructions to remove the entire
pump from the wall or cart bracket. For wall-mounted
packages, you may prefer to remove the entire pump,
even if only the air motor requires repair.
1. Follow all steps under Preparation, page 18.
2. Loosen the four mounting nuts. Use two people to
lift the entire pump up and out from the mounting
plate. Place it on a work bench.
Disconnect the Displacement Pump
1. Follow all steps under Preparation, page 18.
2. Loosen the screws on the top cap.
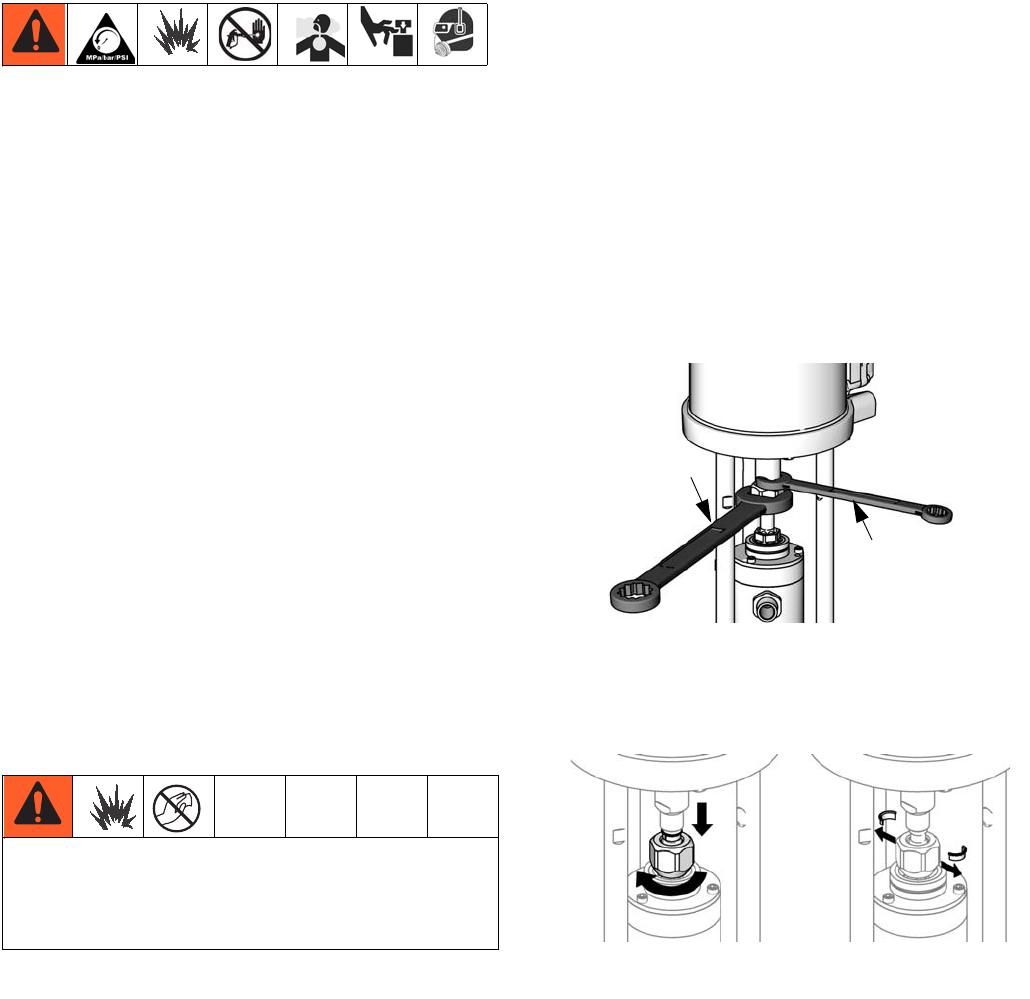
3. Hold the coupling nut (7) with a wrench. Use
another wrench to turn the motor shaft. To avoid
damage to the bellows top cap and the D-shaped
seal, do not turn the coupling nut.
4. Lower the coupling nut (7) and remove the coupling
collars (5).
To avoid the buildup of electrostatic charge, do not
rub the plastic bottle with a dry cloth while it is
attached to the pump. Remove the bottle to clean, if
needed.
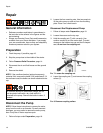
FIG. 7. Loosen the coupling nut.
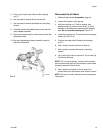
FIG. 8. Remove coupling collars.
hold
turn
ti14531a
ti15365a


