15
Vermont Castings Radiance Vent-Free Gas Heater
20004555
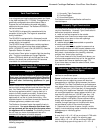
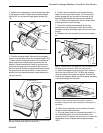
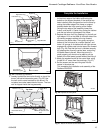
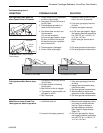
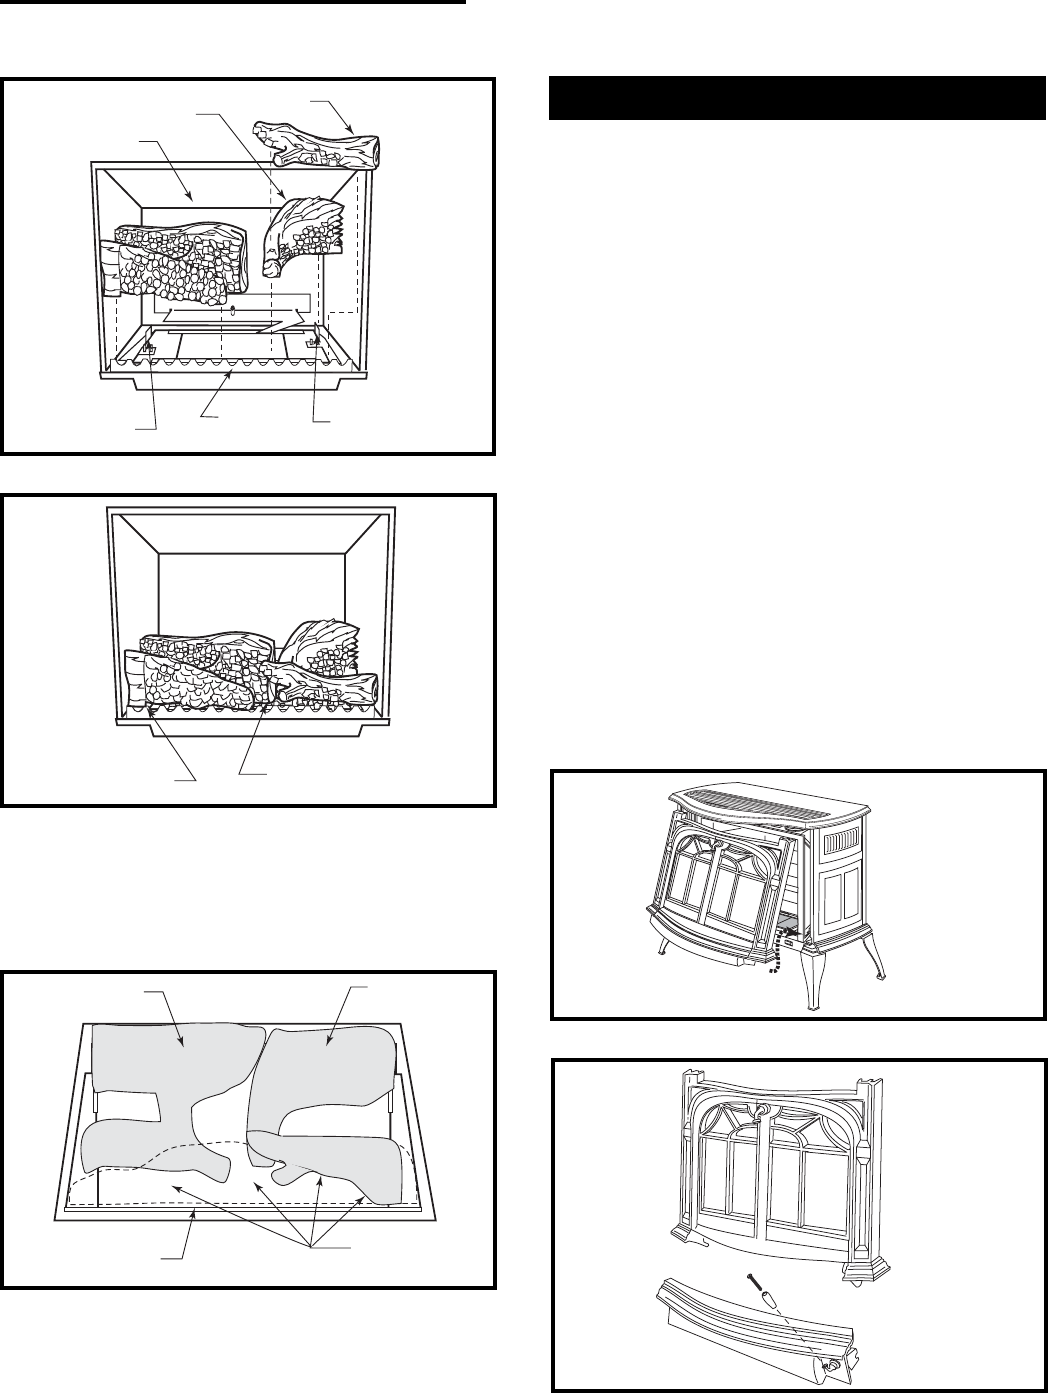
5. Loosely sprinkle the lava rocks directly on top of the
burner just behind decorative grate. (Fig. 25) Use
the lava rock to cover brackets on the burner. Do
not place lava rocks toward back of burner. The lava
rock is shipped inside the bag assembly.
Left Rear Log
Right Rear
Log
Lava rock may
be placed in this
area
Decorative Grate
Top View
Fig. 25 Lava rock placement.
LG160
LG171
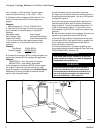
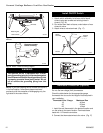
Fig. 23 Install the left and right rear logs and the right log.
Decorative
Grate
Right Log
Right Rear Log
Left Rear Log
Left
Bracket
Right Bracket
LG172
Fig. 24 Completed log installation.
Lava Rock
Log rests on
decorative grate
Complete the Installation
1. Replace the screen frame by sliding the hooks over
the top front edge of the firebox and resting the
bottom on the support brackets. If the catalyst has
been installed, place the glass front on the stove by
resting the bottom edge of the frame on support
brackets below the front opening of the firebox.
Swing the top edge of the assembly toward the
firebox, and center it. Fasten it by closing the latches
over the top left and right edges of the frame.
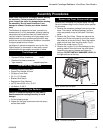
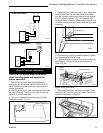
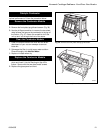
2. Replace the stove front by grasping it by the left and
right edges. Lift it so that tabs on the back side of the
top corners engage notches at the top forward
corners of the stove sides. Then gently swing the
bottom of the front panel to a vertical position, and
lower it till prongs on its bottom left and right corners
engage with notches cast into the tops of the forward
legs. (Fig. 26) Test that the front is installed securely
by grasping two of panel’s vertical bars, and pulling
the panel toward yourself. When the panel is in
place properly you should not be able to pull the
bottom of the front toward yourself without also lifting it.
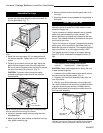
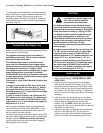
3. Attach the wooden handle to the control door using
the #8-32 x 2” screw from the parts bag. (Fig. 27)
4. Set the screen and the cast-iron grate into the
recess in the stove top.
This completes the installation and assembly of the
Radiance RUVSOD.
Fig. 26 Replace the front panel.
ST139a
Fig. 27 Attach the handle to the control door.
ST197


