


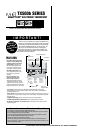
SETTING THE TIME AND DAY
To change
current day.
Push in the RESET key. This
sets the built-in heating and cooling
programs. To review the built-in
programs, rotate the dial to SET
WEEKDAY PROGRAM or SET
WEEKEND PROGRAM.
You can use the built-in programs
as shown, or change them as you
wish. Each day is divided into four
periods. Each period has its own
starting time
and temperature.
Open the drop down door on the front of the thermostat. Rotate the dial to the SET
DAY/TIME position. You should see the display pictured above with a flag pointing to a day of
the week flashing. When you are finished setting the day and time, rotate the dial to RUN to
return to normal operation or to another position to continue programming.
THE BUILT-IN ENERGY STAR
®
PROGRAMS
CAUTION
The TX500 is protected against normal static electric discharges.
However, in extremely dry weather you should touch another metal
object before the TX500 to avoid potential loss of programs.
TEMP
SU
PM
DAY
The dial must be in the RUN position to close the door.
To set current time. The
time (e.g."12:00 AM")
will be flashing.
The TX500 alternately displays the current time and the room temperature. It also displays
the day of the week and the currently active control program that is controlling the temperature:
MORN, DAY, EVE, or NIGHT.
The set point temperature will appear in the right side of the display. In the winter, set the
system switch to HEAT to control your heating system. In the summer, set the switch to COOL
to control your air conditioner. In spring and fall or when windows are open, you can set the
system switch OFF.
Setting the FAN switch to AUTO automatically runs your system’s fan during heating and
cooling. Setting the FAN switch to ON runs your system’s fan continuously even without
heating or cooling.
NOTE
The FAN switch works only if your system provides a wire for the TX500’s “G” terminal.
PROGRAMMING THE TX500
You can change any of the preset times and/or temperatures to suit your schedules for the
weekday and weekend programs. Each day is divided into four periods: Morning, Day,
Evening, and Night. Each period is programmed for HEAT and for COOL.
A blank programming chart is provided below for you to record your temperature settings in
that chart.
HEAT
OFF
COOL
Select HEAT to program the TX500 for
controlling your heater.
OR Select COOL to program the TX500 for
controlling your air conditioner.
M
O
MORN
DAY
EVE
NIGHT
H
E
A
T
AM
T
U
W
E
T
H
F
R
To program temperature.
To change the start time
for MORN.
To move to DAY.
To change the temp.
setting for MORN.
To program temperature.
To change start time
for DAY.
To move to EVE.
To change the temp.
setting for DAY.
To program temperature.
To change the start time
for EVE.
To move to NIGHT.
To change the temp.
setting for EVE.
To program temperature.
To change the start time
for NIGHT.
Rotate dial to RUN position to
start the programs.
To change the temp.
setting for NIGHT.
Rotate dial to SET WEEKDAY PROGRAM. To program the WEEKEND, rotate the dial to SET
WEEKEND PROGRAM. With dial on SET WEEKDAY PROGRAM, you will see this display.
This thermostat is “armchair programmable.” You can make any program or
setting changes with the thermostat body off or on the wall thermostat base.
OPERATION
To change the
current time.
PERIOD HEAT COOL
WEEKDAYS
MORN 6:00 AM 70° 6:00 AM 78°
preprograms DAY 8:00 AM 62° 8:00 AM 85°
EVE 6:00 PM 70° 6:00 PM 78°
NIGHT 10:00 PM 62° 10:00 PM 82°
MORN 6:00 AM 70° 6:00 AM 78°
SAT & SUN DAY 8:00 AM 62° 8:00 AM 85°
preprograms EVE 6:00 PM 70° 6:00 PM 78°
NIGHT 10:00 PM 62° 10:00 PM 82°
M
O
MORN
DAY
EVE
NIGHT
H
E
A
T
PM
O
V
E
R
R
I
D
E
M
O
MORN
DAY
EVE
NIGHT
H
E
A
T
PM
H
O
L
D
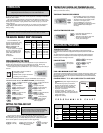
• Press HOLD. Adjust temperature as
desired with UP/DOWN.
• Temperature setting will not change even
after next program period begins.
• To clear, press HOLD again.
DAY PERIOD HEAT COOL
TIME TEMP. TIME TEMP.
MON. MORN
THRU DAY
FRI. EVE
NIGHT
MORN
SAT. DAY
and EVE
SUN. NIGHT
PROGRAMMING CHART
TEMPORARY TEMPERATURE OVERRIDE
VACATION TEMPERATURE HOLD
TEMPERATURE OVERRIDE AND TEMPERATURE HOLD
These features let you change the current Set Temperature without changing the programs
stored in your thermostat’s memory.
TEMPERATURE SWING
A thermostat works by turning your heating or cooling system on and off whenever the room
temperature varies a certain number of degrees from the set-point temperature. This variation is the
“swing.”
Your system should cycle on about 3 to 6 times per hour. A smaller swing number increases the
number of cycles, so room temperature is more constant. A larger swing number decreases the
number of cycles, to save energy in most cases.
SWING SETTINGS
CHANGING FROM °F TO °C AND A 12HR CLOCK TO A 24HR CLOCK
Dial must be in
the run position
Press together
MORN
DAY
EVE
NIGHT
To change
swing
• WARNING: Making these changes will require you to
reset
the thermostat. Copy any of your customized
programs onto the chart below. This will be your
reference to reenter the programs afterwards.
• Located at the top center of the thermostat are
two jumpers - C/F and 12/24.
• To change to Celsius - remove jumper - C/F.
• To change to a 24HR clock - remove jumper- 24/12H.
• Press the reset key on the front of the thermostat for
changes to take effect.
• Reprogram as necessary.
Press to set.
ADVANCED FEATURES
•
Press UP/DOWN to change the current temperature
setting. The OVERRIDE indicator appears on display.
•
The Override feature will be automatically canceled
at the start of the next program period.
•
To cancel OVERRIDE prior to next program
period press UP/DOWN until original set temperature
appears. OVERRIDE indicator will disappear
from display.
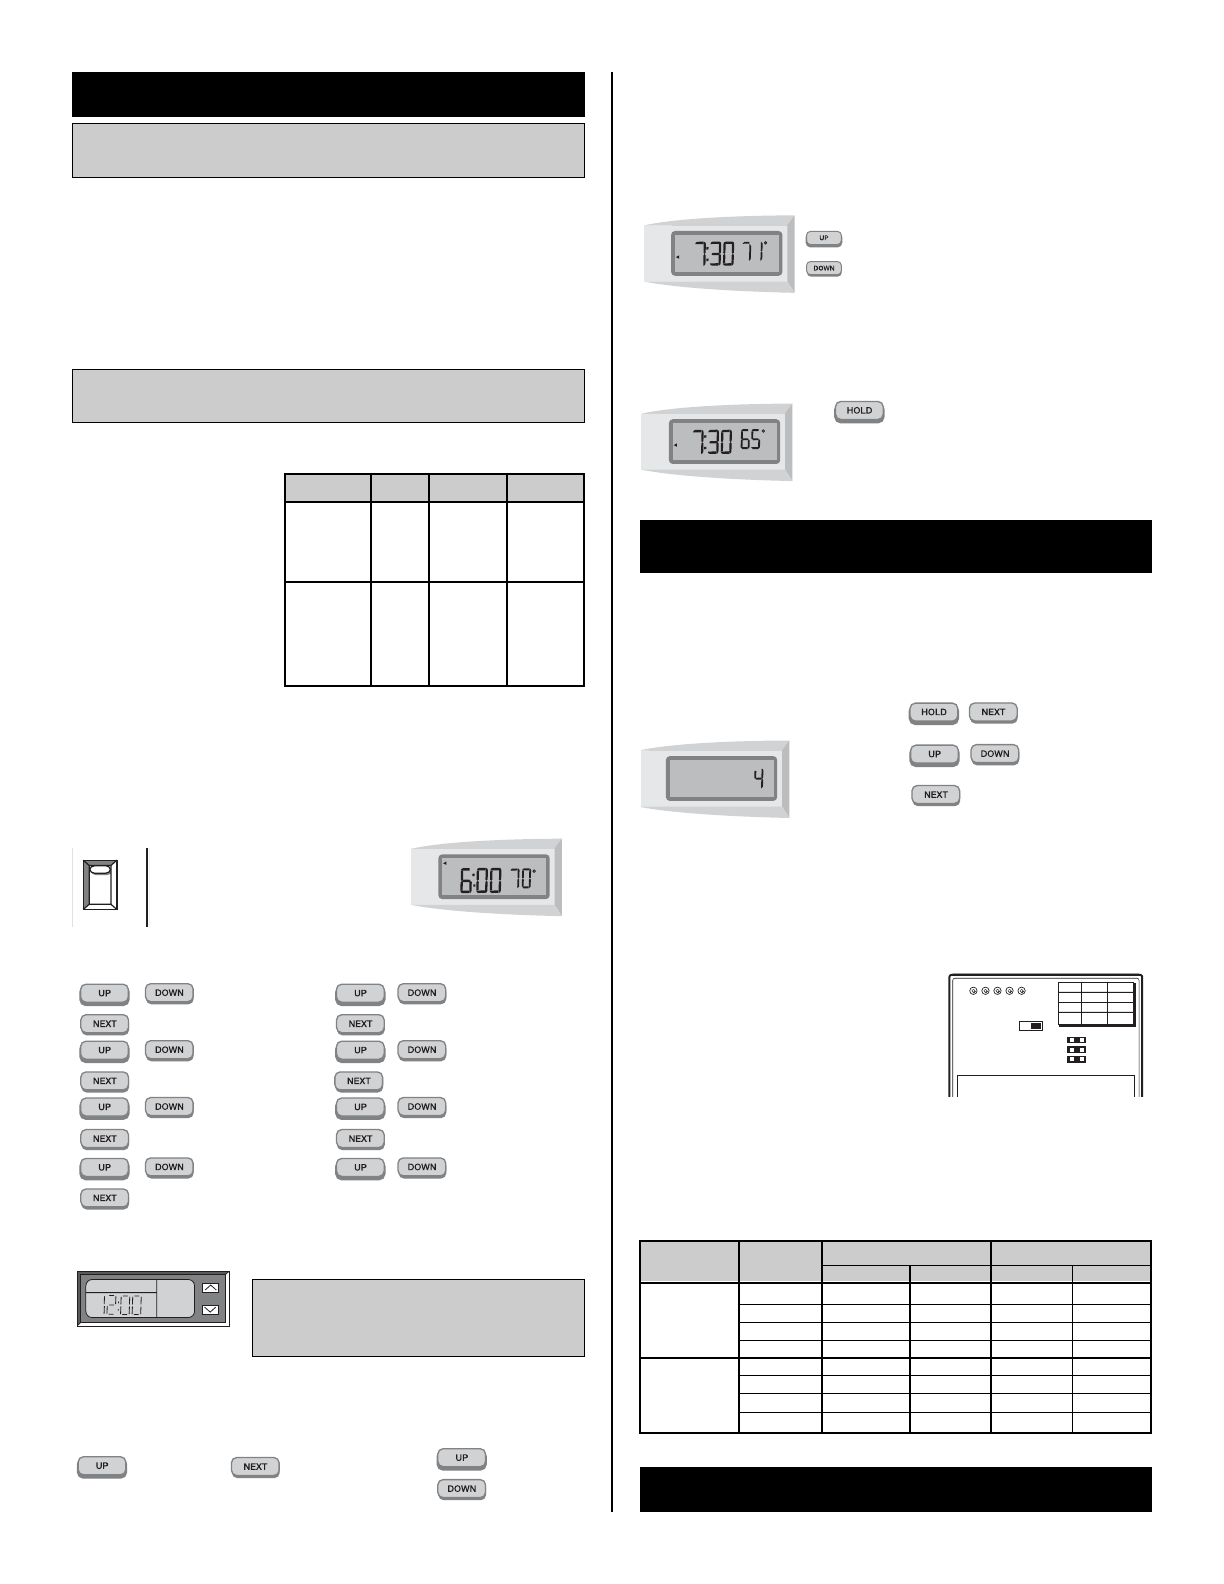
5 MIN/2 MIN MINIMUM ON/OFF TIME
Your thermostat has an internal timer built in to protect your compressor. The timer forces a minimum on/off
time of 5 minutes. You may change this minimum on/off time to 2 minutes. To accomplish this, place the
jumper labeled JP3 over both pins. You must press the small reset button on the face of the thermostat for
the changes to take effect.
RC RH W Y G
JP3
GASELEC
JP2
JP1
CLOSE
5MIN
F
12HR
OPEN
2MIN
C
24HR
JP3
JP2
JP1