


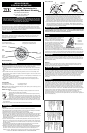
(TH10) ENGLISH - WIRE IDENTIFICATION AND WIRING SCHEMATICS
(TH10) ESPAÑOL – IDENTIFICACIÓN DE CABLES Y DIAGRAMAS DE CABLEADO
(TH10) FRANÇAIS
- SCHÉMAS D'IDENTIFICATION DES FILS ET DU CÂBLAGE
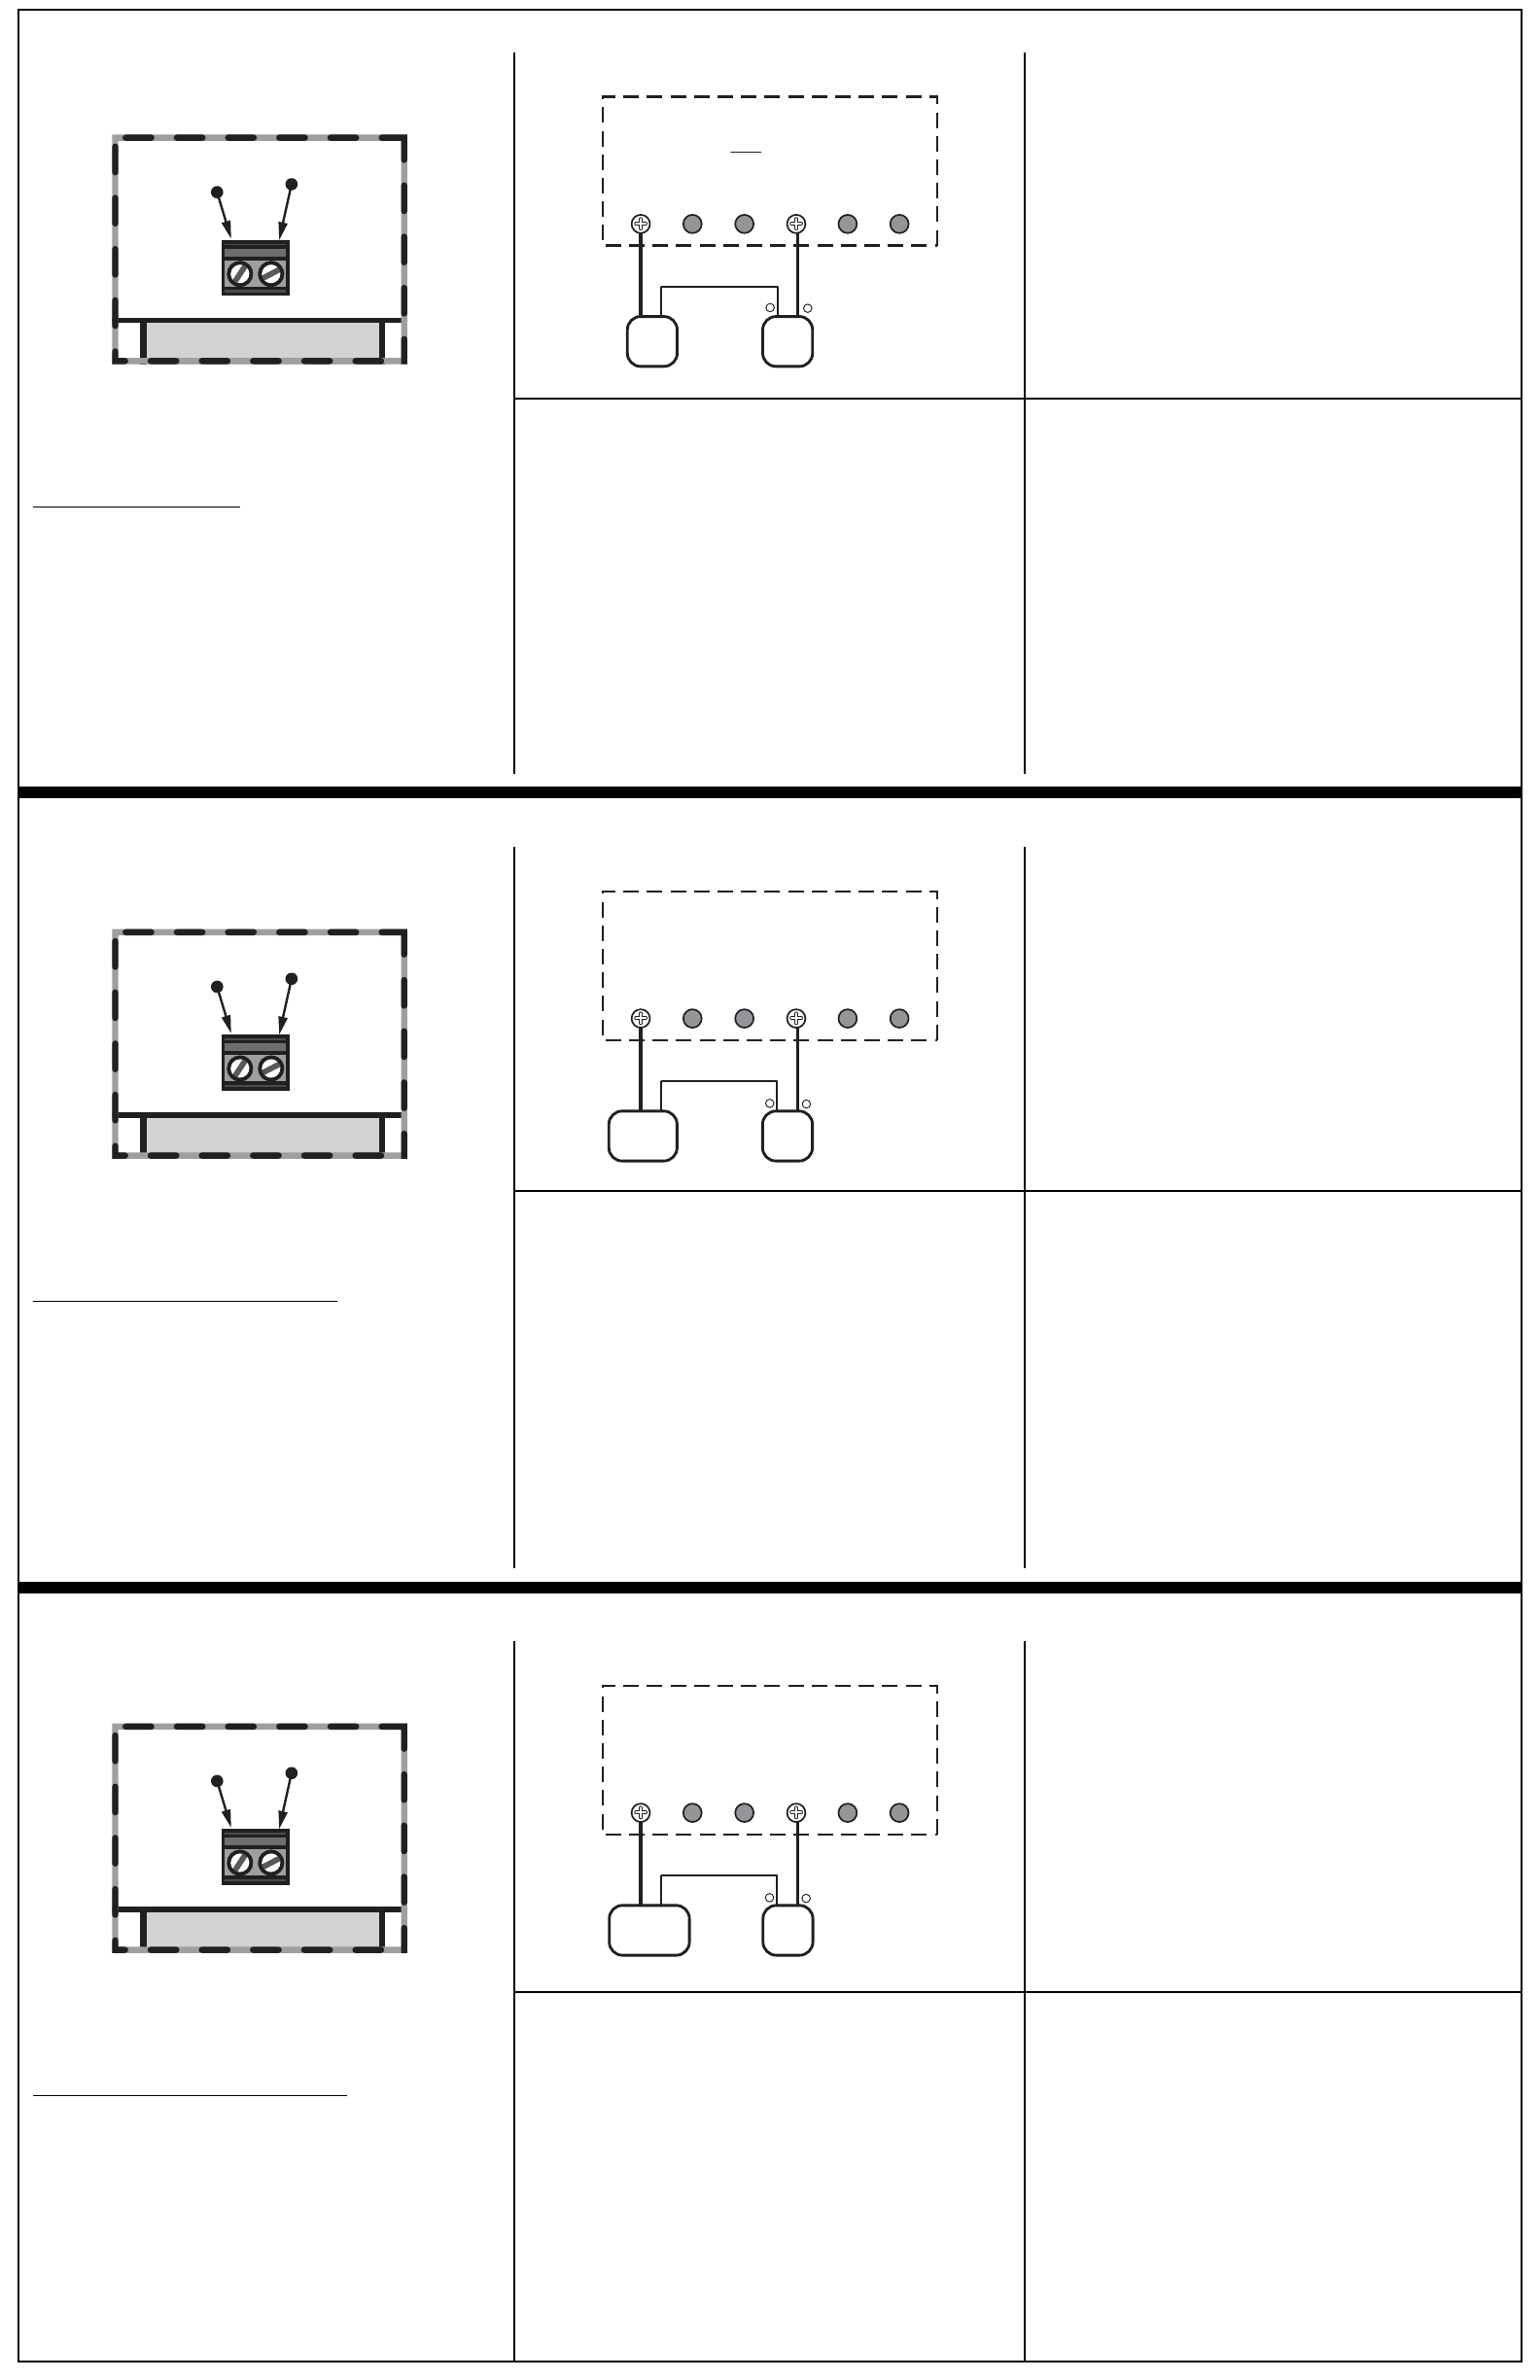
W
RH
ECOSTAT TH10
HEATING ONLY SYSTEM WIRING
RHW
GAS
VALV E
OR
HEATER
SYSTEM
XFMR
+
-
W
RH
CÂBLAGE DU SYSTÈME DE CHAUFFAGE
SEULEMENT ECOSTAT TH10
RHW
VALVE À
GAZ OU
CHAUDIÈRE
SYSTÈME
XFMR
+
-
W
RH
CABLEADO DEL SISTEMA SÓLO
PARA CALEFACCIÓN ECOSTAT TH10
RHW
VÁLVULA
DE GAS O
CALENTADOR
SISTEMA
XFMR
+
-
WIRING DIAGRAM NOTES:
• If replacing a Honeywell TM-11, tape off the “R” wire. Connect the
“B” wire to the “RH” terminal.
• If replacing a thermostat that has a clock wire labeled as “C,” tape off
this wire and do not connect it to this thermostat.
• If “Y” and “C” wires are both present, then “C” is a common wire,
tape off this wire and do not connect it to this thermostat.
• If a “B” wire in your system is a common wire, tape off this wire and
do not connect it to this thermostat.
NOTES DU DIAGRAMME DE CÂBLAGE :
• Si vous remplacez un modèle Honeywell TM-11, couvrez le fil « R ».
Branchez le fil « B » à la borne « RH ».
• Si vous remplacez un thermostat à fil d'horloge portant la mention
« C », couvrez ce fil et ne le branchez pas à ce thermostat.
• Si vous avez les fils « Y » et « C », alors le « C » est un fil commun,
couvrez-le et ne le branchez pas à ce thermostat.
• Si un fil « B » de votre système et un fil commun, couvrez ce fil et ne
le branchez pas à ce thermostat.
NOT
AS DEL DIAGRAMA DEL CABLEADO:
• Si reemplaza un Honeywell TM-11 desprenda el cable "R". Conecte el
cable “B” a la terminal “RH”.
• Si reemplaza el termostato que tiene un cable de reloj marcado como
tipo “C”, desprenda este cable y no lo conecte a este termostato.
• Si los cables “Y” y “C” están presentes, entonces “C” es un cable
normal, despréndalo y no lo conecte a este termostato.
• Si un cable “B” en su sistema es un cable normal, despréndalo y no lo
conecte a este termostato.