


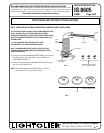
INSTRUCTION SHEET NO.
A0300 Page 2of 2
READ AND UNDERSTAND THESE INSTRUCTIONS BEFORE INSTALLING FIXTURE.
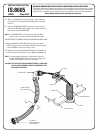
This fixture is intended for installation in accordance with the National Electrical Code and local or Federal
code specifications. To assure full compliance with codes and regulations, check with your local electrical
inspector before installation. To prevent electric shock, turn off electricity at fuse box before proceeding.
Retain these instructions for maintenance reference.
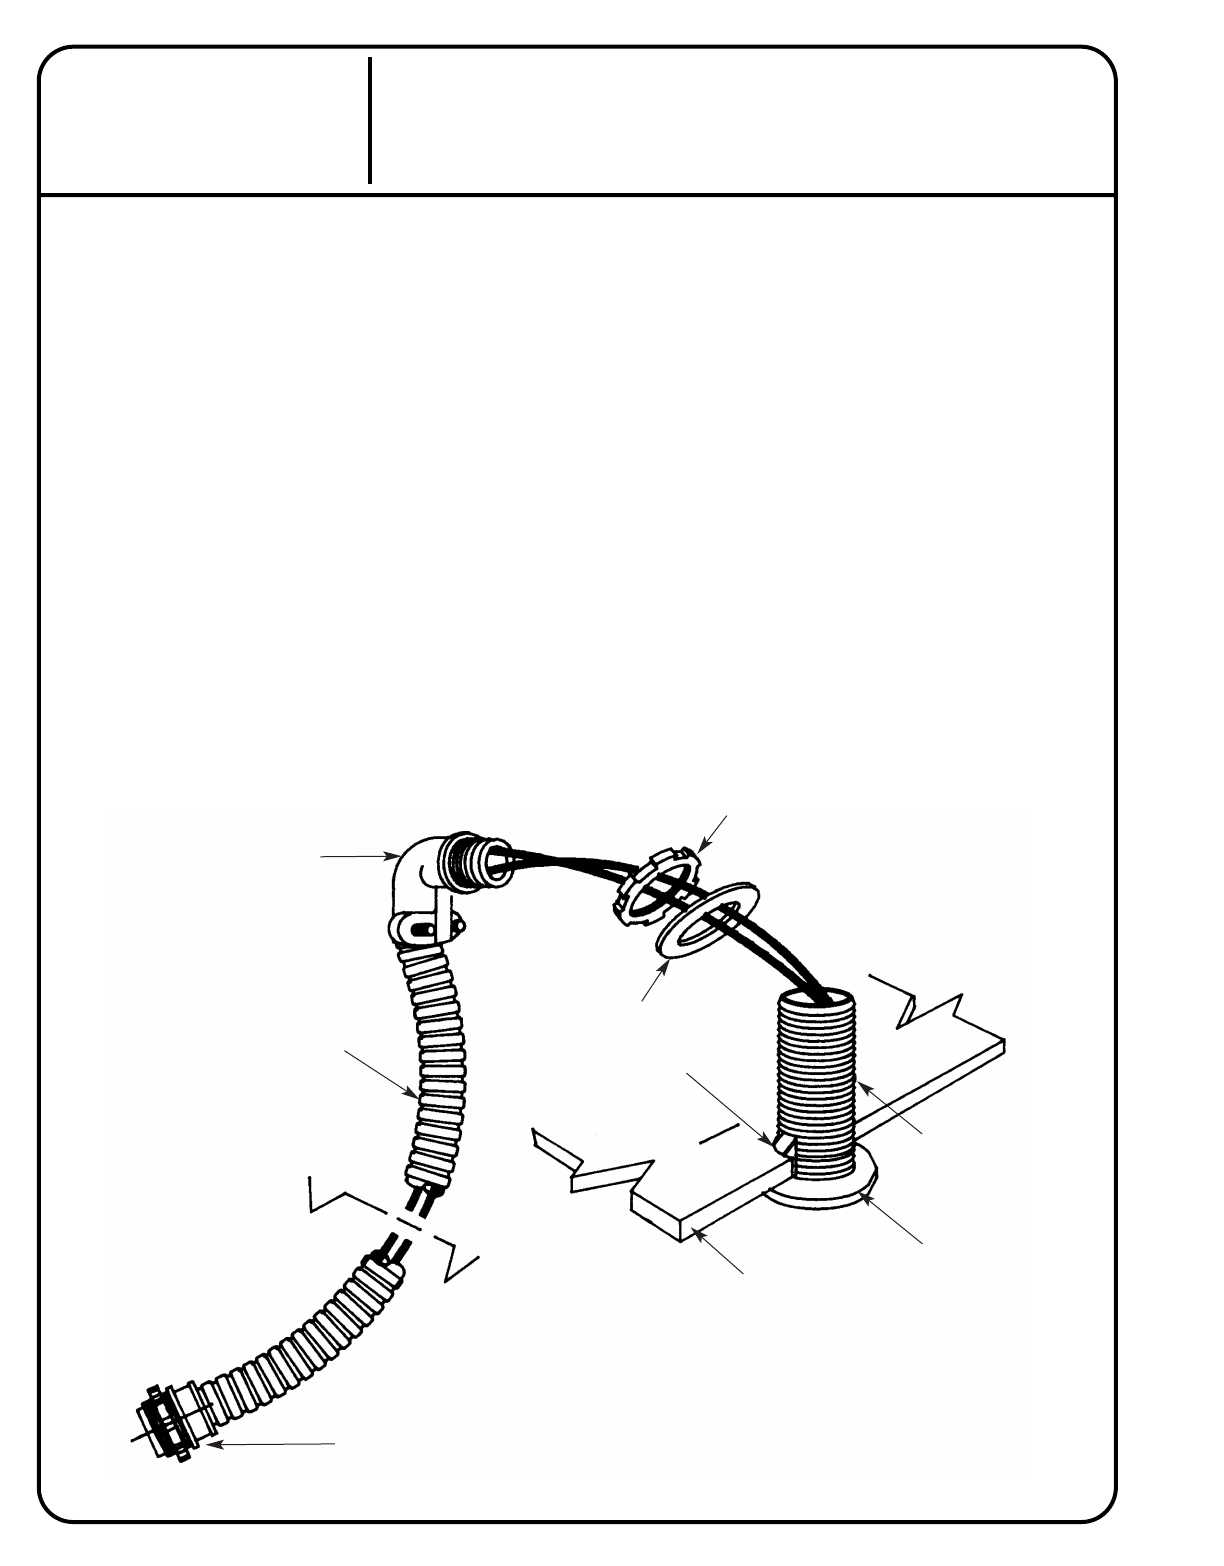
3. DRILL a 1 1/8”diameter hole in the ceiling or wall. Locate the
hole at least 12” from any flammable objects and 3” from any
structure.
4. Insert the POWER JACK POINT into the hole in the ceiling or
wall until the FLANGE is seated against the ceiling or wall and
held in place by the SPRING TABS.
NOTE: The SPRING TABS are to Temporarily retain the POINT
casting until it has been permmanently fastened in place.
DO NOT ATTEMPT TO CONNECT OR USE THE POWER JACK UNTILTHEN.
5. Slip the WASHER and LOCK NUT past the leads and onto the
POINT casting as shown. Thread the LOCK NUT onto the casting
until the FLANGE is snug to the ceiling or wall.
6. Thread the leads through FLEXIBLE CONDUIT (not included) and
splice to the remote transformer Cat. No. 8608 or No 8609 (Fig 3).
NOTE: The leads must go directly to the transformer and not to
another POWER POINT. Otherwise excessive voltage drop
will affect the brightness and color of the light.
CAUTION: USE ONLY WITH JACKS MANUFACTURED BY LIGHTOLIER.
USE OF OTHER EQUIPMENT VOIDS THE WARRANTY AND
MAY CREATE A HAZARD.
IS:8605
Fig. 3
POINT POWER JACK
SPRING TAB
FLEXIBLE CONDUIT
(NOT INCLUDED)
FITTING FOR
TRANSFORMER BOX
(NOT INCLUDED)
FLANGE
CEILING OR WALL
LOCK NUT
WASHER
90˚ CONNECTOR