12
NOTE: DIAGRAMS & ILLUSTRATIONS ARE NOT TO SCALE.
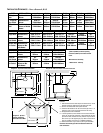
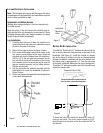
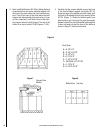
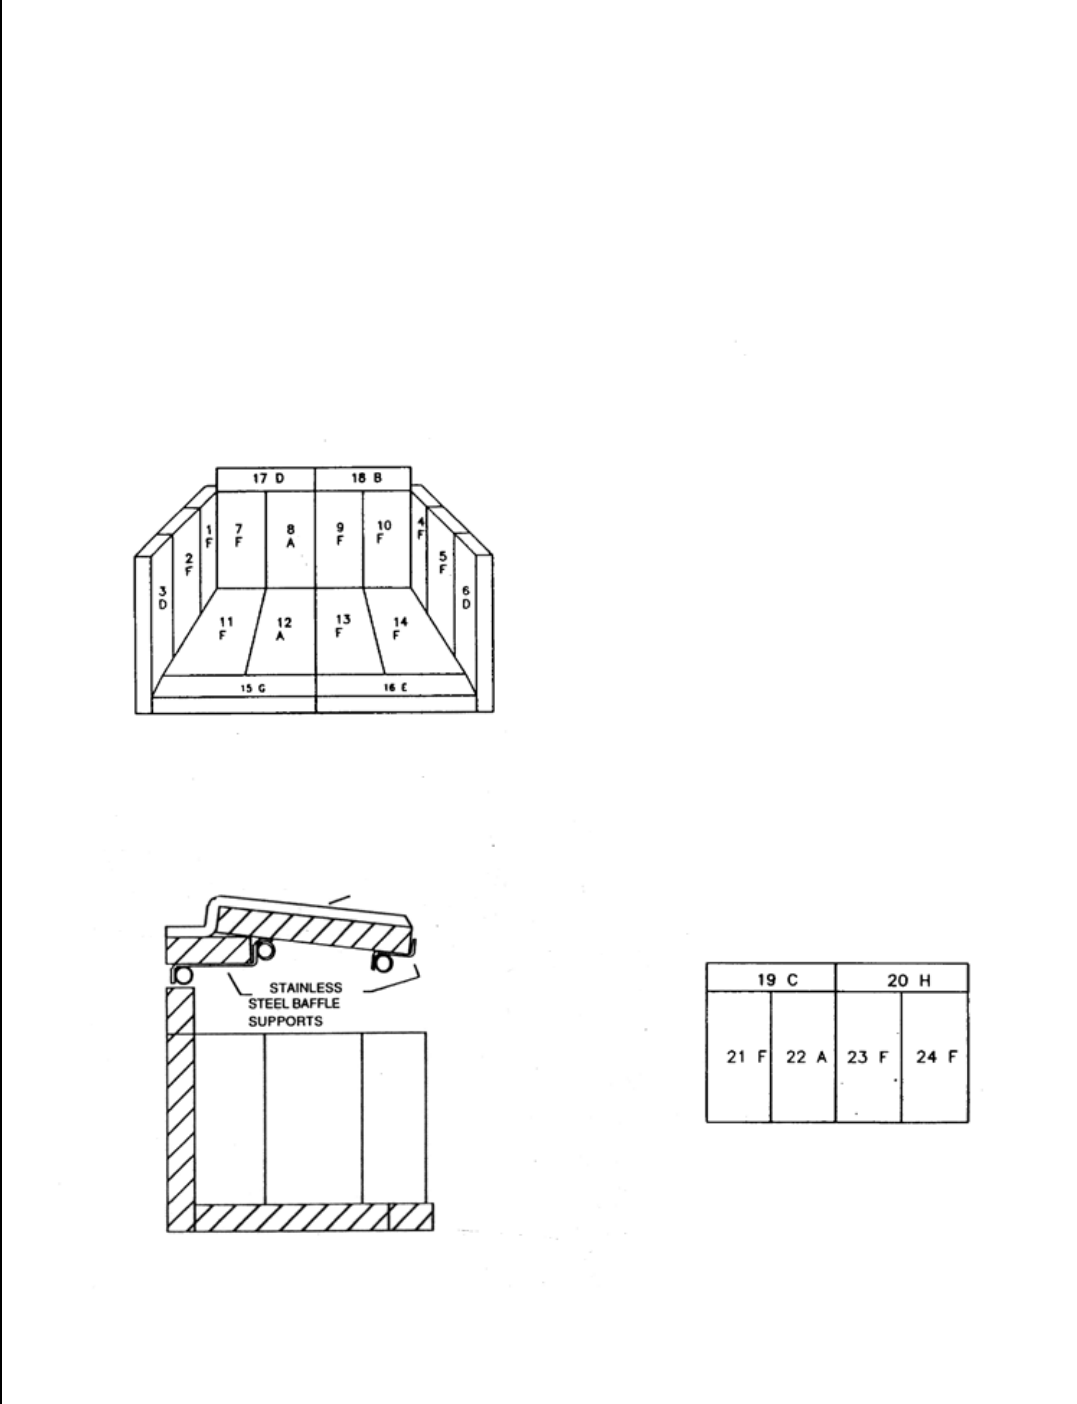
Ceramic Fiber
Blanket
Figure 8
Baffle Bricks Top View
Figure 7
A = 4-1/4”x 9”
B = 2-1/4”x 8-7/8”
C = 3-1/2”x 9”
D = 2-1/4”x 9”
E = 1-1/2”x 8-7/8”
F = Full Brick (4-1/2”x 9”)
G = 1-1/2”x 9”
H = 3-1/2”x 8-7/8”
Brick Sizes
Figure 6
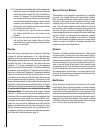
3. Next, install baffle bricks #21-24 by sliding the back
of each brick over the center tube and support until
the front of the brick clears the front tube and sup-
port. Then lift the front of the brick above the front
support and tube and slide it forward as far as it can
go (very important), it will hit the front of the stain-
less support when it is fully forward. The rear of the
bricks sit on top of bricks #19-20 (Figures. 7 & 8).
4. Carefully slip the ceramic blanket up over the front
of the front stainless support and bricks #21-24.
Grasp the edge of the blanket and slide it back until
the front of the blanket is flush to the front of bricks
#21-24 (Figure 7). Shake the blanket gently from
side to side to get it to lay flat. Be sure the ceramic
blanket is directly on top of the baffle bricks and that
it does not hang out past the front of the baffle as
shown in Figure 7, also see note above.


