


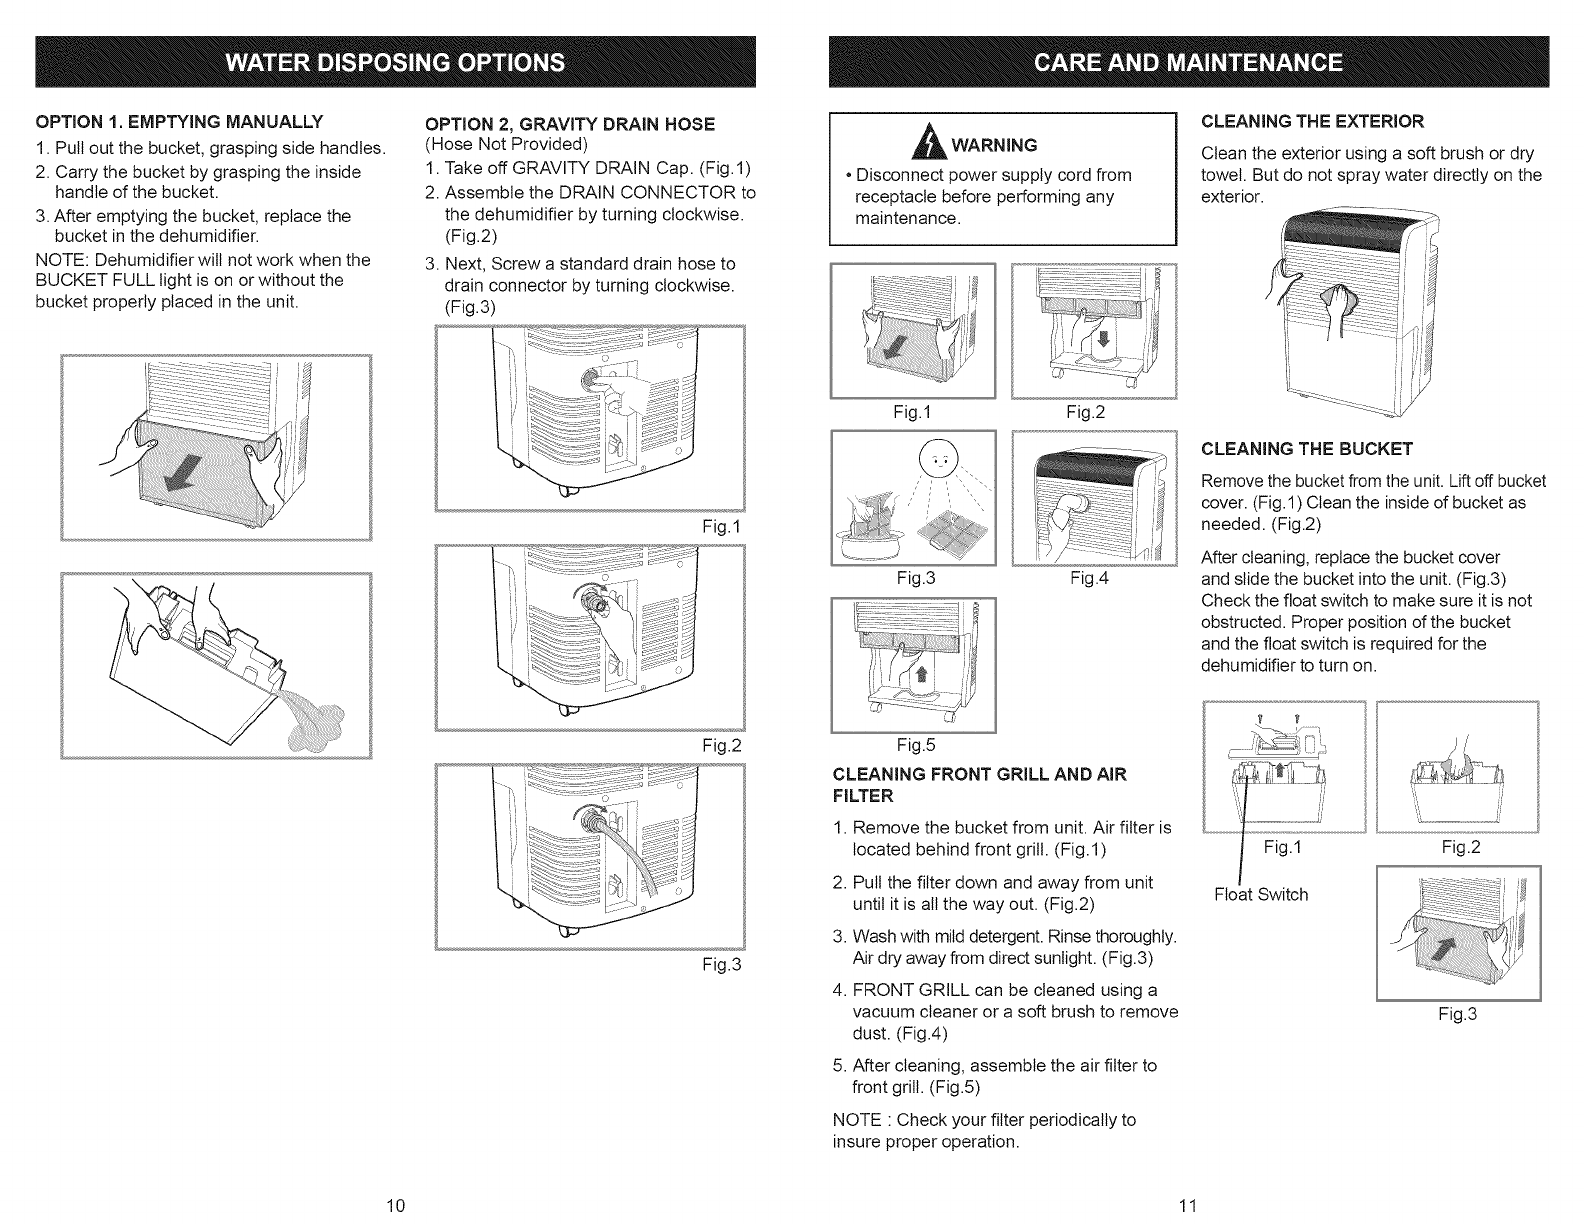
OPTION1.EMPTYING MANUALLY
1. Pull out the bucket, grasping side handles.
2. Carry the bucket by grasping the inside
handle of the bucket.
3.After emptying the bucket, replace the
bucket in the dehumidifier.
NOTE: Dehumidifier will not work when the
BUCKET FULL light is on or without the
bucket properly placed in the unit.
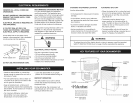
OPTION 2, GRAVITY DRAIN HOSE
(Hose Not Provided)
1. Take off GRAVITY DRAIN Cap. (Fig. 1)
2. Assemble the DRAIN CONNECTOR to
the dehumidifier by turning clockwise.
(Fig.2)
3. Next, Screw a standard drain hose to
drain connector by turning clockwise.
(Fig.3)
_WARNING
• Disconnect power supply cord from
receptacle before performing any
maintenance.
CLEANING THE EXTERIOR
Clean the exterior using a soft brush or dry
towel. But do not spray water directly on the
exterior.
Fig.1
Fig.l Fig.2
Fig.3 Fig.4
CLEANING THE BUCKET
Remove the bucket from the unit. Lift off bucket
cover. (Fig.1) Clean the inside of bucket as
needed. (Fig.2)
After cleaning, replace the bucket cover
and slide the bucket into the unit. (Fig.3)
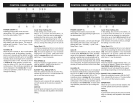
Check the float switch to make sure it is not
obstructed. Proper position of the bucket
and the float switch is required for the
dehumidifier to turn on.
Fig.2
Fig.3
Fig.5
CLEANING FRONT GRILL AND AIR
FILTER
1. Remove the bucket from unit. Air filter is
located behind front grill. (Fig.l)
2. Pull the filter down and away from unit
until it is all the way out. (Fig.2)
3. Wash with mild detergent. Rinse thoroughly.
Air dry away from direct sunlight. (Fig.3)
4. FRONT GRILL can be cleaned using a
vacuum cleaner or a soft brush to remove
dust. (Fig.4)
5. After cleaning, assemble the air filter to
front grill. (Fig.5)
NOTE : Check your filter periodically to
insure proper operation.
Float Switch
Fig.2
Fig.3
10 11