


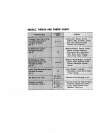

GARMENT CONSTRUCTION STITCHES ....
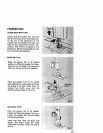
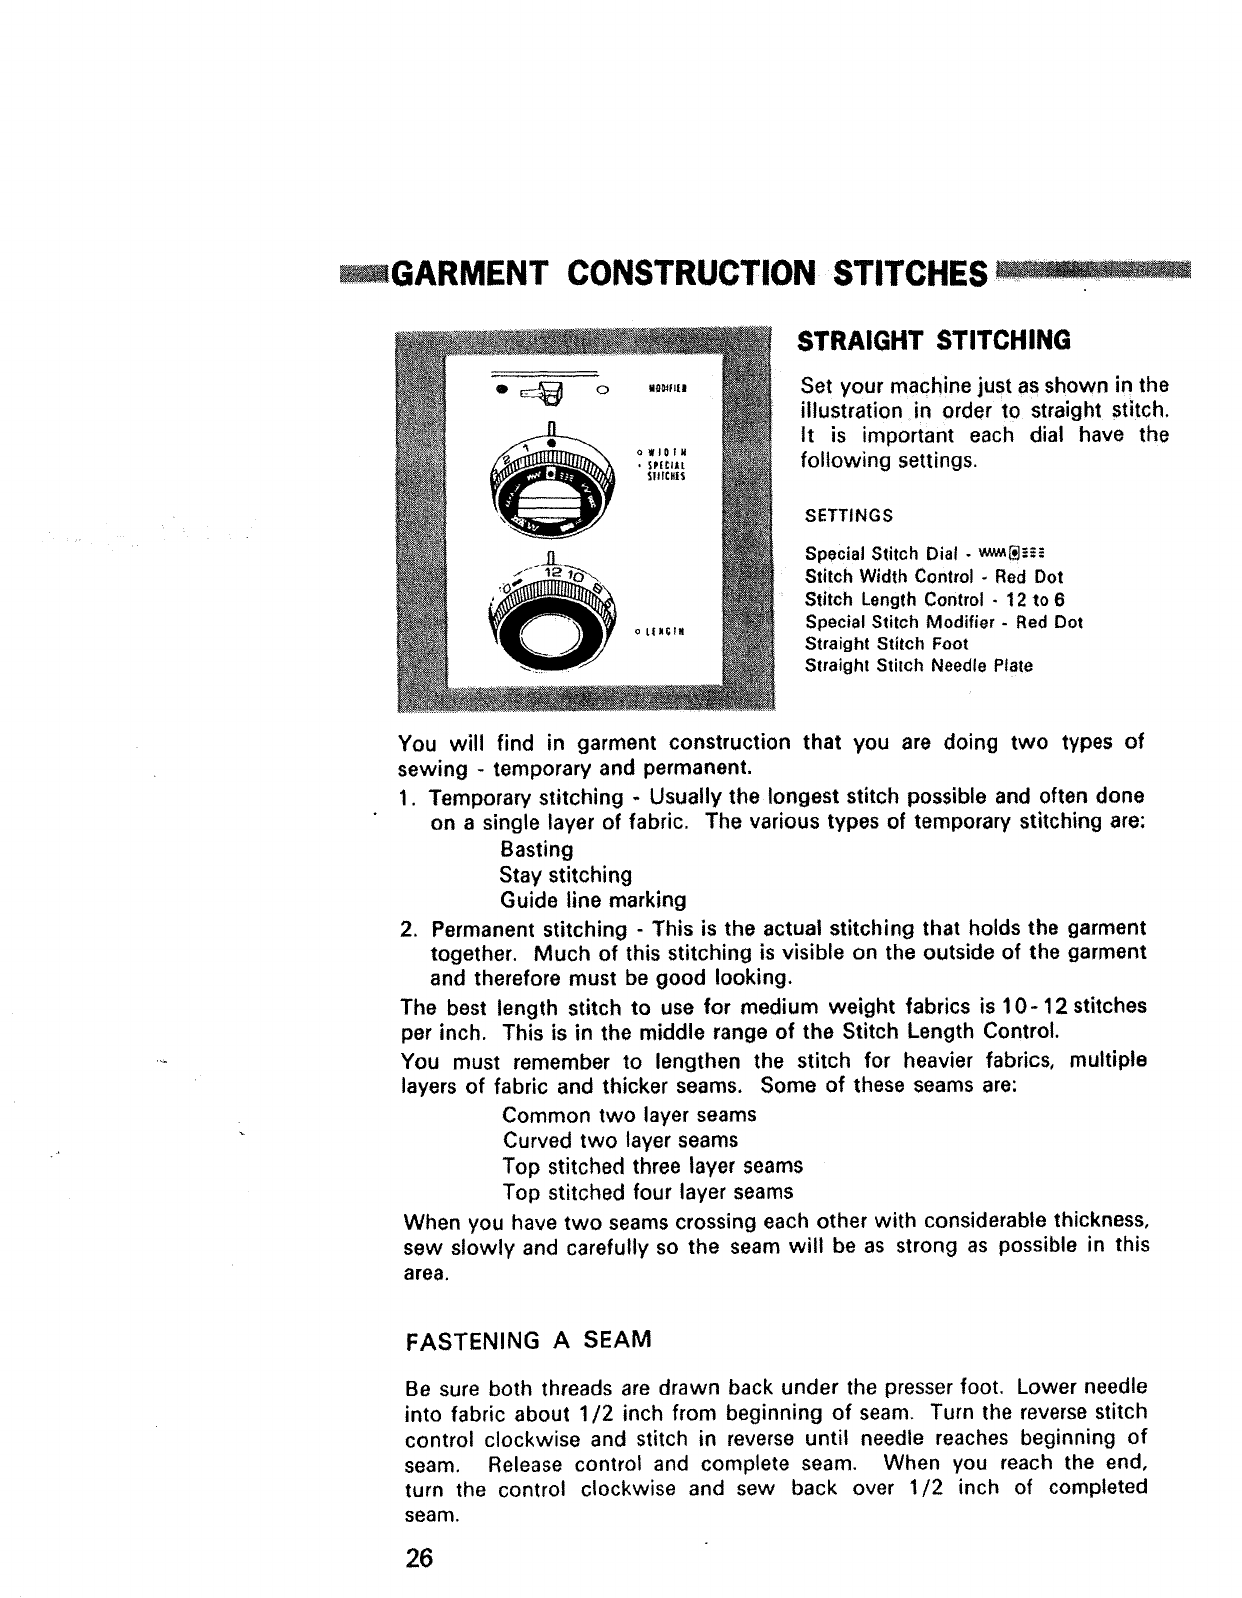
STRAIGHT STITCHING
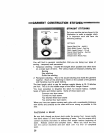
Set your machine just as shown in the
illustration in order to straight stitch.
it is important each dial have the
following settings.
SETTINGS
Special Stitch Dial . wwa_--_
Stitch Width Control - Red Dot
Stitch Length Control - 12 to 6
Special Stitch Modifier - Red Dot
Straight Stitch Foot
Straight Stitch Needle Plate
You will find in garment construction that you are doing two types of
sewing - temporary and permanent.
1. Temporary stitching - Usually the longest stitch possible and often done
on a single layer of fabric. The various types of temporary stitching are:
Basting
Stay stitching
Guide line marking
2. Permanent stitching - This is the actual stitching that holds the garment
together. Much of this stitching is visible on the outside of the garment
and therefore must be good looking.
The best length stitch to use for medium weight fabrics is 10- 12 stitches
per inch. This is in the middle range of the Stitch Length Control.
You must remember to lengthen the stitch for heavier fabrics, multiple
layers of fabric and thicker seams. Some of these seams are:
Common two layer seams
Curved two layer seams
Top stitched three layer seams
Top stitched four layer seams
When you have two seams crossing each other with considerable thickness,
sew slowly and carefully so the seam will be as strong as possible in this
area.
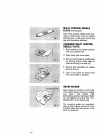
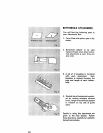
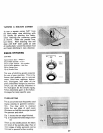
FASTENING A SEAM
Be sure both threads are drawn back under the presser foot. Lower needle
into fabric about 1/2 inch from beginning of seam. Turn the reverse stitch
control clockwise and stitch in reverse until needle reaches beginning of
seam. Release control and complete seam. When you reach the end,
turn the control clockwise and sew back over 1/2 inch of completed
seam.
26