


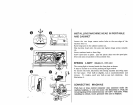

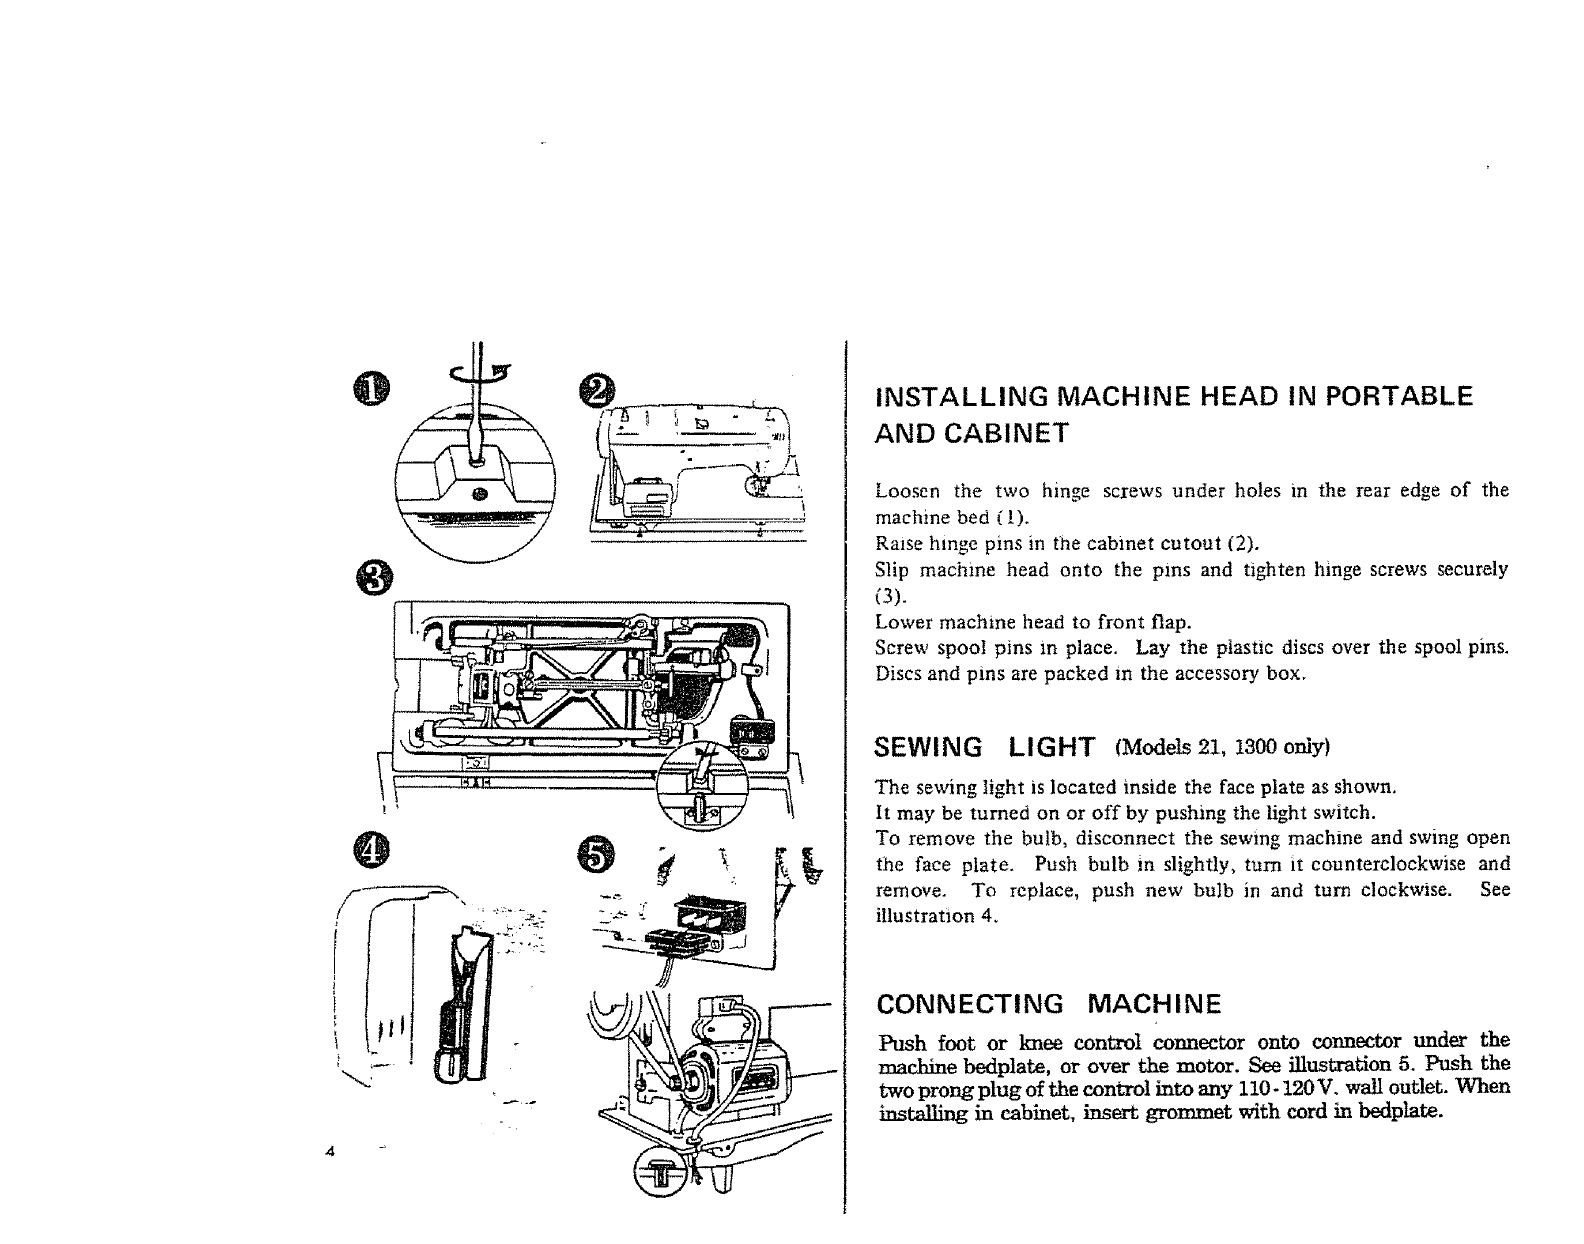
INSTALLING MACHINE HEAD IN PORTABLE
AND CABINET
Loosen the two hinge screws under holes in the rear edge of the
machine bed (!).
Raise hinge pins in the cabinet cutout (2).
Slip machine head onto the pins and tighten hinge screws securely
(3).
Lower machine head to front flap.
Screw spool pins in place. Lay the plastic discs over the spool pins.
Discs and pins are packed in the accessory box.
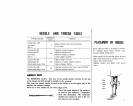
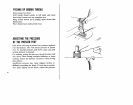
SEWING LIGHT (Modets 21, 1300 only)
The sewing light is located inside the face plate as shown.
It may be turned on or off by pushing the light switch.
TO remove the bulb, disconnect the sewing machine and swing open
the face plate. Push bulb m slightly, turn it counterclockwise and
remove. To replace, push new bulb in and turn clockwise. See
illustration 4.
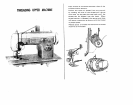
CONNECTING MACHINE
Push foot or knee control connector onto connector under the
machine bedplate, or over the motor. See illustration 5. Push the
two prong plug of the control into any 110-120 V° wall outlet. When
installing in cabinet, insert grommet with cord in bedplate.