6
Using Your Kambrook Arctic Desk Fan
Before First Use
Remove any promotional material from
the fan.
IMPORTANT: When
unpacking the fan, check to
see you have received
all the items listed in the
Parts List, before discarding
the packaging.
Assembling Your Arctic
Desk Fan
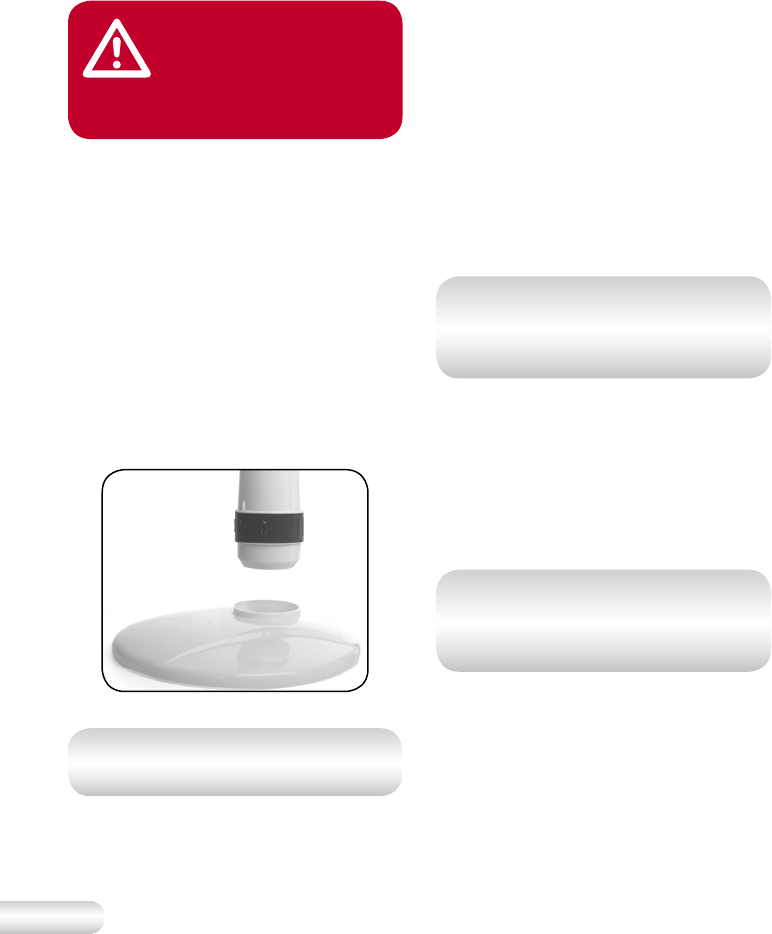
Base Assembly (KFA211 and
KFA213 Only)
1. Turn the motor head housing
upside down.
2. Locate the bottom of the housing
onto the base so that it sits securely
into place.
3. Using the 3 supplied base screws,
securely fasten the base to the motor
head housing.
Fig. 1
NOTE: The KFA210 base is already
connected with the motor housing.
Fan Head Assembly
1. Remove the Blade Cap (KFA211 and
KFA213 only) from the Motor shaft by
turning it clockwise, and then remove
the Guard Locking Nut by turning it
anti-clockwise.
2. Thread the Motor shaft through the
centre hole of the Rear Grille, placing
the Rear Grille into position. Make sure
that the carry handle, on the back of
the Rear Grille is located above the
motor housing. Ensure the Rear Grille
is aligned with the locating pins and
fix the grille into position by replacing
the Guard Locking Nut. Make sure that
the Rear Grille has not slipped off the
locating pins before tightening. This
should be done by hand. Do not force.
NOTE: When positioning the Rear
Grille on the Motor shaft, always
ensure the carry handle on the grille
is positioned in the upright position.
3. Insert the Plastic Blade onto the Motor
shaft, and match the pin slots in the
blade with the Motor shaft pin.
4. Fix the blade into place by tightening
the Blade Cap (KFA211 and KFA213
only) onto the Motor shaft in an anti-
clockwise direction. This should be
done by hand. Do not force.
NOTE: Ensure the fan blade engages
fully onto the shaft. Please note this
may require some force to ensure it is
fully engaged.
5. Unlatch the Securing Clips on the
Front Grille and unscrew the small
screw located at the bottom of the
front guard.
6. Press together the Front and Rear
Grille, and secure by snapping shut
the Securing Clips over edges of both
grilles. Make sure that the small holes at
the bottom of both grilles are aligned.
Tighten the Securing Clips by hand.
