


Mounting the Commercial Keypad Transmitter
Note that it is not necessary to mount the keypad. It may
be used as a hand-held device.
Step 1: If mounting, choose a convenient location that
does not interfere with the normal opening and closing of
the door. Keep in mind that some doors swing outward
and will damage an improperly located keypad.
MOUNT THE KEYPAD A MINIMUM OF 5 FEET
ABOVE THE GROUND TO KEEP IT OUT OF
REACH OF CHILDREN.
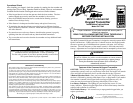
Step 2: When mounting on masonry or similar material
plastic anchors are recommended. Drill a hole for the
bottom screw. Install the screw leaving the head of the
screw approximately 1/8 inch out from the wall. Slide the keypad over the screw
and mark the position of the top hole. Remove the keypad and drill the top hole.
Slip the keypad back over the exposed screw and finish mounting by installing
the top screw. Refer to Figure 1.
MOUNT THE KEYPAD IN A LOCATION THAT MINIMIZES THE
POTENTIAL FOR THE USER TO COME IN CONTACT WITH A
MOVING DOOR.
This device complies with Part 15 of the FCC Rules and with RSS-210 of
Industry Canada. Operation is subject to the following two conditions: (1)
This device may not cause harmful interference, and (2) this device must
accept any interference received, including interference that may cause
undesired operation.
WARNI NG
Disconnect power to the operator before and during installation. Do not
reconnect power until the mounting is complete. Ensure doorway is clear
before testing the operation of the wireless keyless entry.
Using the MVP Receiver with the Commercial
Keypad Transmitter
The MVP receiver learns a door number from the keypad.
When set to learn mode, the MVP receiver memorizes a door
number entered from the keypad after either Open, Close or
Stop key is pressed. Once learned, the Open, Close or Stop
will activate this door.
Choose a 3-digit door number that makes sense for the
application. Typical applications include a series of doors in
a warehouse. The west wall doors may be numbered 001 to
099, the east wall doors may be numbered 101 to 199, etc.
Also note that the door number could be used as a private
PIN for door with limited or restricted access.
Valid door numbers are 001,002 … 015, 016 ...238, 239, 240.
Battery
Hatch
Figure 1
Mounting
Holes
WARNI NG
Unexpected door operations can cause personal injury or property damage.
Refer to individual manuals for
transmitter and keypad installation,
coding and user instructions.
Important
Programming the MVP Receiver
The MVP receiver is capable of learning up to
8 different (unique) transmitter codes. In
addition to the Commercial Keypad
Transmitter, additional transmitters may be any
combination of MVP, Classic or Original dip-
switch type transmitters.
Each Commercial Keypad Transmitter is
factory set to one of 27 different serial numbers
that is transmitted in addition to the door
number and open, close or stop function. If
using multiple keypads, it will be necessary to
repeat the programming steps listed below for
each keypad.
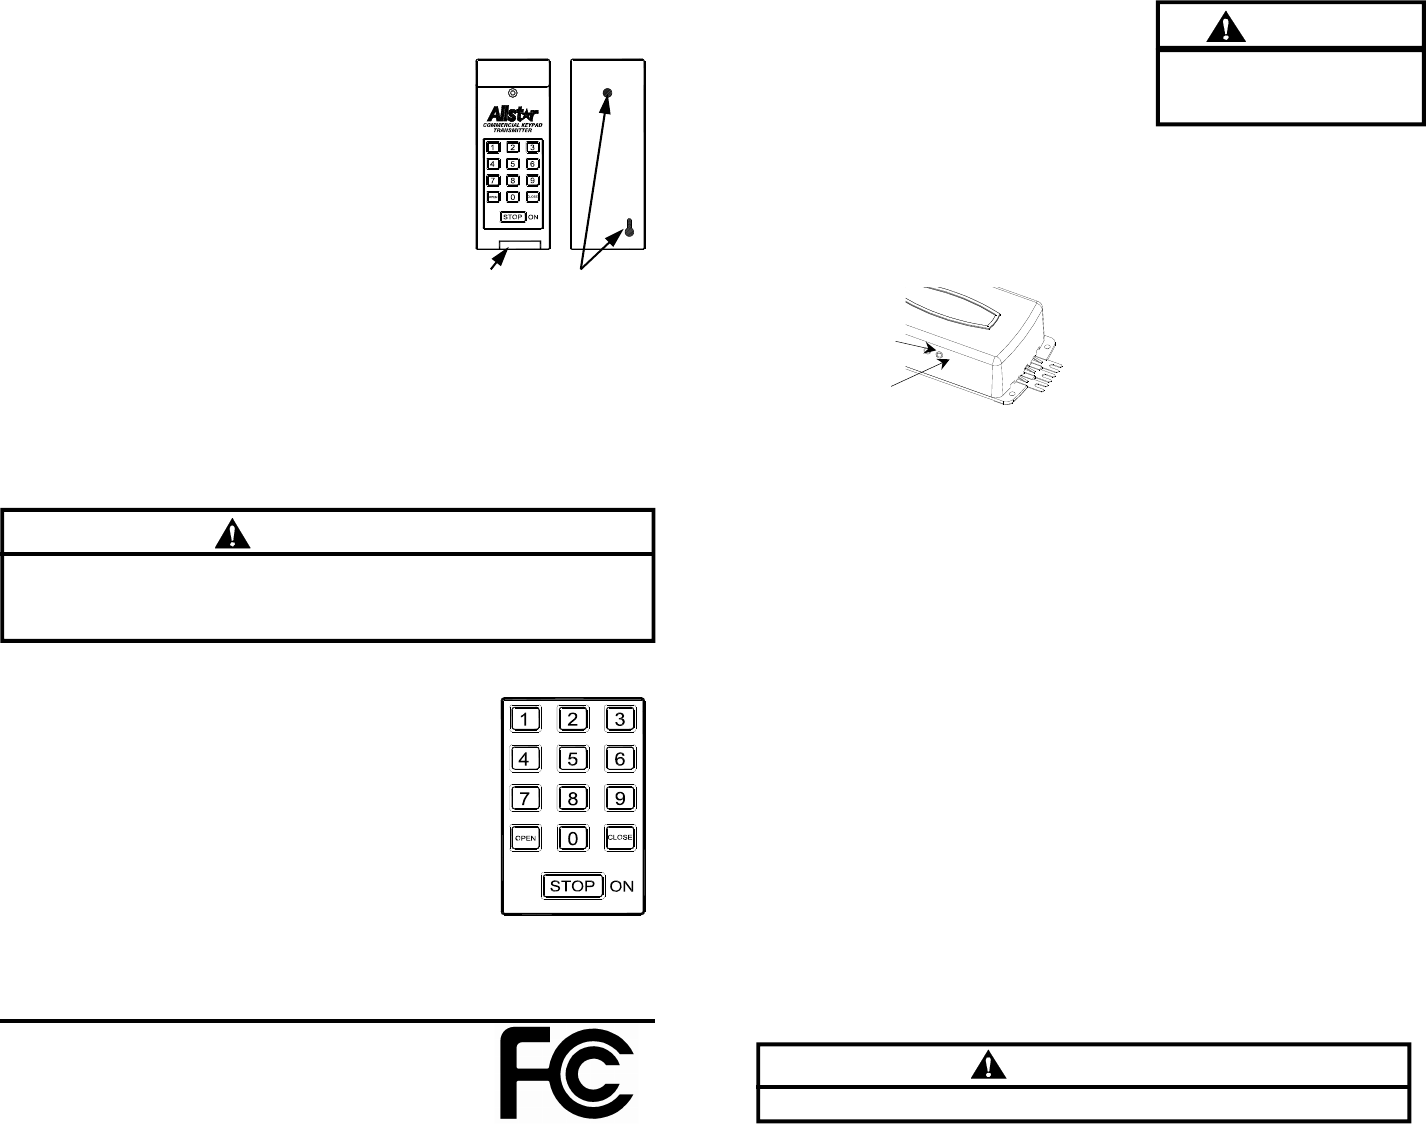
Learn/Erase Button
Indicator LED
Programming Procedure
NOTE: Make sure the LED lights on the
Commercial Keypad Transmitter are OFF
before starting. This simplifies the
programming process.
Step 1: Momentarily press and release the
Learn button on the receiver. The LED will turn
on. You will have approximately 20 seconds to
complete step 2.
Step 2: Press the ON/STOP button on the
keypad. The lights on the keypad will turn on.
Next enter the 3-digit door number. The lights
on the keypad will turn off and on to confirm a
key has been pressed. Press and hold the STOP
button until the LED on the receiver turns off.
The lights on the keypad will continuously
blink off and on while the STOP button is
pressed to indicate the keypad is transmitting.
Step 3: Repeat to add additional keypads or
transmitters with different codes.
Erasing the Receiver’s Memory
If it is necessary to erase all of the codes stored
in the MVP receiver’s memory, follow the
procedure below.
Step 1: Press and HOLD the Learn button. The
indicator LED will turn on.
Step 2: When the LED turns off (after
approximately 5 seconds), release the Learn
button.
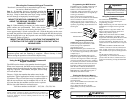
Using the Commercial Keypad
Transmitter
The commercial keypad transmitter is used in
the same manner as it is used during the
programming procedure.
Step 1: Momentarily press and release the ON/
STOP button. The lights on the keypad will
turn on.
Step 2: Enter the 3-digit door number. The
lights on the keypad will turn off and on to
confirm a key has been pressed.
Step 3: Press and hold the either the OPEN,
CLOSE or STOP button.. The lights on the
keypad will continuously blink off and on while
the STOP button is pressed to indicate the
keypad is transmitting. The MVP receiver will
activate the door in desired direction or stop the
door.
The OPEN, CLOSE and STOP buttons will
continue to activate the current (selected) door
until; another 3-digit door is entered; any one
of the number keys is pressed; the keypad turns
off.
The keypad will remain active for
approximately 45 seconds after the last key is
pressed. After this time, it will shut down and
must be reactivated by pressing the ON/STOP
button.