8
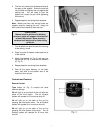
Speed button (B, Fig. 3) controls the three
different settings, Low, Medium and High. There
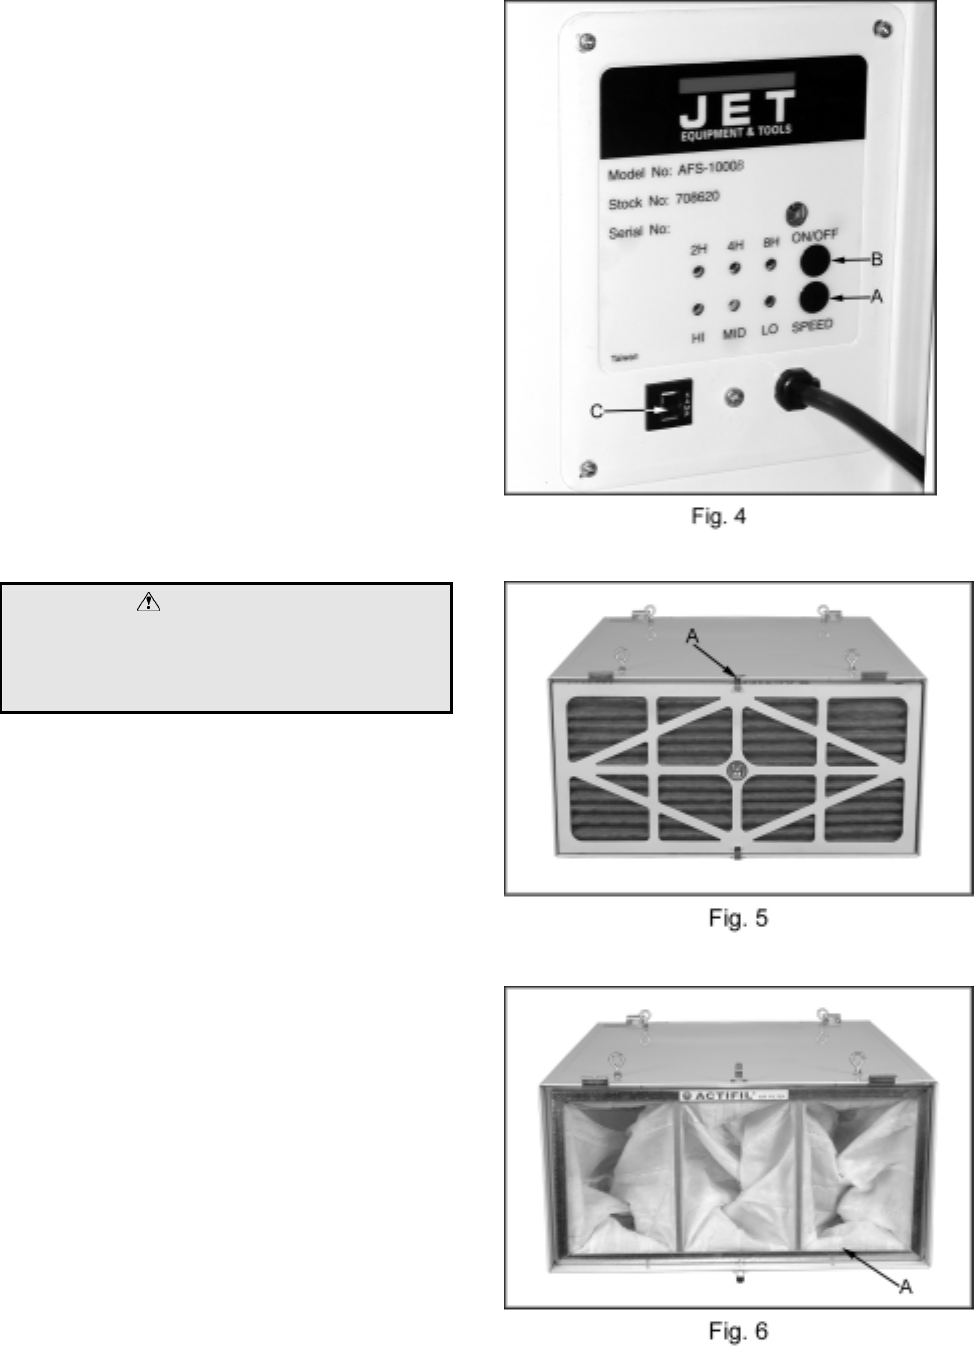
is also a manual button (A, Fig. 4) on the
backside of this unit which controls the speed.
On/Off button (C, Fig. 3) turns the unit on and
off. There is also a manual on/off button (B, Fig.
4) on the backside of the unit. Pressing this
button will turn the machine on Low.
Fuse switch (C, Fig. 4) will pop out in the case
of overload. Wait 3-5 minutes and push the fuse
in.
Changing the Filters
WARNING
To reduce the risk of injury disconnect the
air cleaner from the power source (unplug)
before servicing or changing filters. Failure
to comply may cause serious injury!
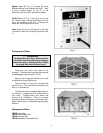
There are two filters that need to be
changed. The outer filter can easily be removed
by disengaging the two clips (A, Fig. 5).
Now you can simply pull the filter out, or use
a screwdriver to pop the filter out.
The inner filter (A, Fig. 6) can now be pulled
out of the unit. The inner filter can be blown out
with air, or washed out.
The filters should be replaced depending on
the amount of usage and the environment of
your shop. Clogged filters will reduce the
amount of air circulation. There is an arrow
indicating the air flow direction on the outer filter.
Make sure the filter is inserted facing the proper
direction.
Replacement Filters
708733 inner filter
708731 electrostatic filter
708734 charcoal filter
708732 washable electrostatic filter


