


www.jacksonmsc.com
Rinse RegulatingThermostat Replacement Instructions
Revision A (11/16/2005)
4
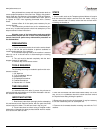
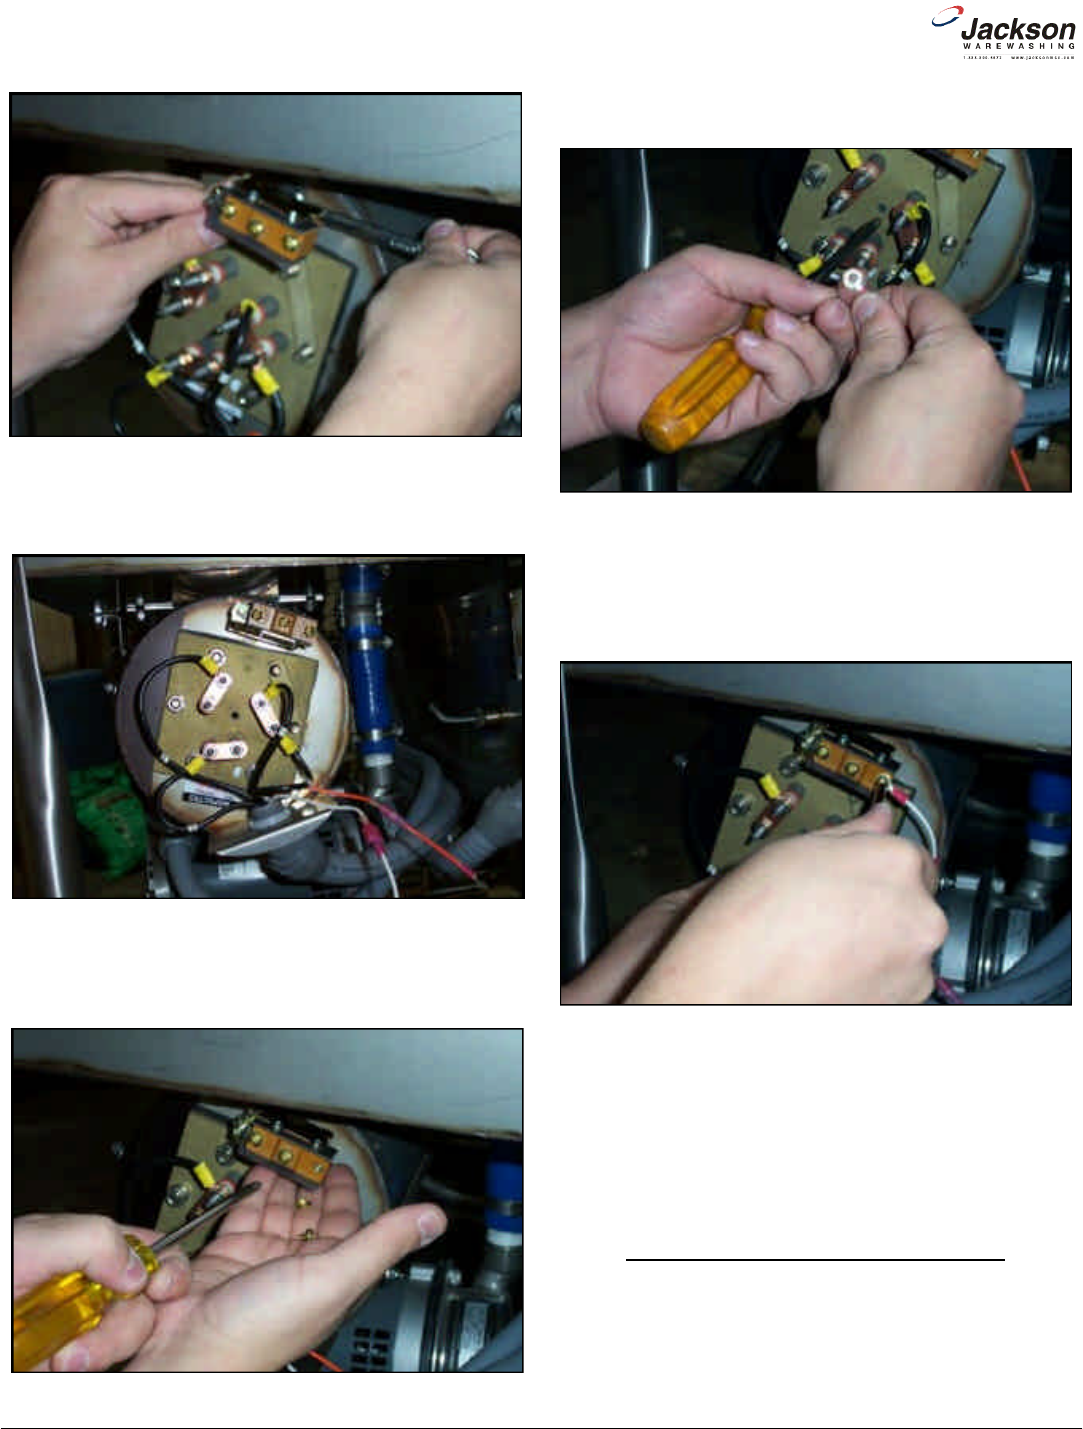
8. Use the 7/16” combination wrench to tighten down the brass fit-
ting, while also positioning the new thermostat so that it does not
hang over the heater.
9. Note: regardless of the unit this is being done to, the concept is
to ensure that the thermostat cannot come into contact with the
heater leads or interfere with the placement of any covers.
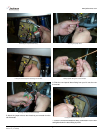
10. Use the phillipshead screwdriver to remove the attachment
screws on the thermostat for the NORMALLY CLOSED and COM
-
MON points.
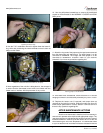
11. Attach the ring ends of the jumpers to the cups/screws removed
from the thermostat and attach them. The white jumper is to be
connected to COMMON. The orange and white jumper is to be
connected to NORMALLY CLOSED. Refer to your machine
schematic if you have any questions regarding this.
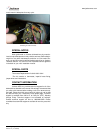
12. Once both wires are attached, ensure that there is no excess
hanging out where it could become pinched by any cover or such.
13. Replace the heater nuts (if removed) and torque down as
required per the technical manual. Different models may have dif
-
ferent torque specifications. Contact Jackson Technical Service if
there are any questions regarding this.
AFTER MAINTENANCE ACTIONS
Once the new thermostat is installed, it will be necesary to
ensure that it operates at the required and appropriate ranges. The
new thermostat has an adjustment that can be turned using a small
flathead screwdriver. Several cycles will need to be run on the unit
while observing the final rinse temperature. The thermostat needs
to cycle so that the final rinse water meets the indicated minimums
Tightening the brass fitting.
Fitting the jumper into the mounting cup.
Securing jumpers to the thermostat.
What the installed thermostat should look like (Tempstar).
Removing the thermostat screws.