3
© 2006 Hunter Fan Company 41556-01 7/25/2006
UsingYourAirPurier
1. Take the air purier out of the box and remove the clear plastic protective bag.
Place the unit on a rm level oor.
2.
Before turning on the air purier, you need to conrm that the lters are rmly
in place and have not become loose during shipping. To check the lters, open
the front grill by placing your ngers under the handle and pulling the front grill
towards you. The front grill will rest open at about 45º. You can remove the
front grill by placing your ngers under the handle and pulling the front grill
towards you and then up.
3. Before turning the Air Purier ‘on’, you need to open the front grill.
To release the front grill, press the buttons on the side until the front grill slides
easily over the buttons.
4. The carbon pre-lter is mounted inside the front grill with hook tape. Conrm
that it properly covers the grill vents. You may notice a few black particles
coming off the pre-lter. Those particles are part of the odor-removing activated
carbon and will be collected on the lter during use.
5. Place the front grill back onto the unit. First, line up the tabs on the bottom
of the grill with the openings on the purier base and then push the top of the
grill forward until it is closed. note: This unit will not operate unless the
grill is in the correct position.
6. Plug the unit into a 120V electrical outlet.
OperatingYourAirPurier
On/SpeedControl: Rotate the Speed Control knob to set the desired speed. A set-
ting of zero (0) indicates that the unit is off, one (1) is low speed, two (2) is medium
speed, and three (3) is high speed. The fan speed can be adjusted at any time.
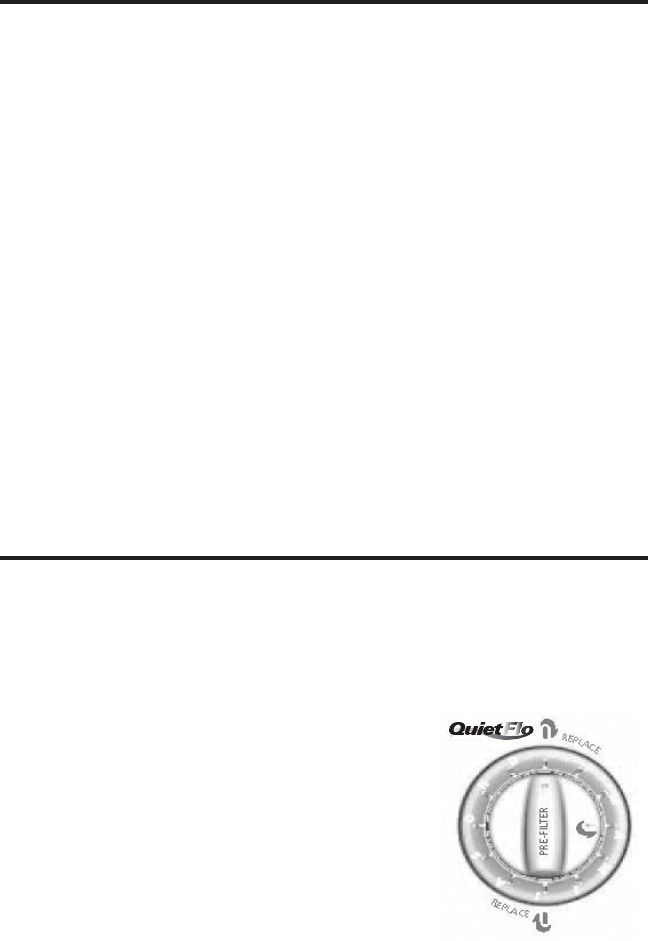
FilterChangeCalendar: The lter counter is designed to optimize the perfor-
mance of the air purifer by reminding you when to change the Quieto™ Filter
and pre-lter. See Figure 1.
QuietoFilterCalendar: The Quieto™ Filter
indicator is located at the top of the calendar ring. To
set the Quieto Filter counter, rotate the calendar ring
to align the month that you installed the lter with
the top indicator. Since the lter is designed for 6
months use, the two indicators will serve as reminders
to change the lter every 6 months.
Pre-lterCalendar: The inner knob of the lter
counter is the pre-lter counter. To use, align the
knob with the month that you installed the pre-lter.
The replace symbol on the inner knob points to the
month in which you should install a new pre-lter. The pre-lter is designed for
three months of usage.
Figure 1 - Calendar Knob


