


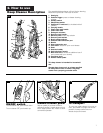


16
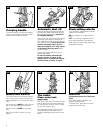
Storage
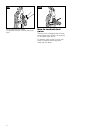
Before storing:
• Empty clean water tank and let air
dry. Replace on deep cleaner.
• Unused detergent can be stored in
the detergent container.
• Empty recovery tank, rinse tank
and lid thoroughly with clean water
and let air dry.
Allow brushes and underside of deep
cleaner to air dry thoroughly before
storing deep cleaner on a carpeted or
wood surface.
Do not store deep cleaner with a full
clean water tank in place.
Lubrication
The motor is equipped with bearings
which contain sufficient lubrication for
the life of the motor. The addition of
lubricant could cause damage. Do not
add lubricant to motor bearings.
Problem: Machine won’t run
Possible cause
Possible solution
• Not firmly plugged in
•
Plug unit in firmly
• No voltage in wall plug
•
Check fuse or breaker
• Blown fuse/tripped breaker
•
Replace fuse/reset breaker
Problem: Low solution pick-up
Possible cause
Possible solution
• Recovery tank full/automatic shut
off engaged
•
Remove and empty recovery tank
• Blockage in tool on end of hose
•
Remove tool and clear blockage
• Recovery tank lid not on correctly
•
Make sure lid is on securely
• Water tank empty, but detergent
remains
•
Fill water tank
Possible cause
Possible solution
• Clean water tank not firmly in place
•
Make sure tank is securely locked in
position
• Clean water tank or detergent
container empty
•
Refill container according to instruc-
tions for surface being cleaned
• Recovery tank lid not on
correctly
•
Make sure lid is firmly in place
Possible cause
Possible solution
• Recovery tank full/automatic
5. If you have a
problem
If a minor problem occurs, it usually can
be solved quite easily when the cause is
found by using the check list below.
Problem: Clean water won’t
dispense
Problem: Detergent won’t
dispense
Problem: Brushes won’t rotate during
floor cleaning
Possible cause
Possible solution
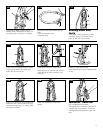
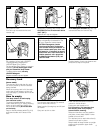
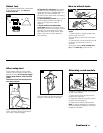
• Dirty filter screen on bottom of unit
•
Clean screen as shown in Fig. 3-2
• Setting selector on OFF
•
Move setting selector to ON
5-1
Possible cause
Possible solution
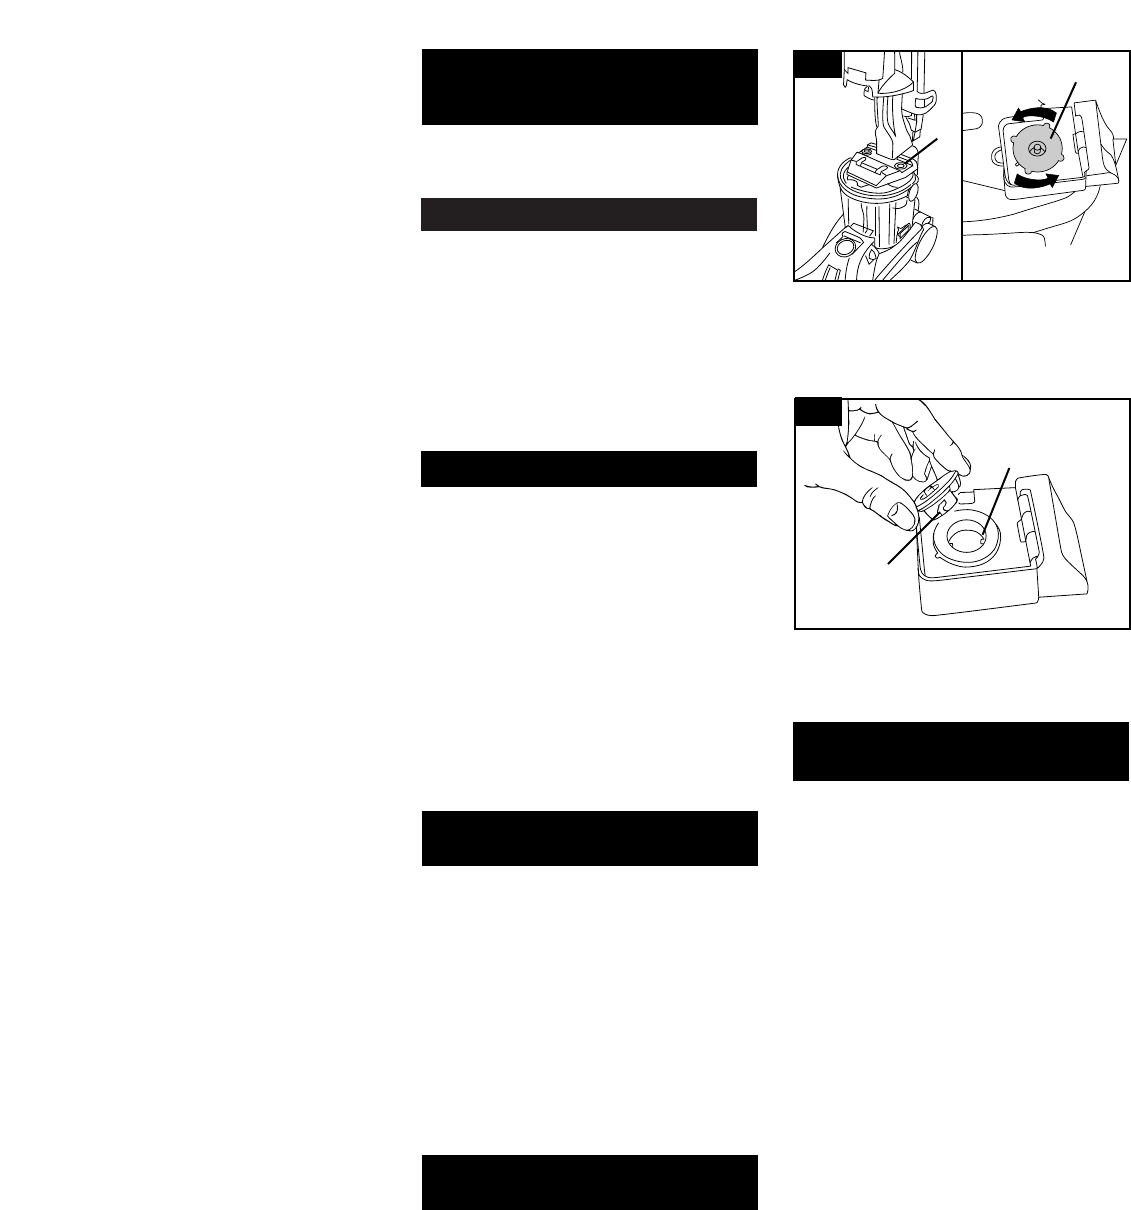
• Valve cap clogged
•
Remove and clean valve cap (see fol-
lowing instructions)
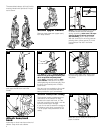
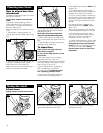
1. Remove clean water tank.
5-2
3. Align slots (B) on cap with tabs (C) in
opening.
Turn cap clockwise to tighten.
2. Turn valve cap (A) counterclockwise
and remove.
Soak valve cap in warm water for at
least 15 minutes. Wipe cap dry.
A
B
C
A