T7200D,E, T7300D,E,F AND Q7300 SERIES 2000 PROGRAMMABLE COMMERCIAL THERMOSTATS AND SUBBASES
9 63-4355—4
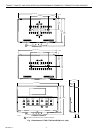
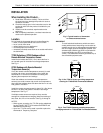
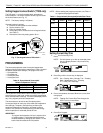
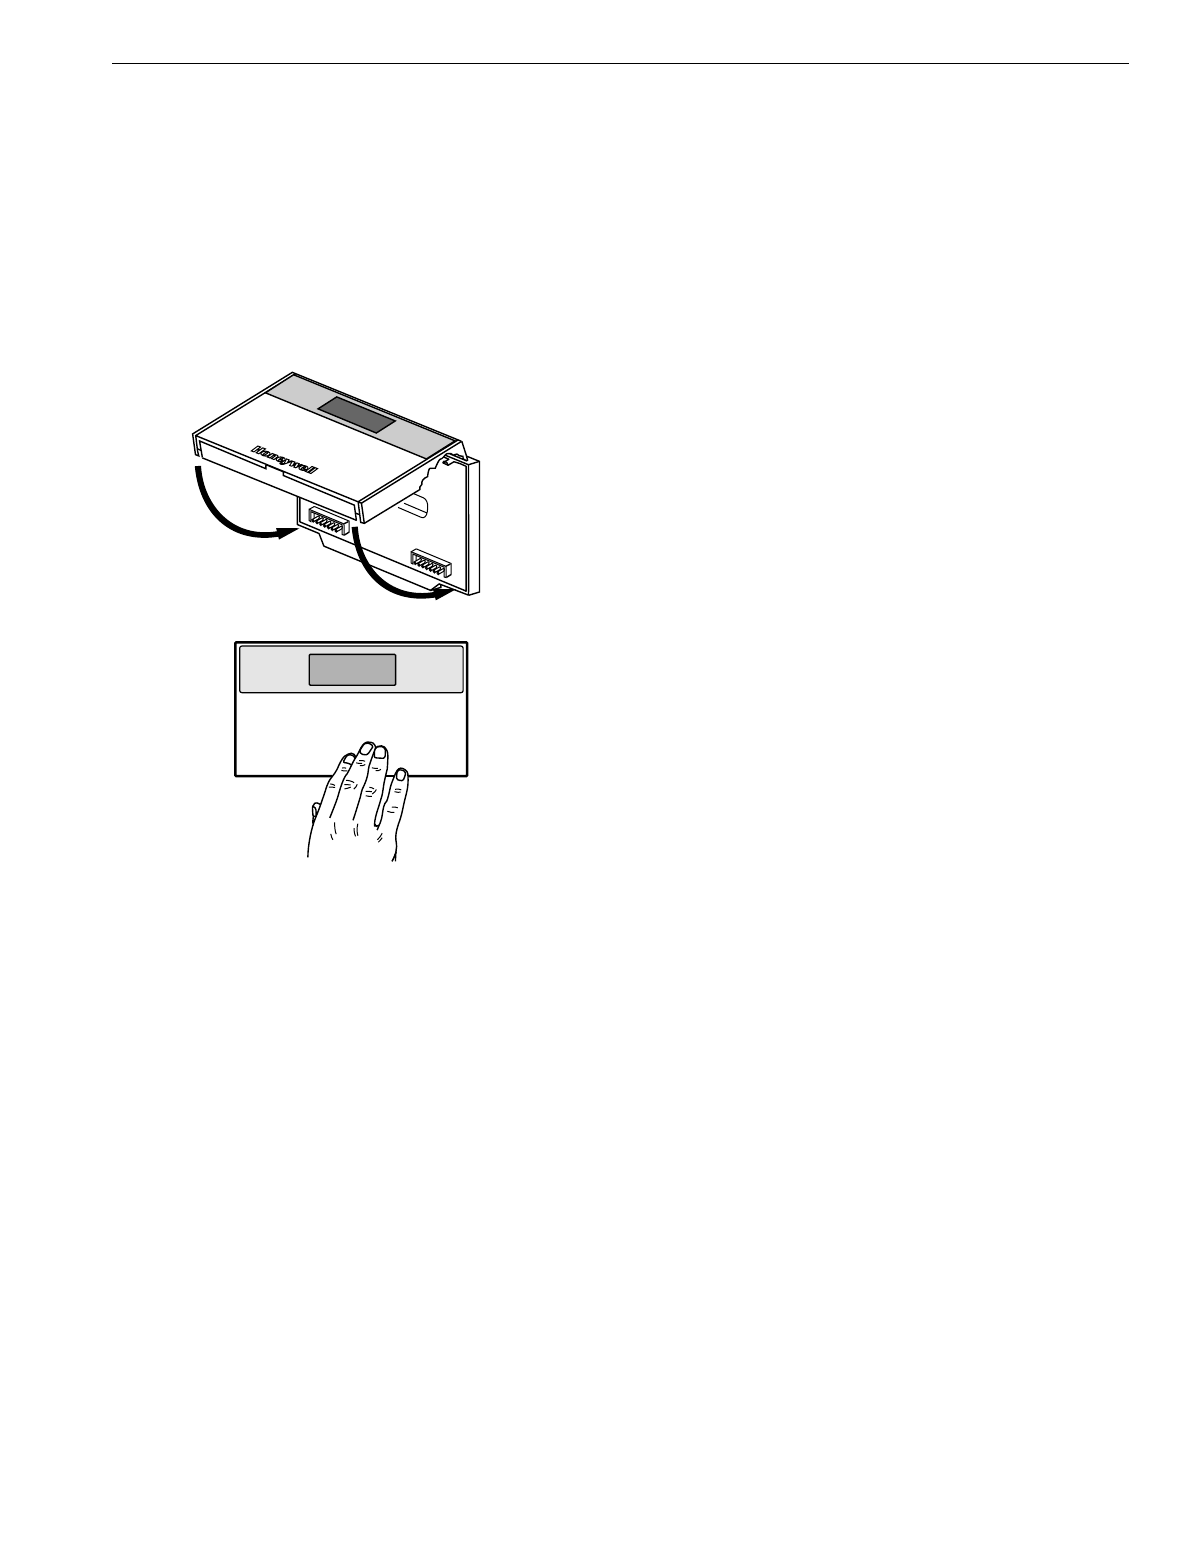
Mounting Thermostat on Subbase/Wallplate
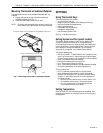
The thermostat mounts on the subbase/wallplate after it is
installed:
1.
Engage the tabs at the top of the thermostat and
subbase/wallplate. See Fig. 11.
2.
Press the lower edge of the case to latch.
NOTE: To remove the thermostat from the wall, first pull out
at the bottom of the thermostat; then remove the top.
Fig. 11. Mounting thermostat on subbase/wallplate.
SETTINGS
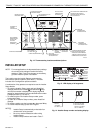
Using Thermostat Keys
The thermostat keys are used to:
• set current time and day,
• program times and setpoints for heating and cooling,
• override the program temperatures,
• display present setting,
• set system and fan operation,
• configure Installer Setup,
• check Installer System Test.
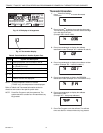
See Fig. 12 for key information.
Setting System and Fan (select models)
The system default setting is Heat. The fan default is set
so the fan operates continuously in Occupied periods,
Unoccupied period recovery times and with the heating and
cooling equipment in Unoccupied periods. Use the System
and Fan keys to change the settings. Fan and system
operation are configured in the Installer Setup options.
The system settings are:
— Em Heat (T7200E, T7300/Q7300C,D,H): Emergency heat
relay is on continuously. Thermostat cycles highest stage
of heat. Cooling system is off. Compressor is de-energized.
— Heat: Thermostat controls the heating.
— Off: Both the heating and cooling are off.
— Cool: Thermostat controls the cooling.
— Auto: Thermostat automatically changes between heating
and cooling depending on the indoor temperature.
The fan settings are:
— On: Fan operates continuously in occupied period.
— Auto: Equipment controls the fan in the Unoccupied
periods. The Intelligent Fan™ operation (Installer Setup
number 17) offers three choices for the fan operation in
Occupied periods:
— fan turns on only when there is a call for heat or cool.
— fan operates continuously in Occupied periods.
— fan is on continuously in Occupied periods and
Unoccupied period recovery times.
Setting Temperature
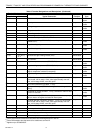
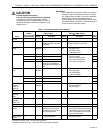
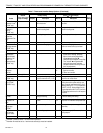
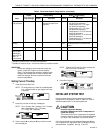
Refer to Table 4 for the default temperature setpoints. See
Programming section for complete instructions on changing
the setpoints.
M4824A
B. PRESS LOWER EDGE OF CASE TO LATCH.
A. ENGAGE TABS AT TOP OF THERMOSTAT AND SUBBASE OR WALLPLATE.


