15 69-0463
• Make sure electrical connections are clean and tight.
Replace damaged wire with moisture-resistant No.
18 wire rated for continuous duty up to 105° C [221°
F].
• Check for cracked ceramic insulator, which can cause
short to ground, and replace igniter-sensor if neces-
sary.
• At the gas control, disconnect main valve wire from
the TH or MV terminal.
• Turn on power and set thermostat to call for heat. The
pilot should light but the main burner will remain off
because the main valve actuator is disconnected.
• Check the pilot flame. Make sure it is blue, steady and
envelops 3/8 to 1/2 in. [10 to 13 mm] of the flame rod.
See Fig. 13 for possible flame problems and their
causes.
• If necessary, adjust pilot flame by turning the pilot
adjustment screw on the gas control
clockwise to decrease or
counterclockwise to increase pilot flame. Fol-
lowing adjustment, always replace pilot adjustment
cover screw and tighten firmly to assure proper gas
control operation.
• Set thermostat below room temperature to end call
for heat.
❏ Recheck ignition sequence as follows.
• Reconnect main valve wire.
• Set thermostat to call for heat.
• Watch ignition sequence at burner.
• If spark still doesn’t stop after pilot lights, replace
ignition module.
• If main burner doesn’t light or if main burner lights but
system locks out, check module, ground wire and gas
control as described in appropriate troubleshooting
chart, Fig. 14 or 15.
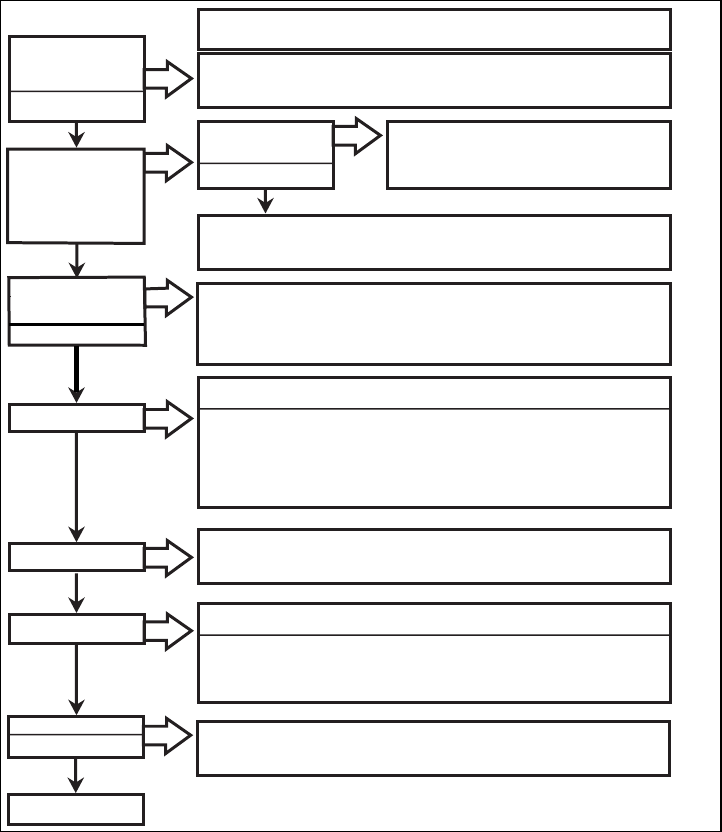
Fig. 14—S8600, S8610 troubleshooting guide.
Check continuity of ignition cable and ground wire.
NOTE: If ground is poor or erratic, shutdowns may occur occasionally even though operation is normal at
the time of checkout.
Check that pilot flame covers flame rod and is steady and blue.
If checks are okay, replace module.
M1174F
START
Check line voltage power, low voltage transformer, limit controller, thermostat (controller) and wiring. Also,
check air proving switch on combustion air blower system (if used) and that vent damper (if used) is open and
end switch is made.
Before troubleshooting, familiarize yourself with the startup and checkout procedure.
NO
TURN GAS SUPPLY OFF.
TURN THERMOSTAT
(CONTROLLER) TO CALL
FOR HEAT
POWER TO MODULE?
(24V NOMINAL)
YES
Pull ignition lead and
check spark at module.
NO
On models with vent damper plug, make sure vent damper
has not been installed, then removed. Replace vent damper
if necessary.
On other models, replace module.
Spark okay?
NO
Check ignition cable, ground wiring, ceramic insulator and gap, and correct.
Check boot of the ignition cable for signs of melting or buckling. Take protective action to shield cable and
boot from excessive temperatures.
YES
YES
Check that all manual gas valves are open, supply tubing and pressures are good, and pilot burner orifice
is not blocked.
Check electrical connections between module and pilot operator on gas control.
Check for 24 Vac across PV-MV/PV terminals on module. If voltage is okay, replace gas control; if not,
replace module.
NOTE: It may be necessary to recycle the call for heat to clear the pilot supply tubes of air.
NO
TURN GAS SUPPLY ON
AND RECYCLE CALL
FOR HEAT
PILOT BURNER LIGHTS?
NO
SPARK STOPS WHEN
PILOT IS LIT?
YES
NOTE: If S86XXB,H,D,J goes into lockout, reset system. For S86XXC,M,U,J,K, wait 6 min.
nom. for retry or reset system.
Check continuity of ignition cable and ground wire.
Clean flame rod.
Check electrical connections between flame rod and module.
Check for cracked ceramic flame rod insulator.
Check that pilot flame covers flame rod and is steady and blue.
Adjust pilot flame.
If problem persists, replace module.
NO
MAIN BURNER LIGHTS?
YES
Check for 24 Vac across MV-MV/PV terminals. If no voltage, replace module.
Check electrical connections between module and gas control. If okay, replace gas control or gas control
operator.
NO
SYSTEM RUNS UNTIL
CALL FOR HEAT ENDS?
YES
NOTE: If S86XXB,H,D,J goes into lockout, reset system. For S86XXC,M,U,J,K, wait 6 min.
nom. for retry or reset system.
Check for proper thermostat (controller) operation.
Remove MV lead at module; if valve closes, recheck temperature controller and wiring; if not, replace gas
control.
NO
CALL FOR HEAT ENDS
YES
SYSTEM SHUTS OFF?
TROUBLESHOOTING
ENDS
Repeat procedure until troublefree operation is obtained.
YES
Models with TH-W terminal (7) must have call for heat 24 Vac supply connected to the TH-W terminal.
Models with no TH-W terminal must have call for heat 24 Vac supply connected to 24V terminal (6).
NOTE:
SPARK ACROSS
IGNITER/SENSOR GAP?
(S8660, S8670, S8680
HAVE 45 SECOND [NOMINAL]
PREPURGE BEFORE SPARK
STARTS.)


