


RTH1120 69-1876ES-1 29/11/06 2/4
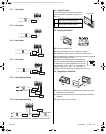
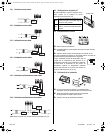
2.3.1 2-wire Heating
2.3.2 2-wire Cooling
2.3.3 3-wire Heating
2.3.4 3-wire Cooling
2.3.5 4-wire Heating and Cooling
2.3.6 5-wire Heating and Cooling
Note: Remove the red jumper wire between terminals Rc and Rh.
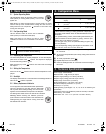
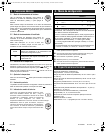
2.4 Setting J2 Jumper
The jumper specifies how the fan will operate
when it is placed in automatic mode (see sec-
tion 3.2).
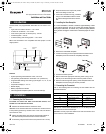
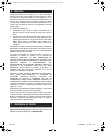
2.5 Installing the Batteries
n Pull out the battery cover.
o Install the batteries as shown. Observe the polarity.
p Reinstall the battery cover. You will hear a clicking sound.
After the batteries are installed, the thermostat performs a series of
tests for approximately 5 seconds.
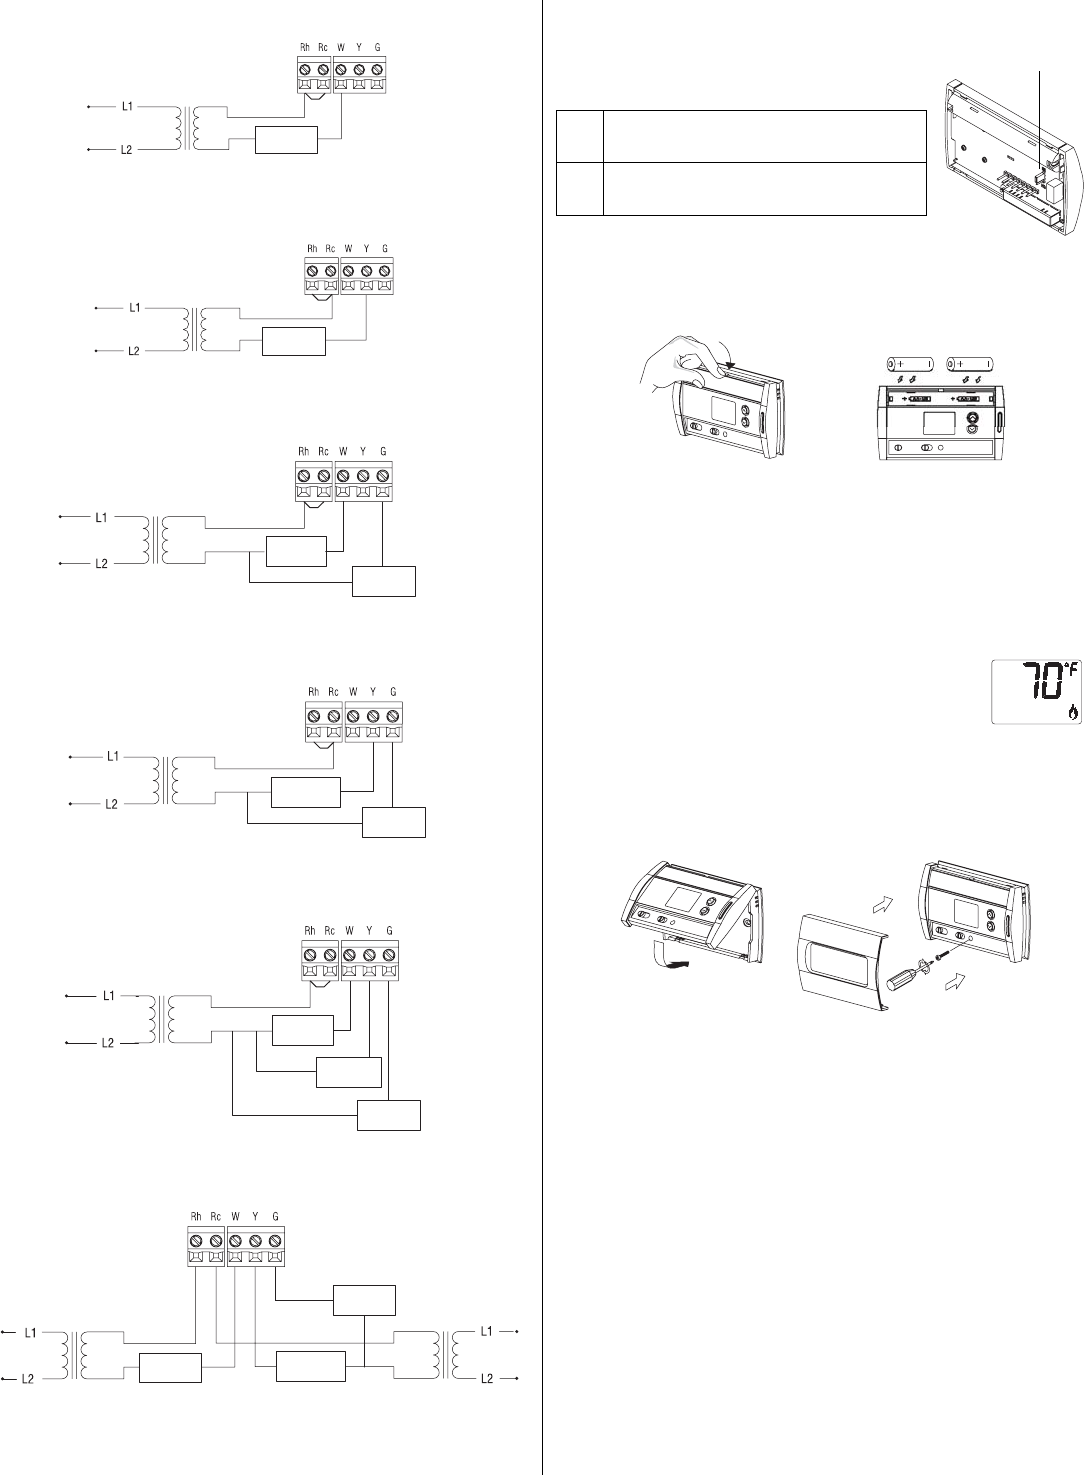
Afterwards, the screen displays the actual tempera-
ture. It is normal that the displayed temperature will
be higher than the ambient temperature if you hold
the thermostat in your hands. It will display the
ambient temperature after the thermostat is
installed on the wall. By default, the setpoint is 70°F (21°C).
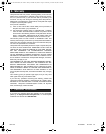
2.6 Completing the Installation
n Once the baseplate and the batteries are installed, mount the
thermostat on the baseplate.
o Secure the thermostat using the locking screw and install the
faceplate.
p Apply power back to the system.
Heat relay
Cool relay
Fan relay
Heat relay
Cool relay
Fan relay
Heat relay
Cool relay
Fan relay
Fan relay
Cool relay
Heat relay
HG
Leave the jumper in this position if you
have a gas or oil heating system.
HE
Move the jumper to this position if you
have an electric heating system.
JP2 jumper
400-147-034-B TH148LE (69-1876ES-1 Honeywell RTH1120) ENG.fm Page 2 Wednesday, November 29, 2006 3:58 PM